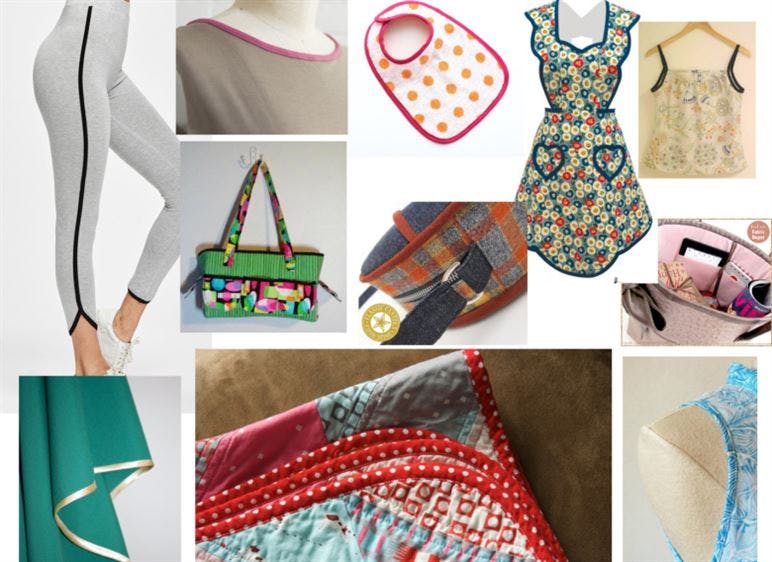
In Forrest Gump, Bubba Blue told us all about shrimp (there’s pineapple shrimp, lemon shrimp, coconut shrimp, pepper shrimp….). Along those lines, you know, there’s quilt binding, hot pad binding, baby bib binding, sleeve binding, neckline binding, wide binding, narrow binding, single fold binding, double fold binding, etc. Nothing finishes the edge of a quilt, a pot holder, a tote bag or baby bib like fabric binding. In the August Sew Fun sessions, many of the items presented by Tracey (like the Mama Mia bag). and at Show and Tell, had fabric binding used as accents to a project.
Pre-made binding (aka, “bias tape”) is available in a variety of solid colors, but if you want to really add that extra something to your project, consider making your own binding. Binding can “blend in” with your project or “stand out” as an accent to it. When you make your own, you have the whole fabric shop to pick your binding from. How you cut your fabric binding is the topic of this blog.
Definitions
Just so we’re all on the same page, let’s define a few terms::
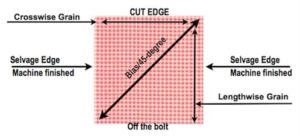
Selvage: The factory-finished edges along either side of the fabric (perpendicular to the cut edge). The finished edges keep the the fabric from unraveling.
Grain: The threads running parallel to the selvage, and the threads running side-to-side (perpendicular to the selvage).
Lengthwise Grain : The threads that run parallel to the selvage.
Crosswise Grain: The threads that run parallel to the cut edge of the fabric (the width), and so are perpendicular to the selvage.
Bias: The 45˚ angle between lengthwise and crosswise grain.
Cutting Strips for Fabric Binding
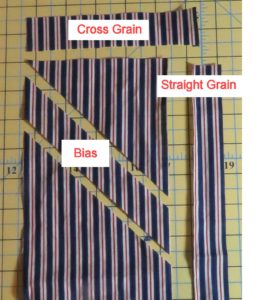
There might be Fifty Ways to Leave Your Lover, but you can cut strips for binding quilts in only one of three ways: straight grain, cross grain or on the bias. Each way has its own strengths and weaknesses.
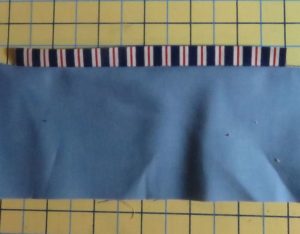
Straight Grain Binding
You make straight grain binding from fabric cut vertically (parallel to the selvage), or lengthwise. If you cut strips along the vertical length of the fabric, you waste little to no fabric. This fabric binding is very stable and has the least amount of stretch of the three types. If you have something with a bias outside edge, binding cut on the lengthwise grain can stabilize those edges.
Because of its lack of stretch, use it only on projects with straight edges. It will not lay flat on anything with a curved edge.
Fabric binding made from the straight grain doesn’t hold up to wear and tear like bias. Do not use this type of binding on an article that will used often.
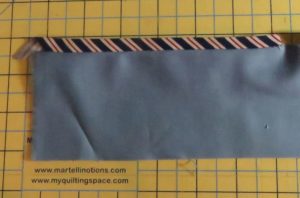
Cross Grain Binding
Cross grain refers to binding made from fabric cut horizontally, or width-wise (perpendicular to the selvage). As with straight grain binding, cross grain binding is also very economical. You waste little to no fabric when cutting the binding strips.
In production, fabric is pulled slightly off grain as it is rolled on a cardboard bolt. So strips cut selvage-to-selvage are rarely straight on grain. This means they have some stretch, and you can use cross grain binding on quilts with either straight edges, mitered corners and or gently curving edges. It also means that, if your strip has a pattern that runs across the width of the fabric, it might not be straight along the strip you cut.
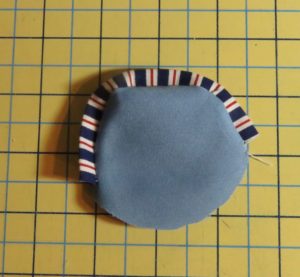
Bias Cut Binding
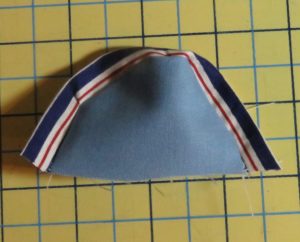
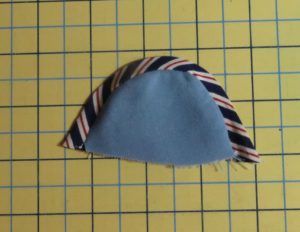
It’s not good to be biased. Unless, of course, you’re talking about fabric binding. You cut bias binding at a 45 degree angle to the selvage. Because bias binding is very stretchy, you can be use it on any edge. In fact, for tightly curved edges, you must use bias to get a nice flat binding that doesn’t cup. In addition, many fabrics, like plaids and stripes, look especially nice when cut on the bias.
Strength in Numbers
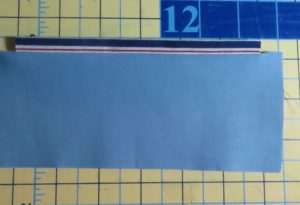
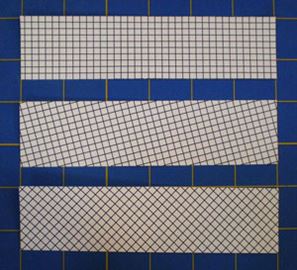
Bias binding holds up to extreme wear and tear for a very long time because it has the most threads at the fold of any of the types of fabric binding described here. The illustration below shows the thread count in binding strips of equal length. Thread coverage at the edge of bias lengthwise grain (top), least thread coverage crosswise, slightly off grain (middle), true bias (bottom), most thread coverage.
Binding made from bias strips has the most thread coverage at the edge.
Straight grain binding has the least, only one long thread on the edge. Cross grain binding (because it is rarely rolled onto a bolt straight on grain) is somewhere in the middle.
Bind It
Whether you use cross grain, lengthwise grain or bias fabric binding, just remember to take into account:
- The pattern created on the binding due to the direction of the cut
- Whether or not the edges will be curved and how tightly
- What type of use the article will ultimately receive
Make your binding choices accordingly.
Coming Up Next
It’s pretty straight forward to make fabric binding by cutting lengthwise or crosswise strips. Just cut the strips the width you need, sew the number of lengths you need together and use them in you project. However, when you are making bias binding, figuring out how much fabric you need and then cutting the fabric with minimal waste is a little trickier. In the blog, “In a Bind About Binding: How to Make Continuous Bias Binding”, I show how to make continuous bias binding by sewing just two seams. I also provide a printable pdf that shows how to determine the amount of fabric you need to get the length of bias binding required for your project.
Comments
Cathy Ellsaesser
Glad you enjoyed it! Thanks for reading our blog. Happy Sewing!
Linda
Thank you so much. Very clean and understandable. Answered my questions perfectly.
Limda