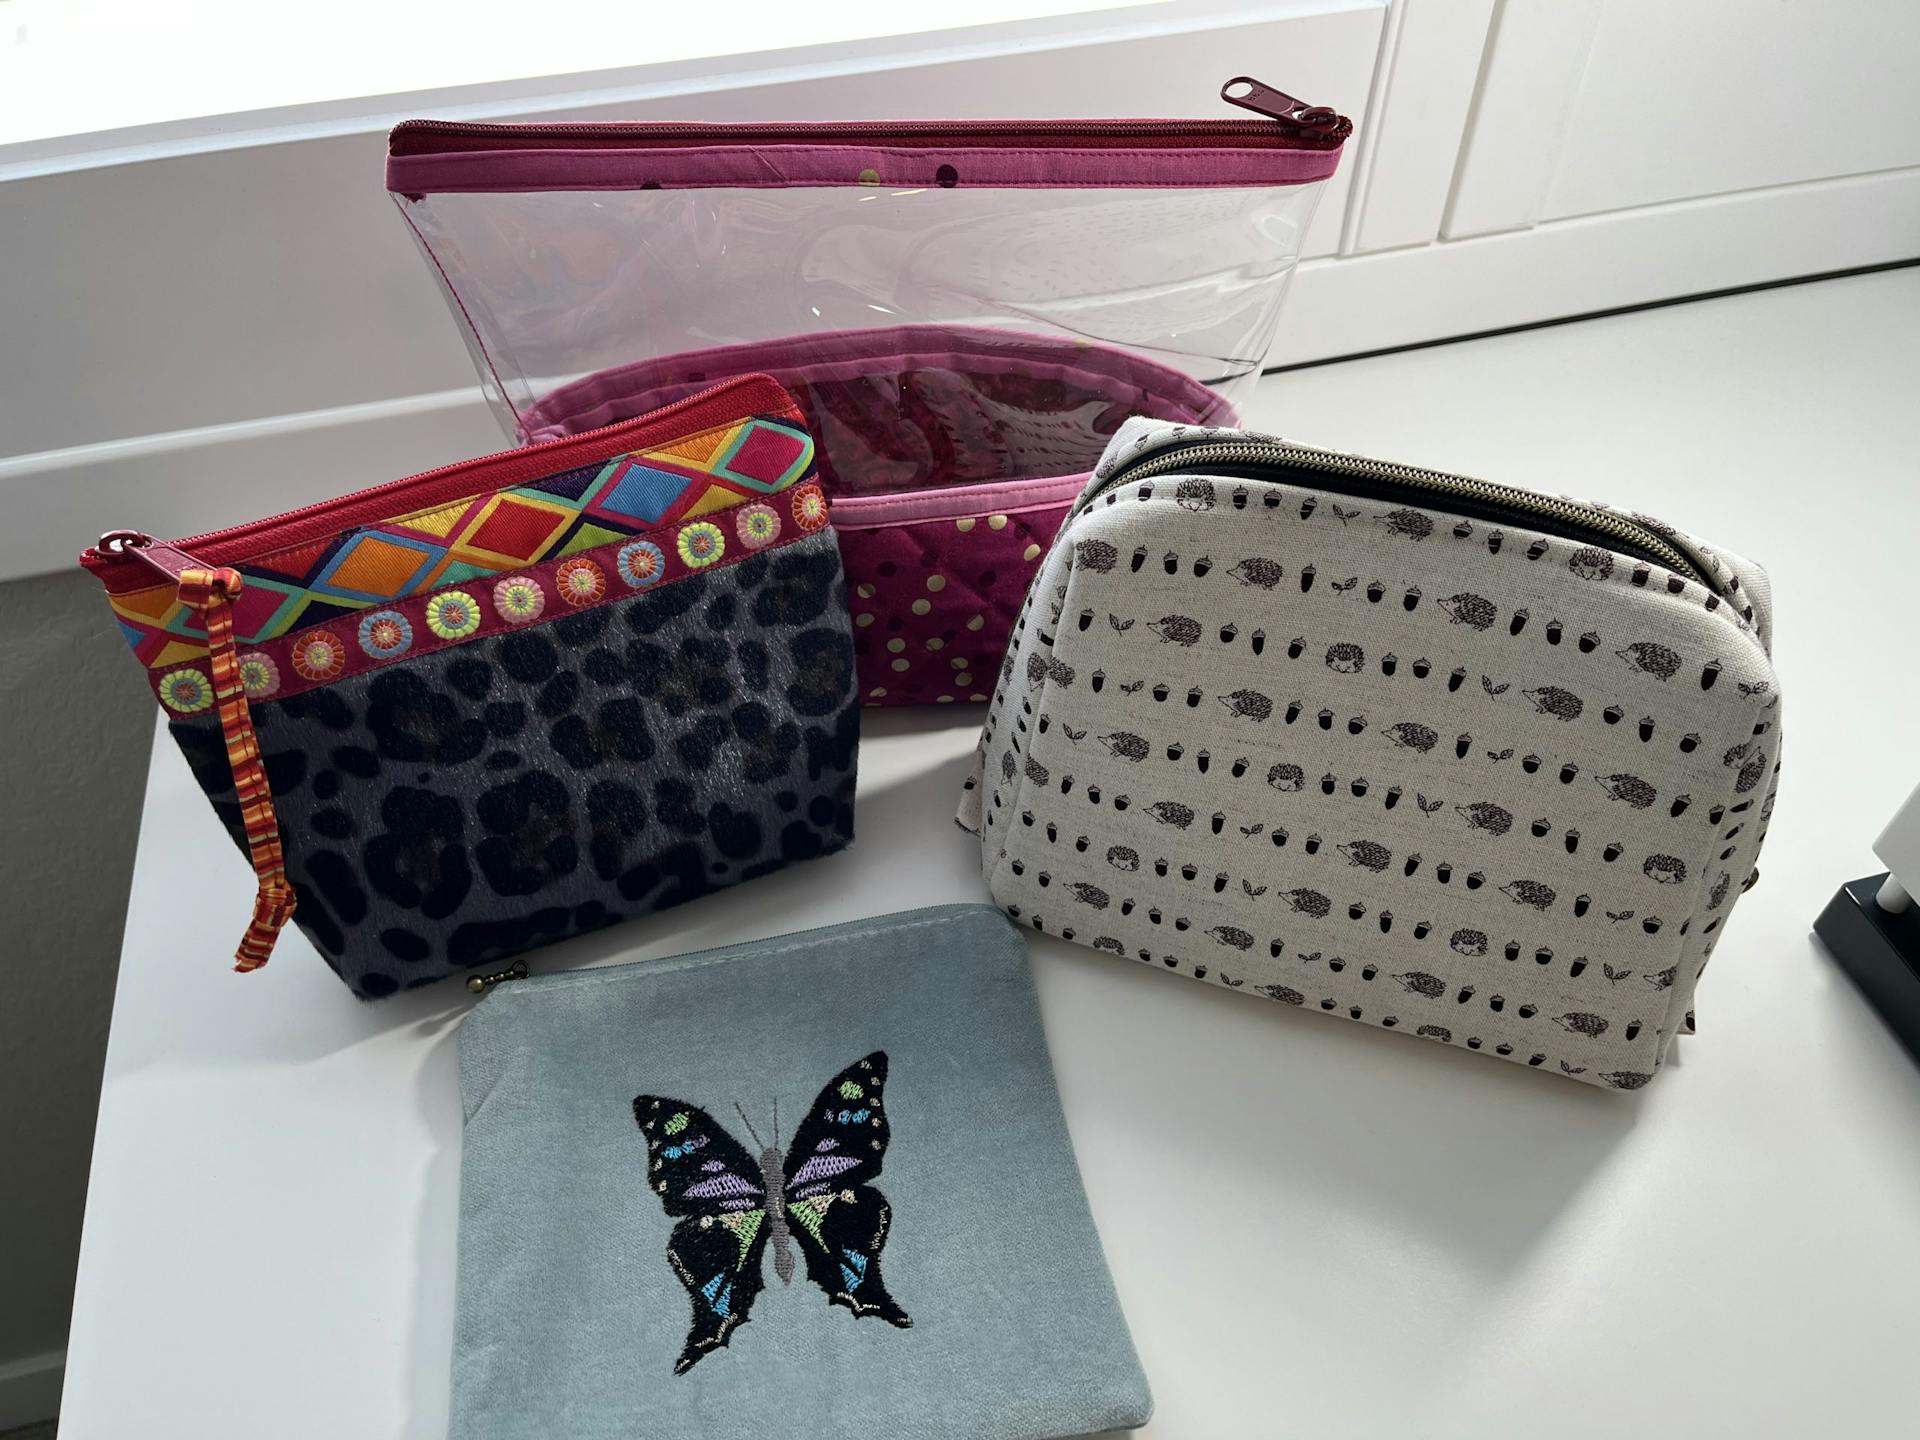
I love zippy bags and pouches of all shapes and sizes. They are cute, useful, infinitely customizable, and fast to make. They are the perfect quick gift for just about any occasion, and they help keep your purse, drawers, suitcase, toy box, closet, or backpack organized. They hit all the buttons for a satisfying sewing project. Since they are one of my favorite things to make, I’m always dismayed when people tell me they don’t make them because they are intimidated by zippers. However, there’s no need to be afraid! The secret to easily installing a zipper (and useful for many other sewing applications) is the humble unsung hero, the zipper foot.
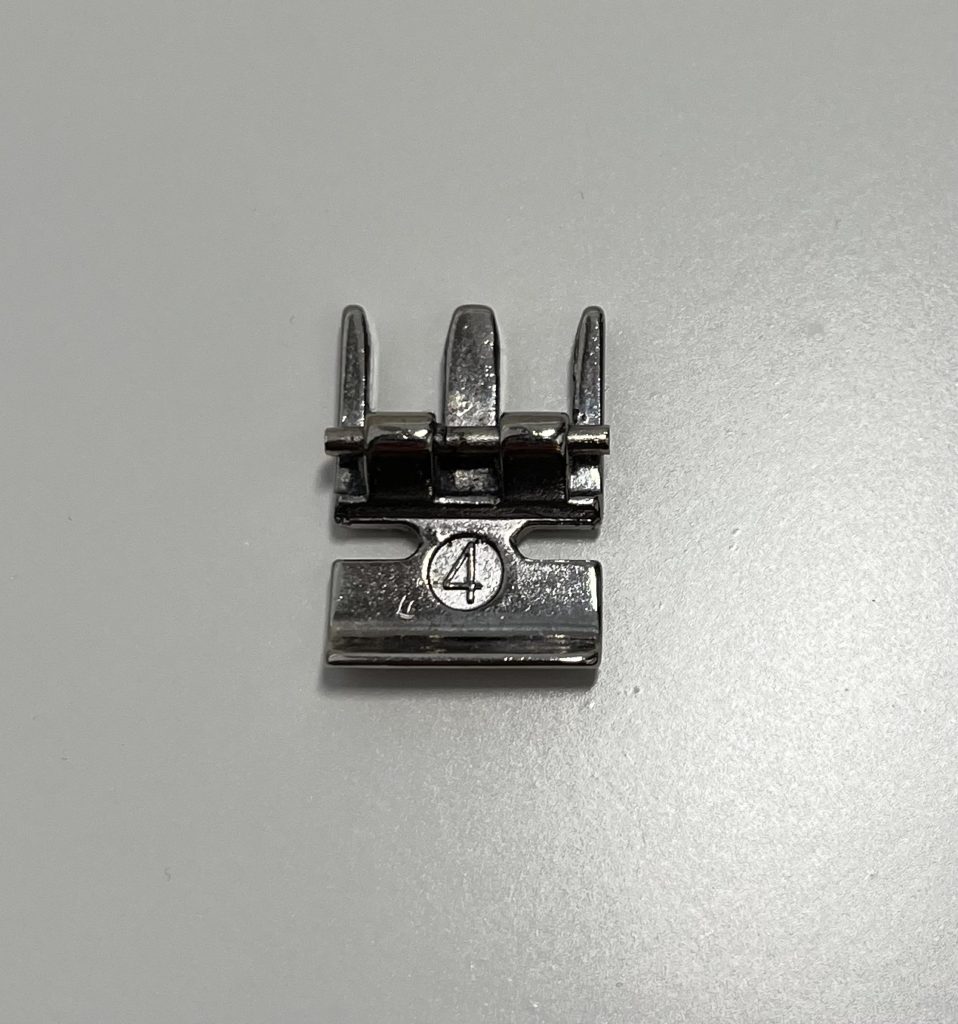
No matter what sewing machine you have, it comes with a variety of feet and includes a zipper foot. The zipper foot on my machine can be installed on either side of the shank and has openings on each side so that the needle can be moved to different positions.
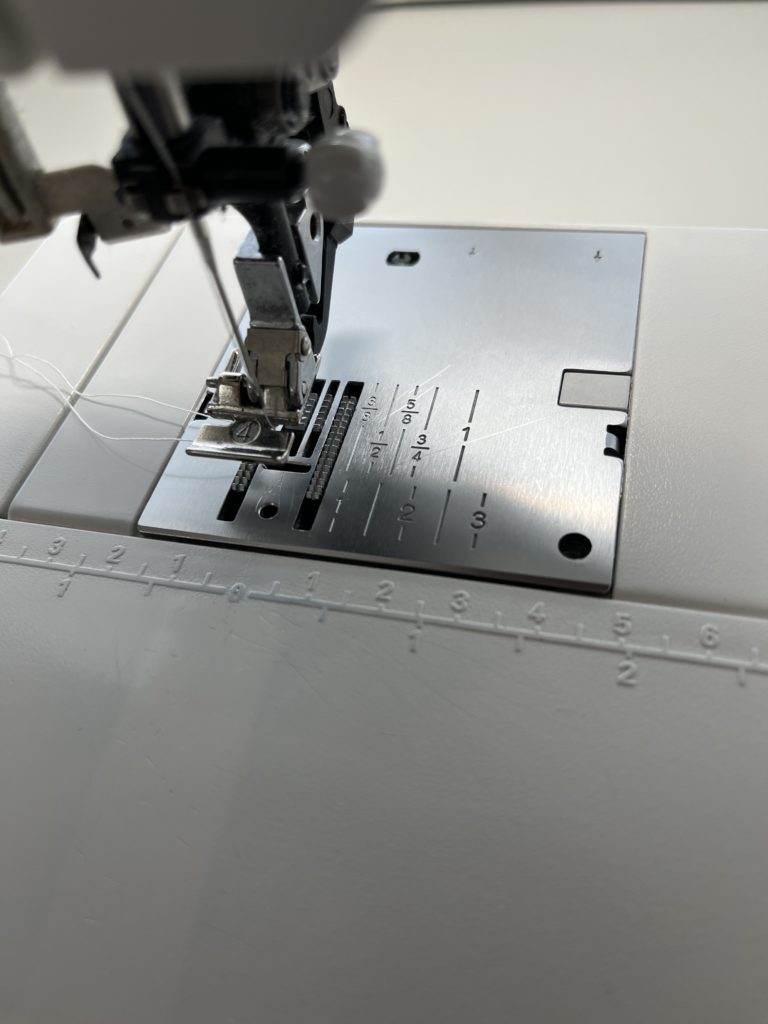
This allows you great flexibility in using the foot to hold your zipper and layers of fabric securely while stitching as close or far as you need to. It also allows you to sew with your project to the right or the left of the needle.
While mine can snap on to the shank on either side, some zipper feet achieve the same functionality by sliding from one side to the other. By using a zipper foot and moving the position of your needle, you can stitch close to the zipper teeth without bumping into the zipper stop or pull and causing your stitching to swerve. This gives you a clean line of stitching and makes for a professional looking installation.
But that’s not all a zipper foot can help you with. When you are sewing anything that is difficult to maneuver or requires you to stitch in tight spaces, the zipper foot can help with that. If you have ever sewn any ByAnnie patterns, you know that they often require you to cover exposed exterior seams with binding. It can be tricky to stitch where you need to while still securely holding all those layers together. By using the zipper foot and moving your needle to the far side, you can stitch the binding down to cleanly cover those seams. It’s especially useful around curves!
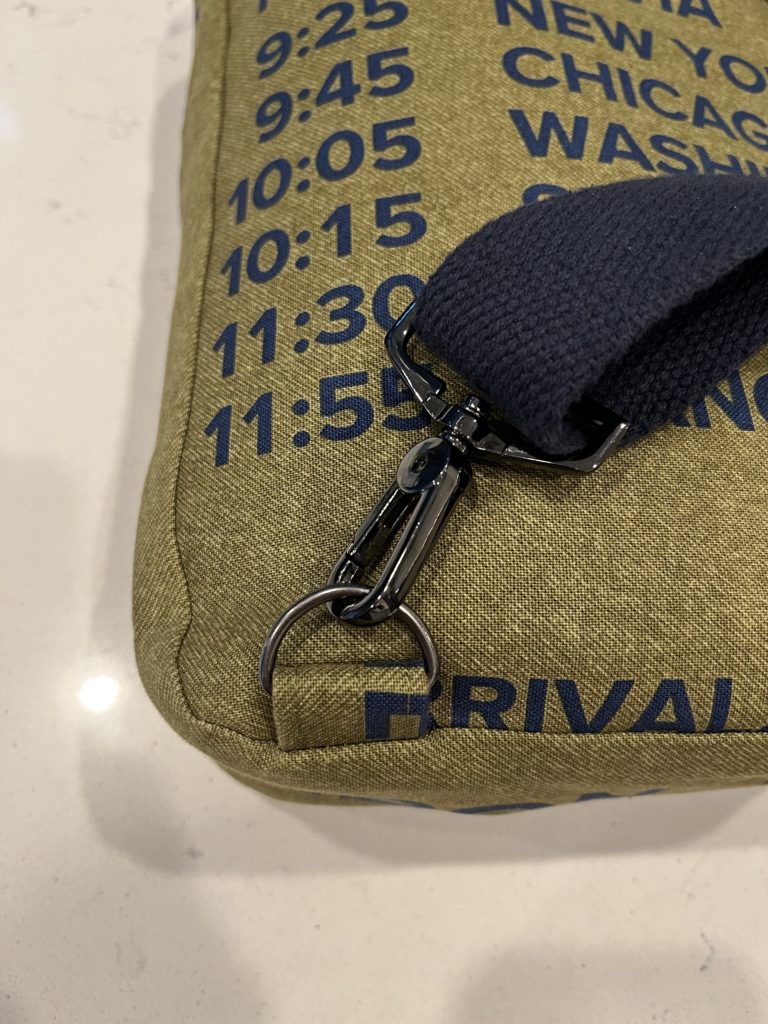
Another place where a zipper foot can come in handy is when you are stitching close to some type of hardware. Often you need to stitch close to a D-ring or buckle to attach it to a strap or bag. This can be difficult or even impossible without using a zipper foot to simultaneously hold all the layers in place while having the needle stitching off to the side. Likewise, it makes top stitching around hardware, such as grommets or magnetic fasteners, a breeze. All of these details make your finished projects look clean and professional.
It’s also great for sewing piping, cording or other trim into a seam on pillows, clothing, bags, or curtains. Again, the zipper foot can snug right up to the cording, holding all those layers together, while the needle stitches right along the edge to give you a neat finish.
So, don’t be intimidated by zippers or your zipper foot! Once you see how easy it is to use, you will keep finding ways to make your sewing experience easier and your finished projects much more polished.
Here’s our own Megan McCabe with a quick video on using a zipper foot.
If you have more questions, don’t hesitate to comment on this post!
