
Just imagine! You can print on fabric just about anything you want — family photos, vacation pictures, specific patterns, colors or textures for a quilt. Totally personalize your project with borders just the color you need, photos of a loved one for a memorial quilt, backgrounds or sashing for quilt blocks or embroidery, printed messages, poems, labels or beautiful banners. The possibilities are endless with the PrintModa Studio Fabric Printer from Brother.
Some Examples using PrintModa
Quilt Sashing
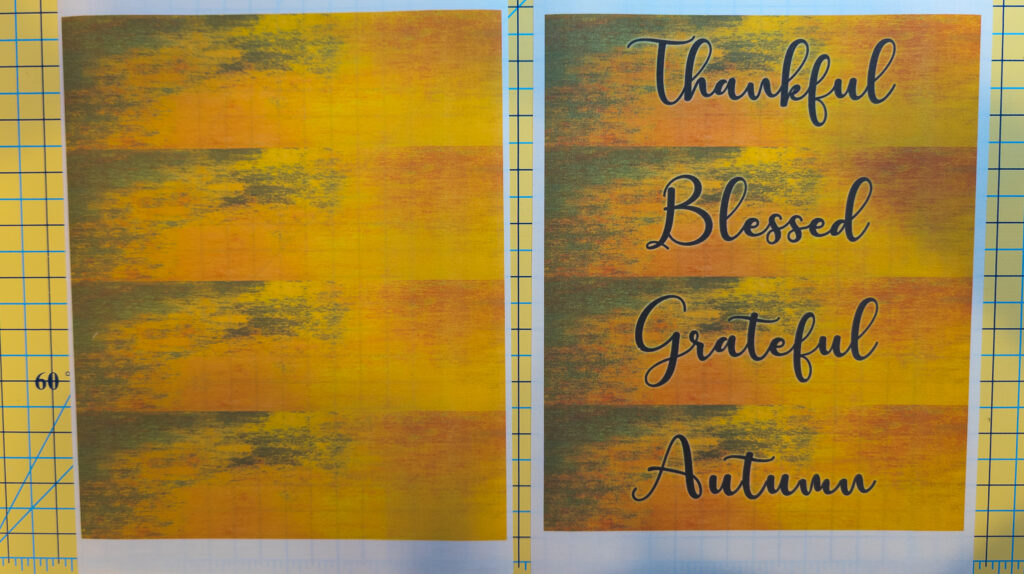
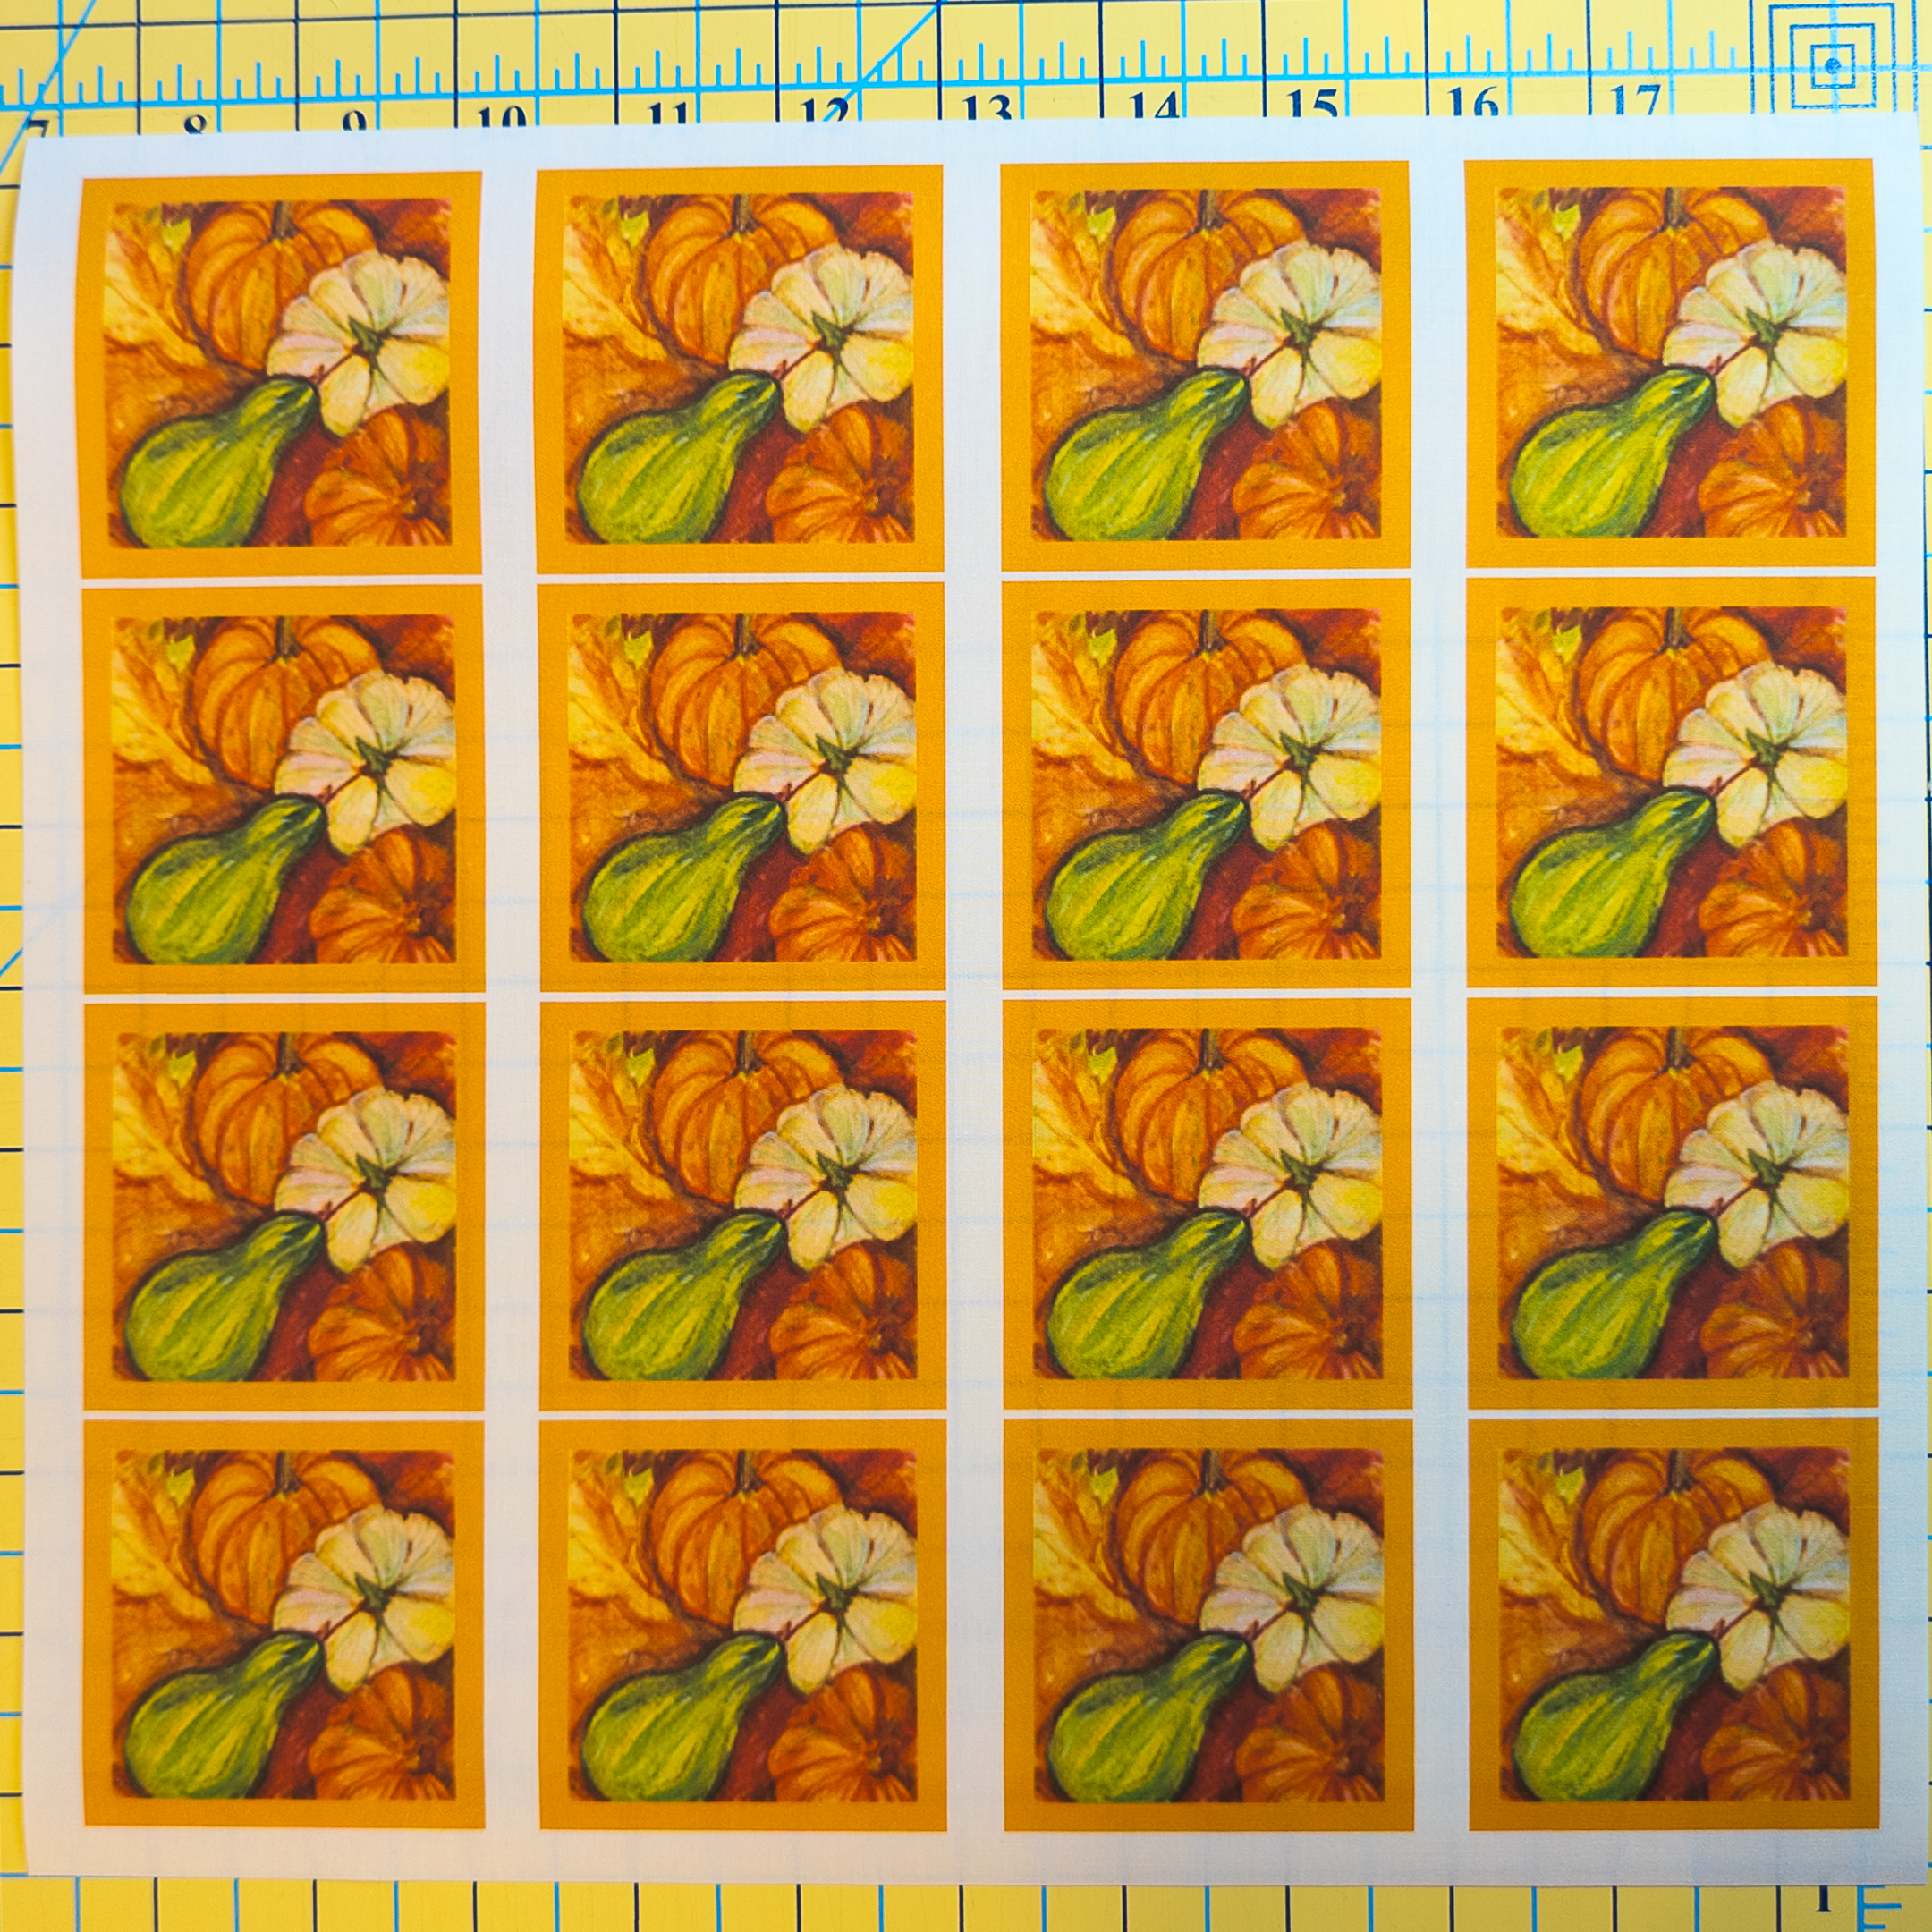
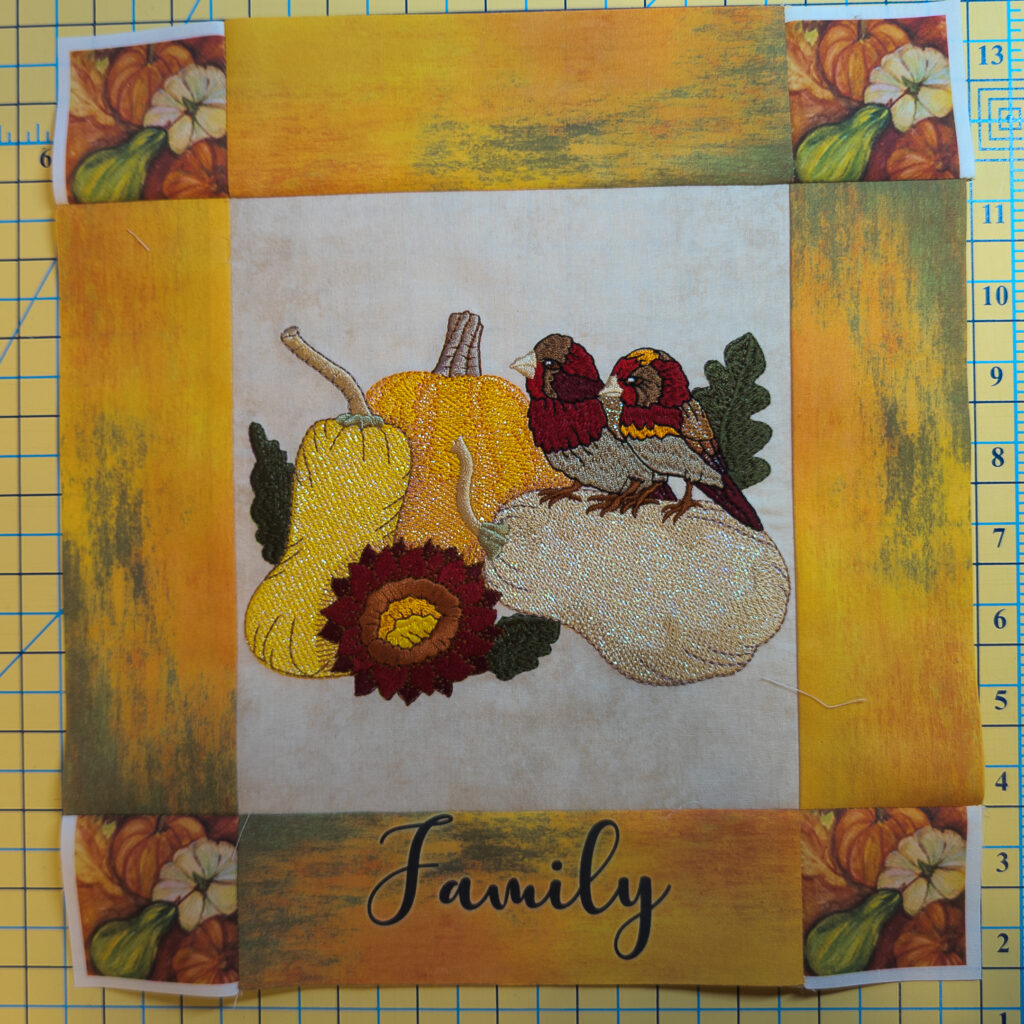
I embroidered some fall-themed blocks using an embroidery collection from Purely Gates called Mylar Fall Splendor. As a result, I was thinking about how to put the blocks together for a wall hanging. Of course, this was the perfect opportunity to try out the PrintModa printer and print just what I wanted! I used Photoshop to create the designs, chose the colors I wanted, and add the text for the sashing. Then I found some art work of gourds and used that for the corners.
Photographs
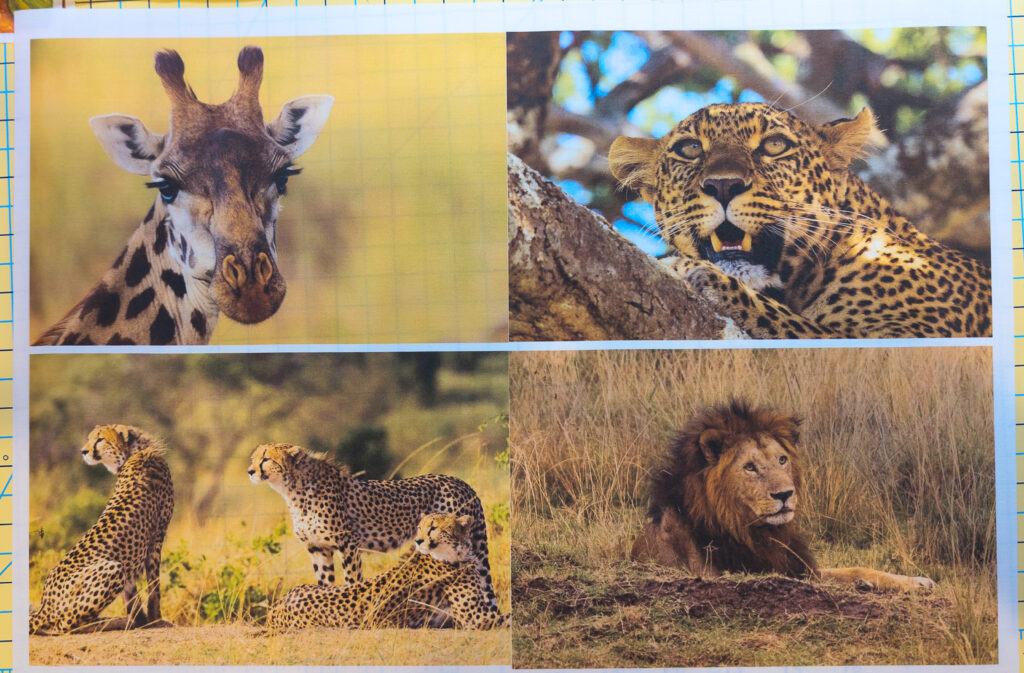
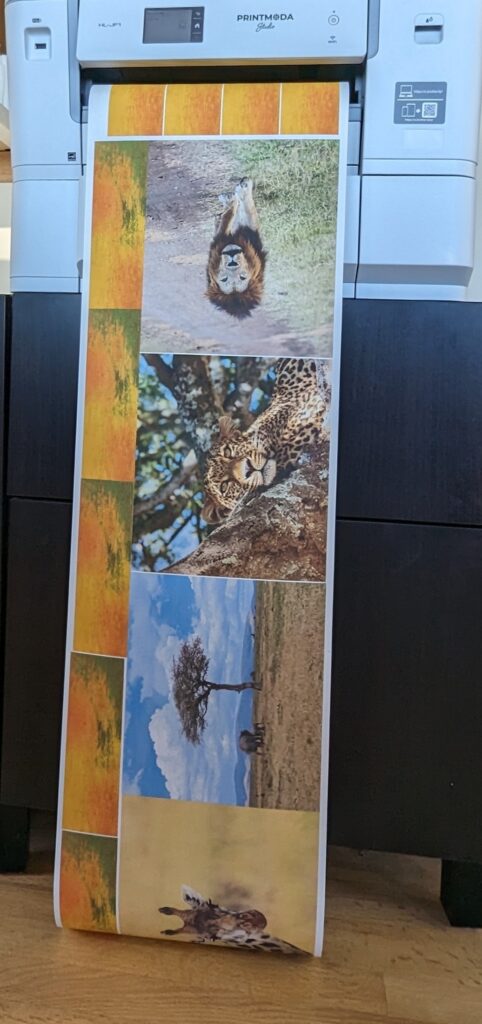
I was lucky enough to be able to go to Kenya in 2022. Of course, with the PrintModa, I wanted to check out how it prints photos. I found, when printing, you have a choice of either rich color printing (vibrant) or eco mode (light). I was amazed at the vibrant color saturation.
Want to know more about this wonderful printer? Then, read on to see what’s included with the printer, how to set it up, and how to integrate it into your creative life.
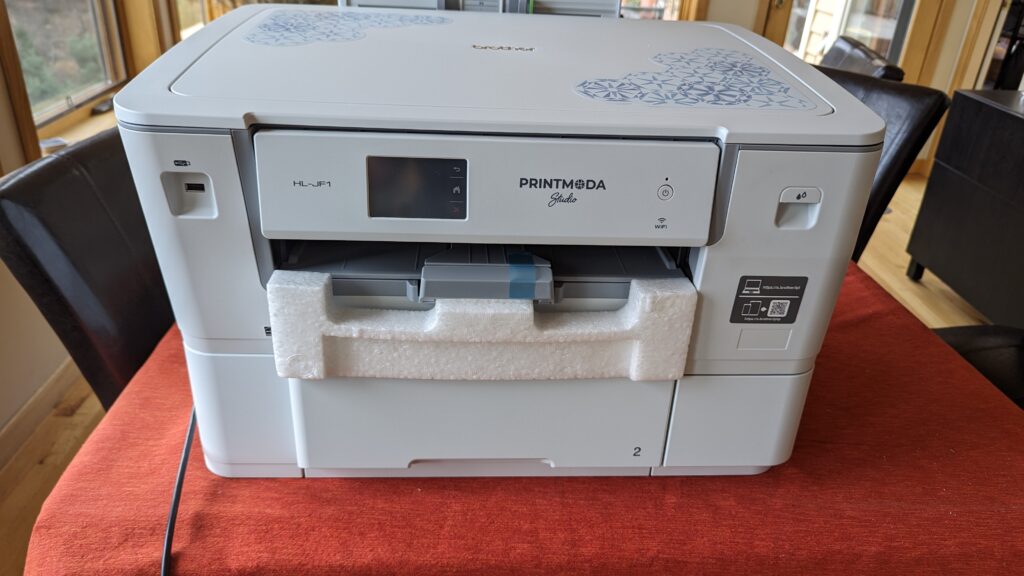
What’s in the Box
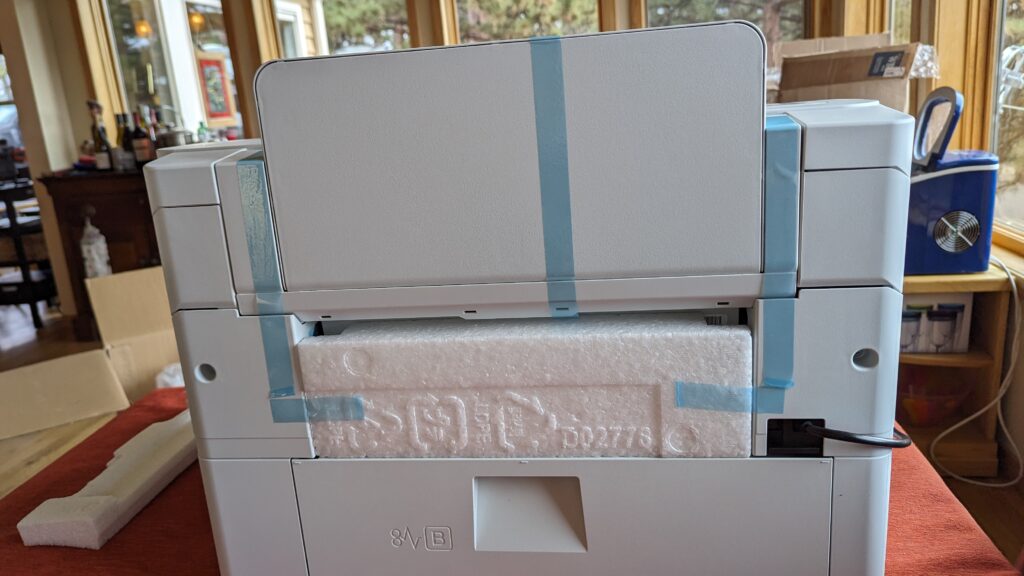
I must admit, the printer is big and pretty heavy (~50 lbs). The printer is well and securely packaged with Brother’s blue tape holding things in place for shipping.
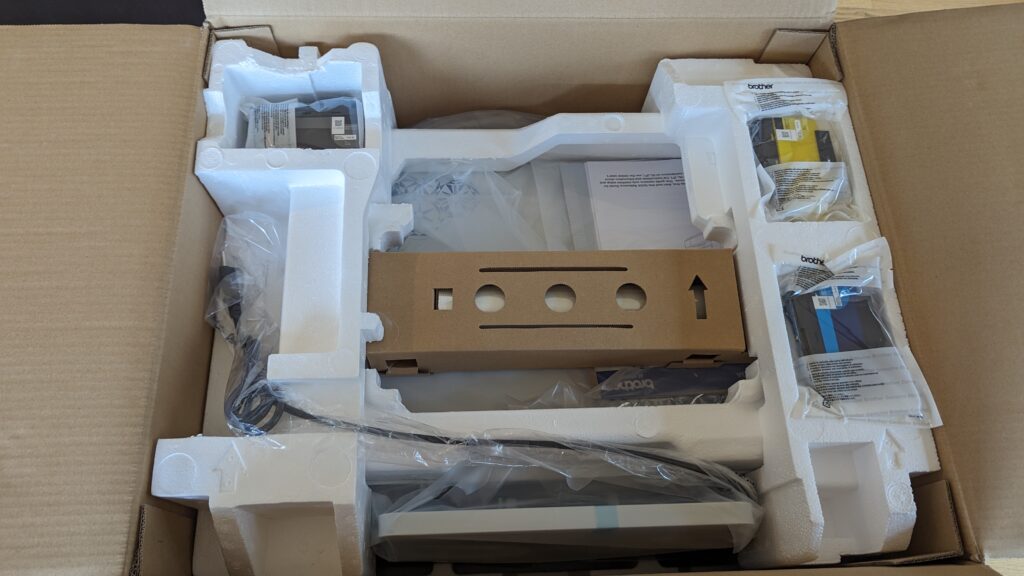
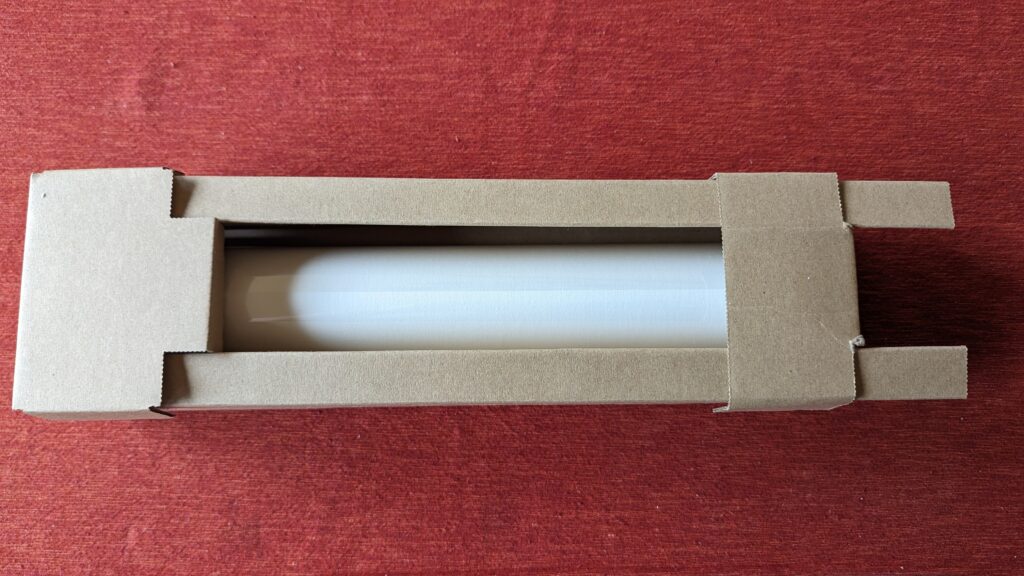
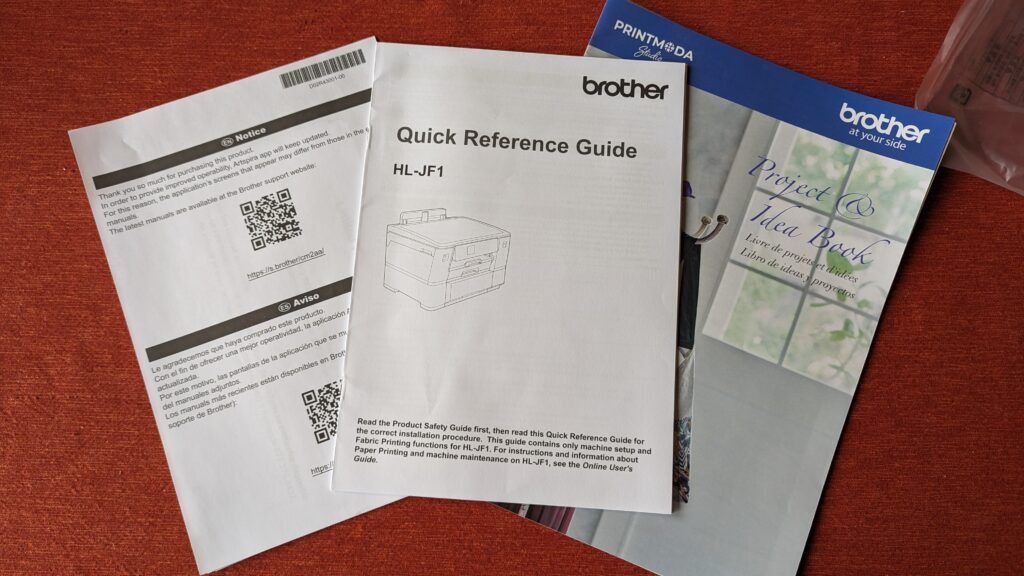
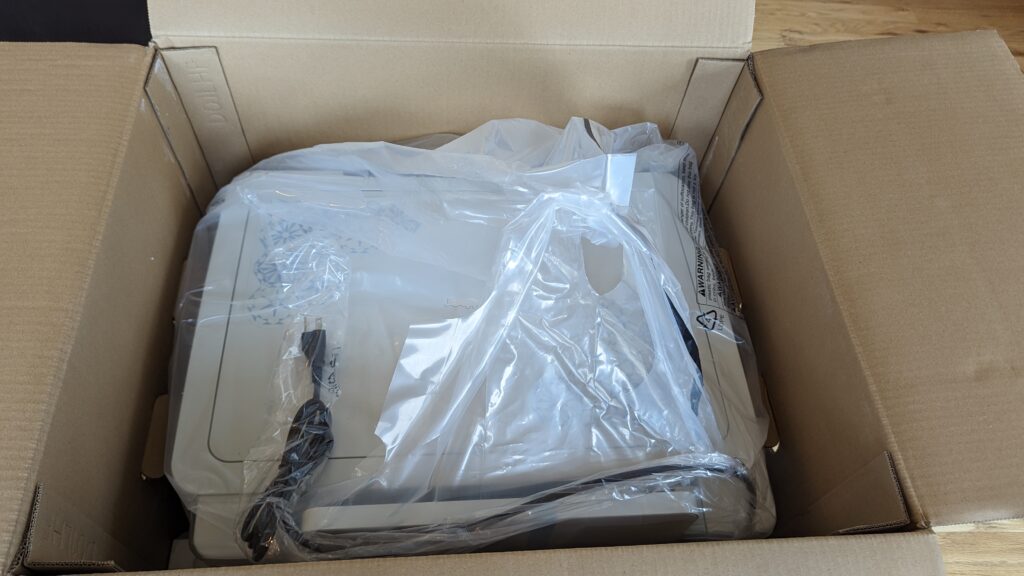

PrintModa comes with a starter Brother Genuine LC400 Series CMYK ink cartridge set, a starter printable cotton fabric 11.6” × 1.4 yards (or 50”), a Getting Started Guide with three intro projects, and a trimmer on the back for easy trimming.
Print Moda Set Up
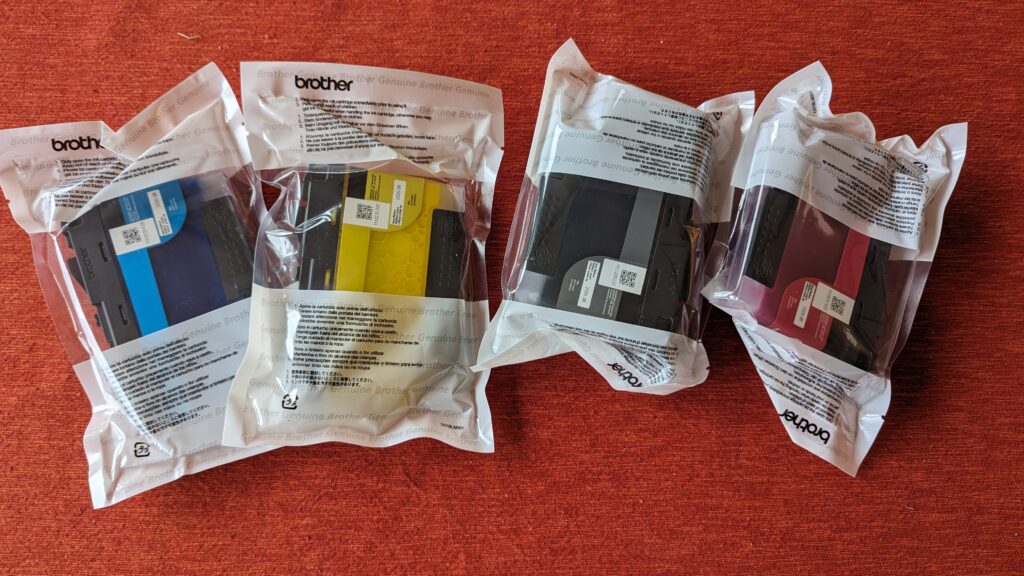
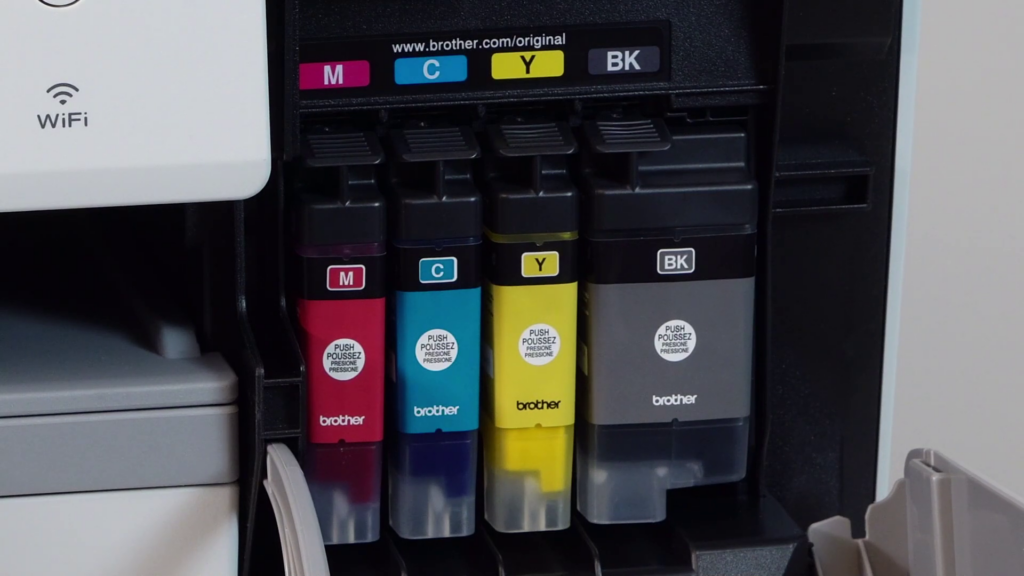
Print Moda Ink
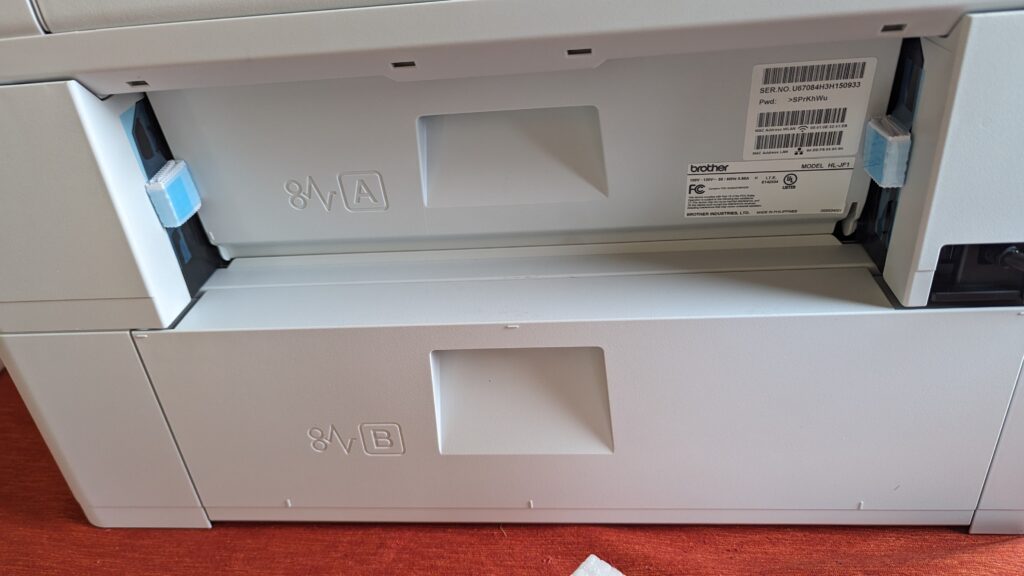
Once unpacked and “untaped” it’s time to set up the printer. Before turning the printer on, install the included starter ink cartridges. Follow the step-by-step instructions on the LCD screen for easy installation.
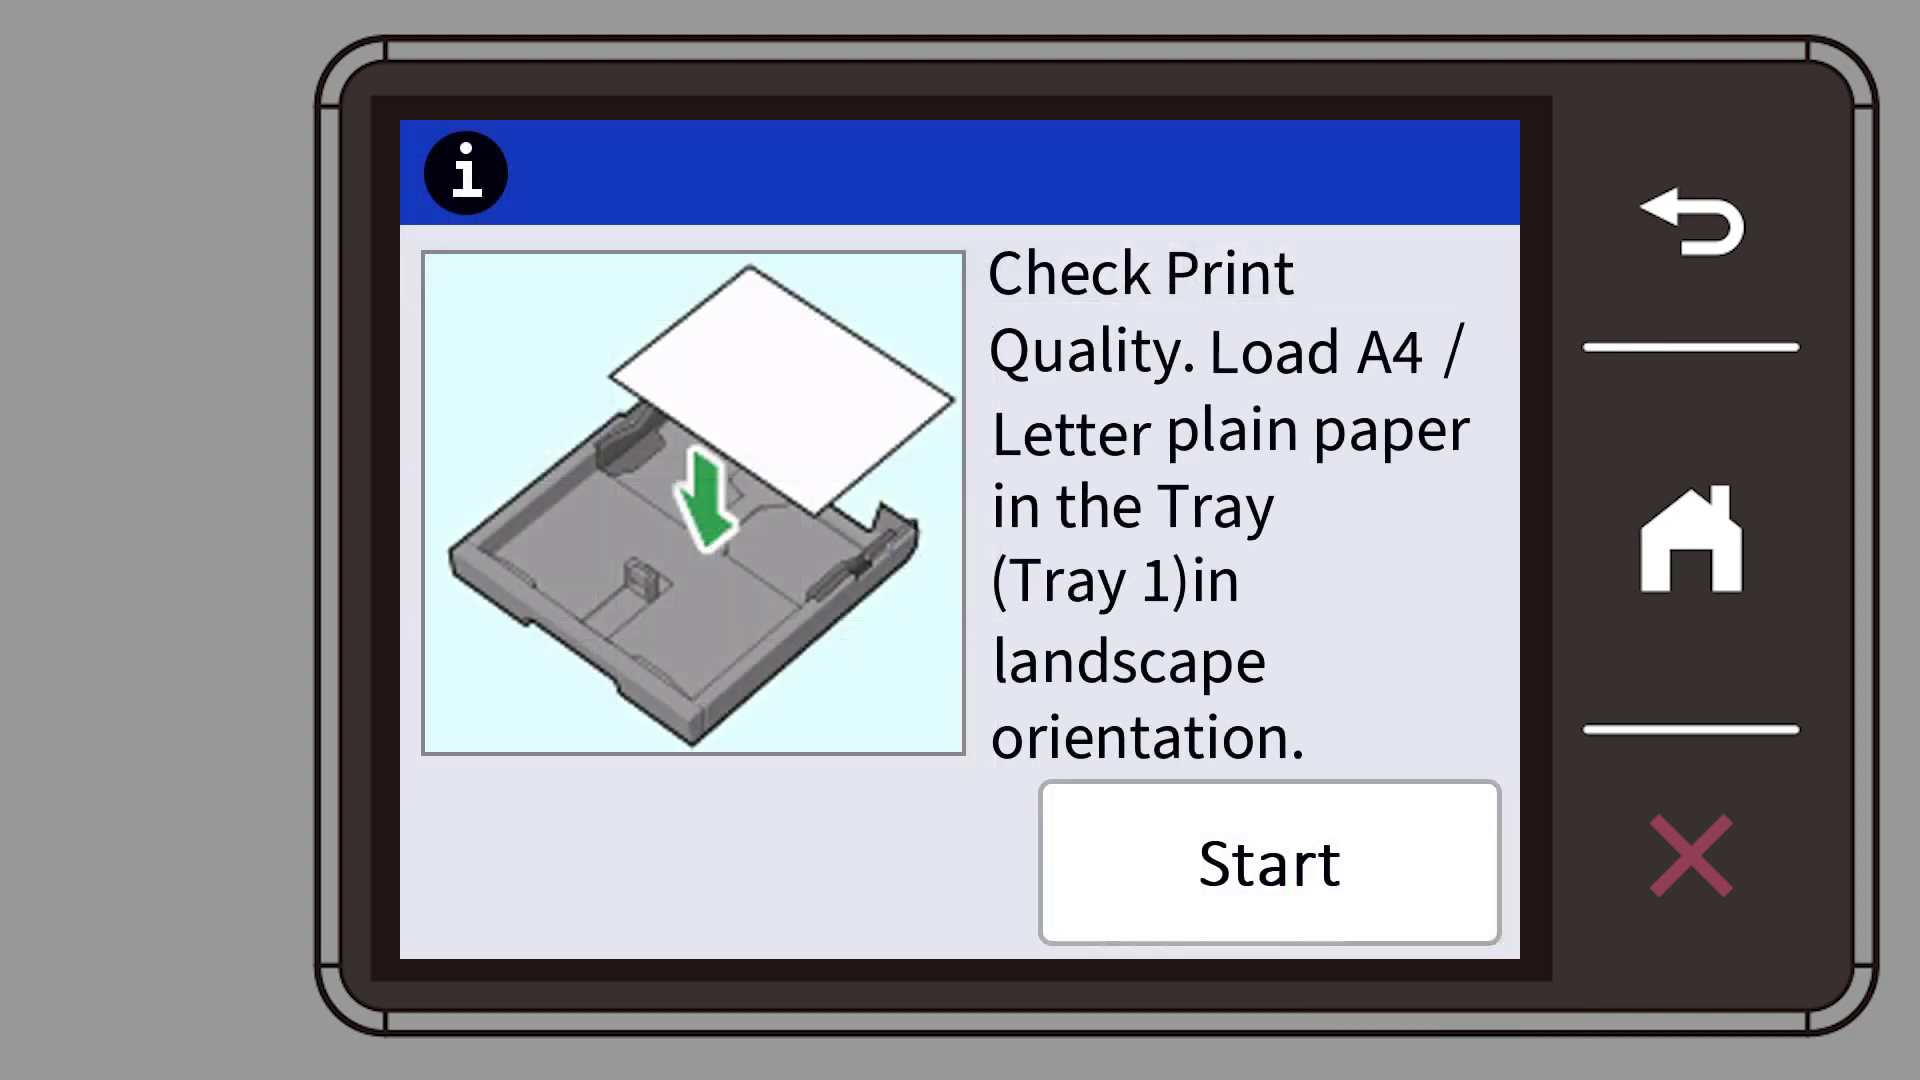
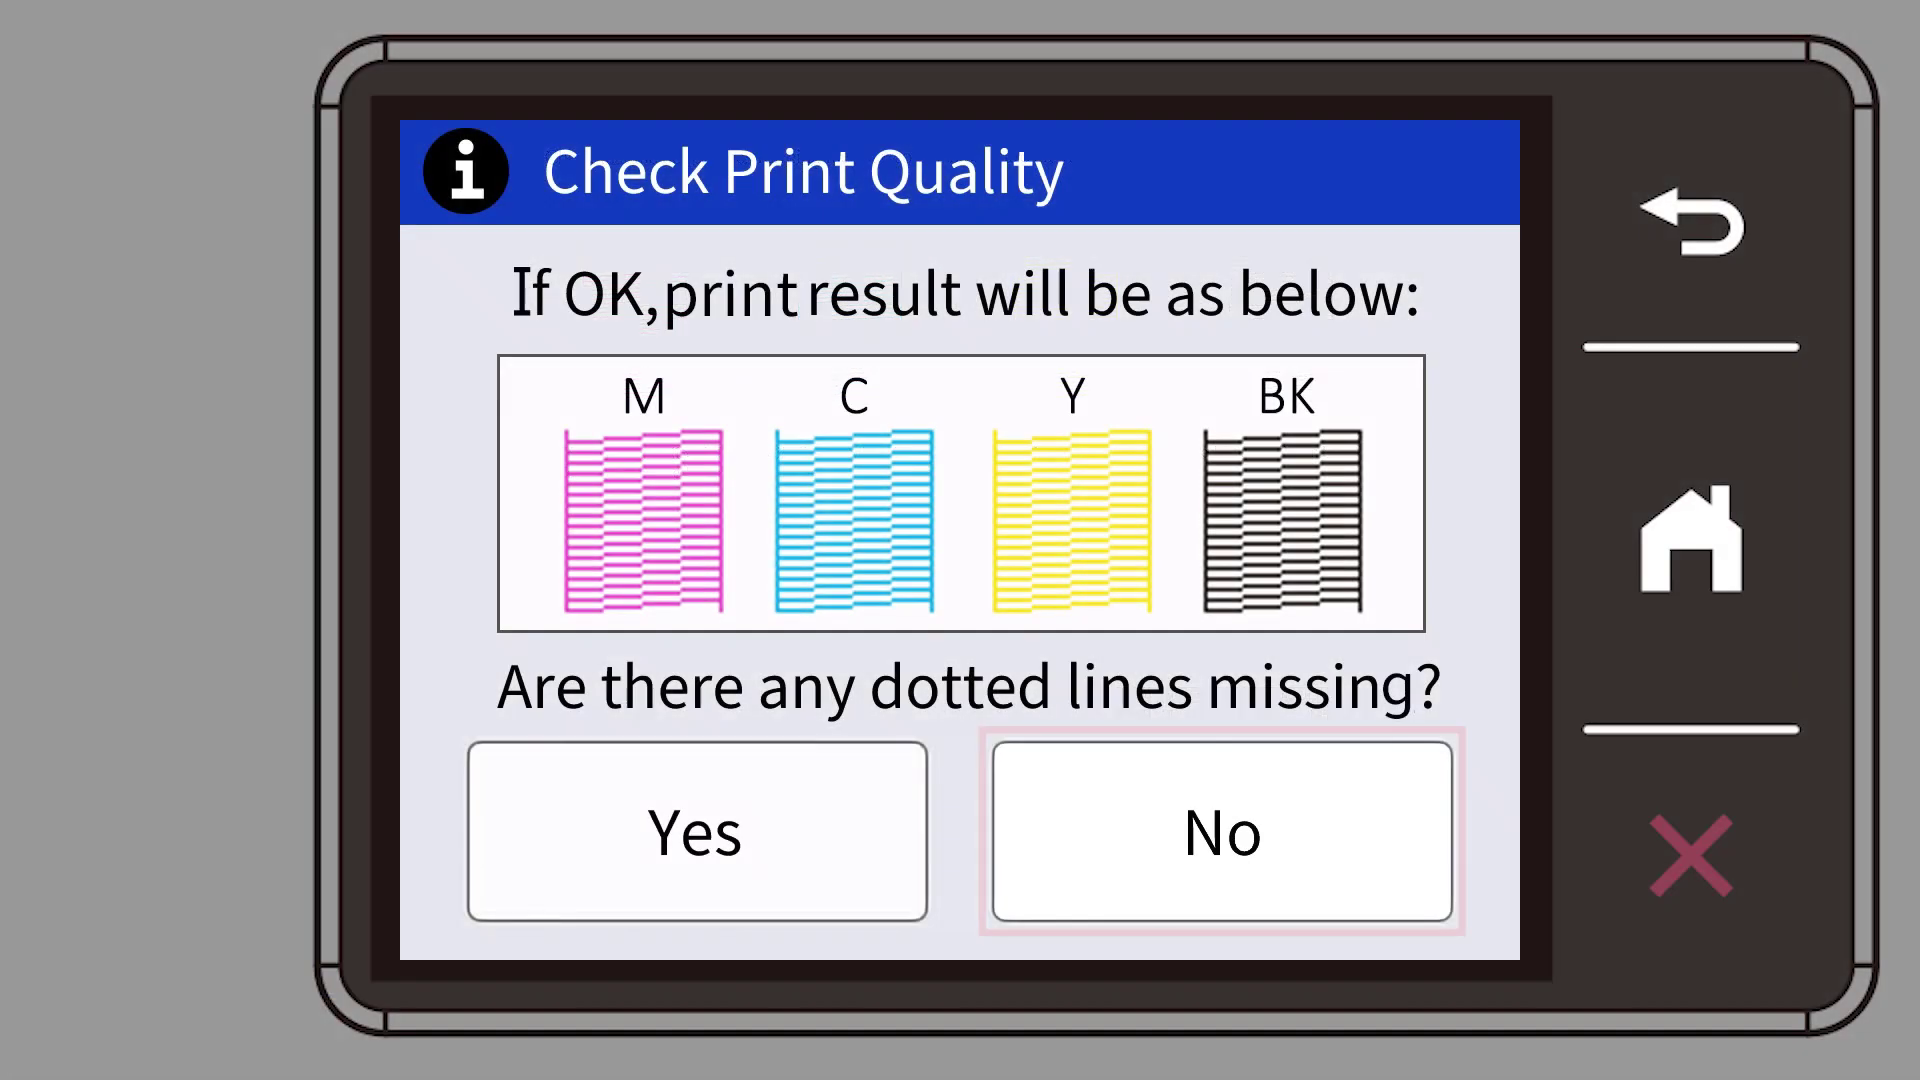
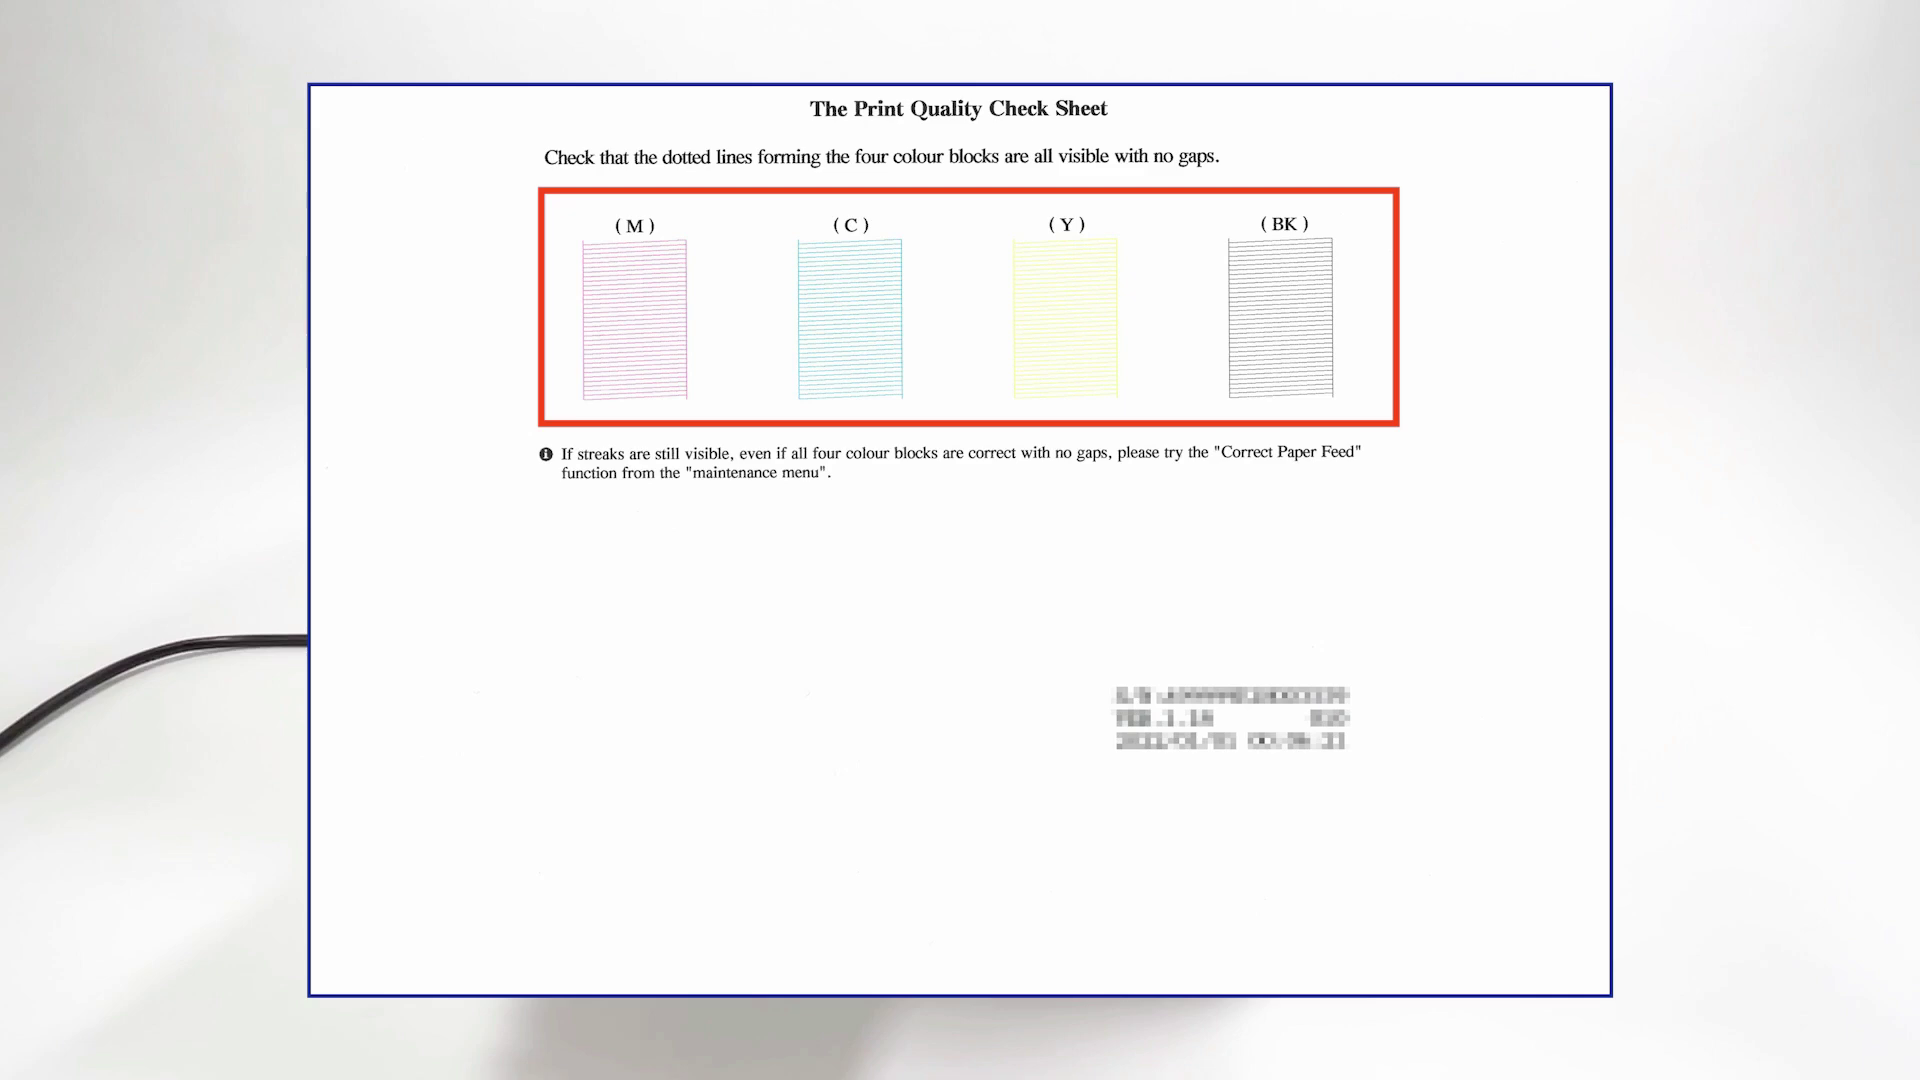
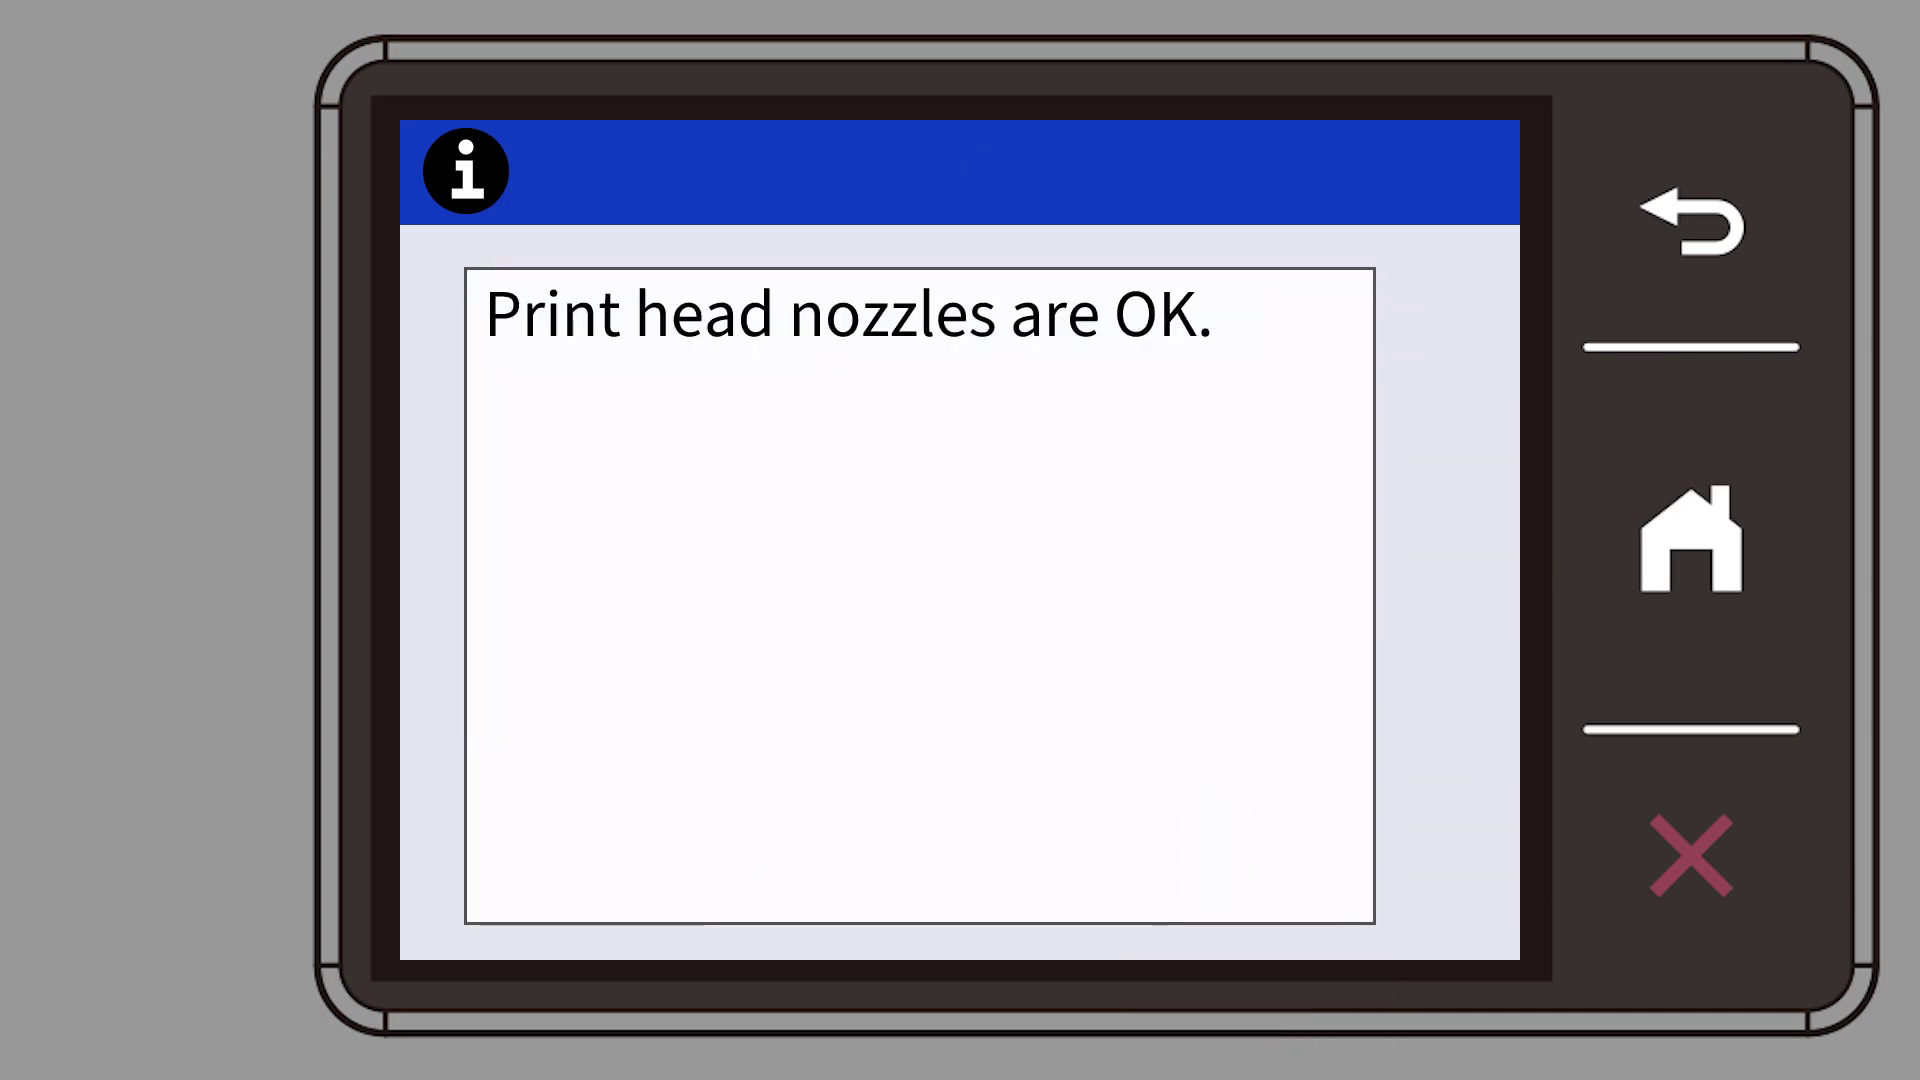
Click on the link to watch a Brother video with great instructions on the complete setup. The instructions are also available on the LCD screen of the printer, and illustrate setting the date and time and checking print quality.
Installing the ink is easy and the cartriges slip easily into the labelled slots.
These are not the typical starter packages with just enough ink to print a few pages. Per Brother’s web site, the starter cartridges should print 250 pages of 8.5″ x 11″ paper or 44.6 yds of fabric (11.67″ wide). Of course, once you replace the starter cartridges, you can print up to 5000 pages (8.5 “x 11”) with the high yield ink tanks (1,500 pages with standard yield tanks). My math tells me that translates into over 800 yds with the high yield cartridges, and over 250 yds with the regular yield cartridges.
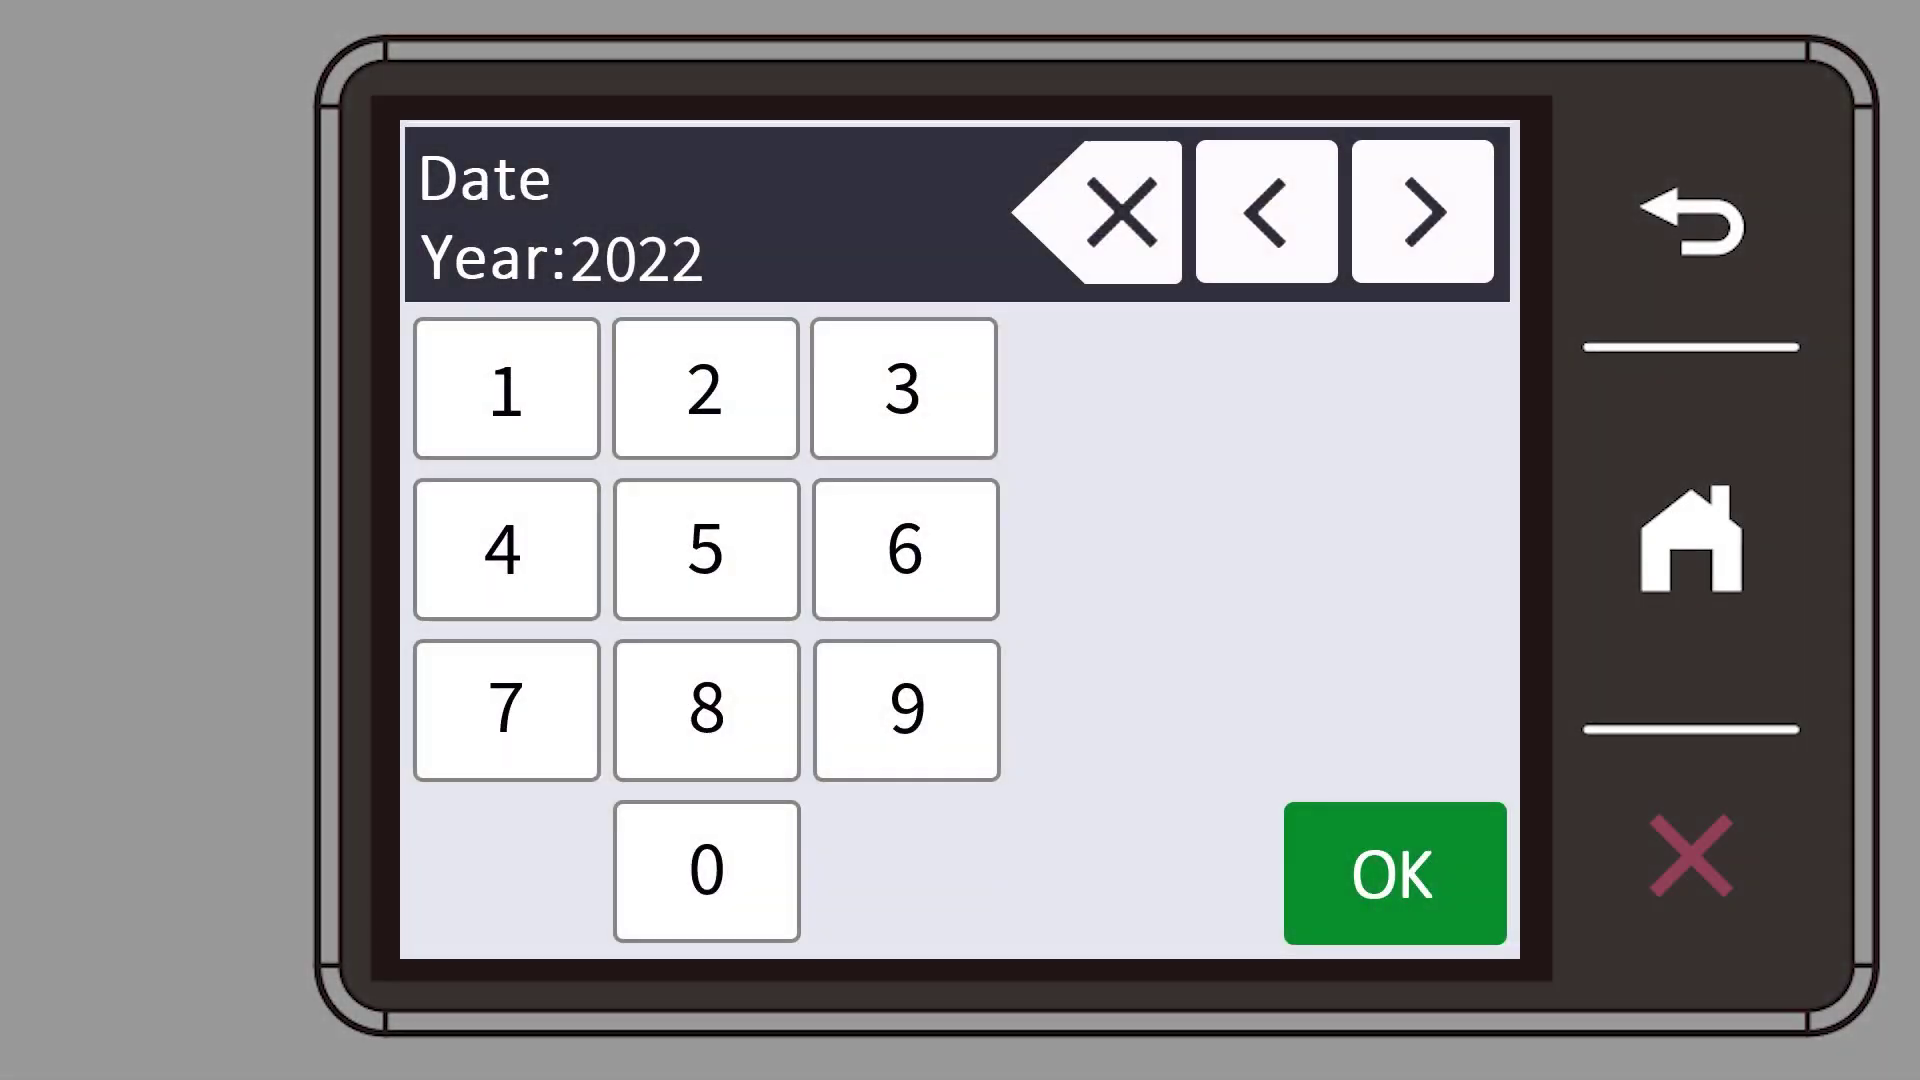
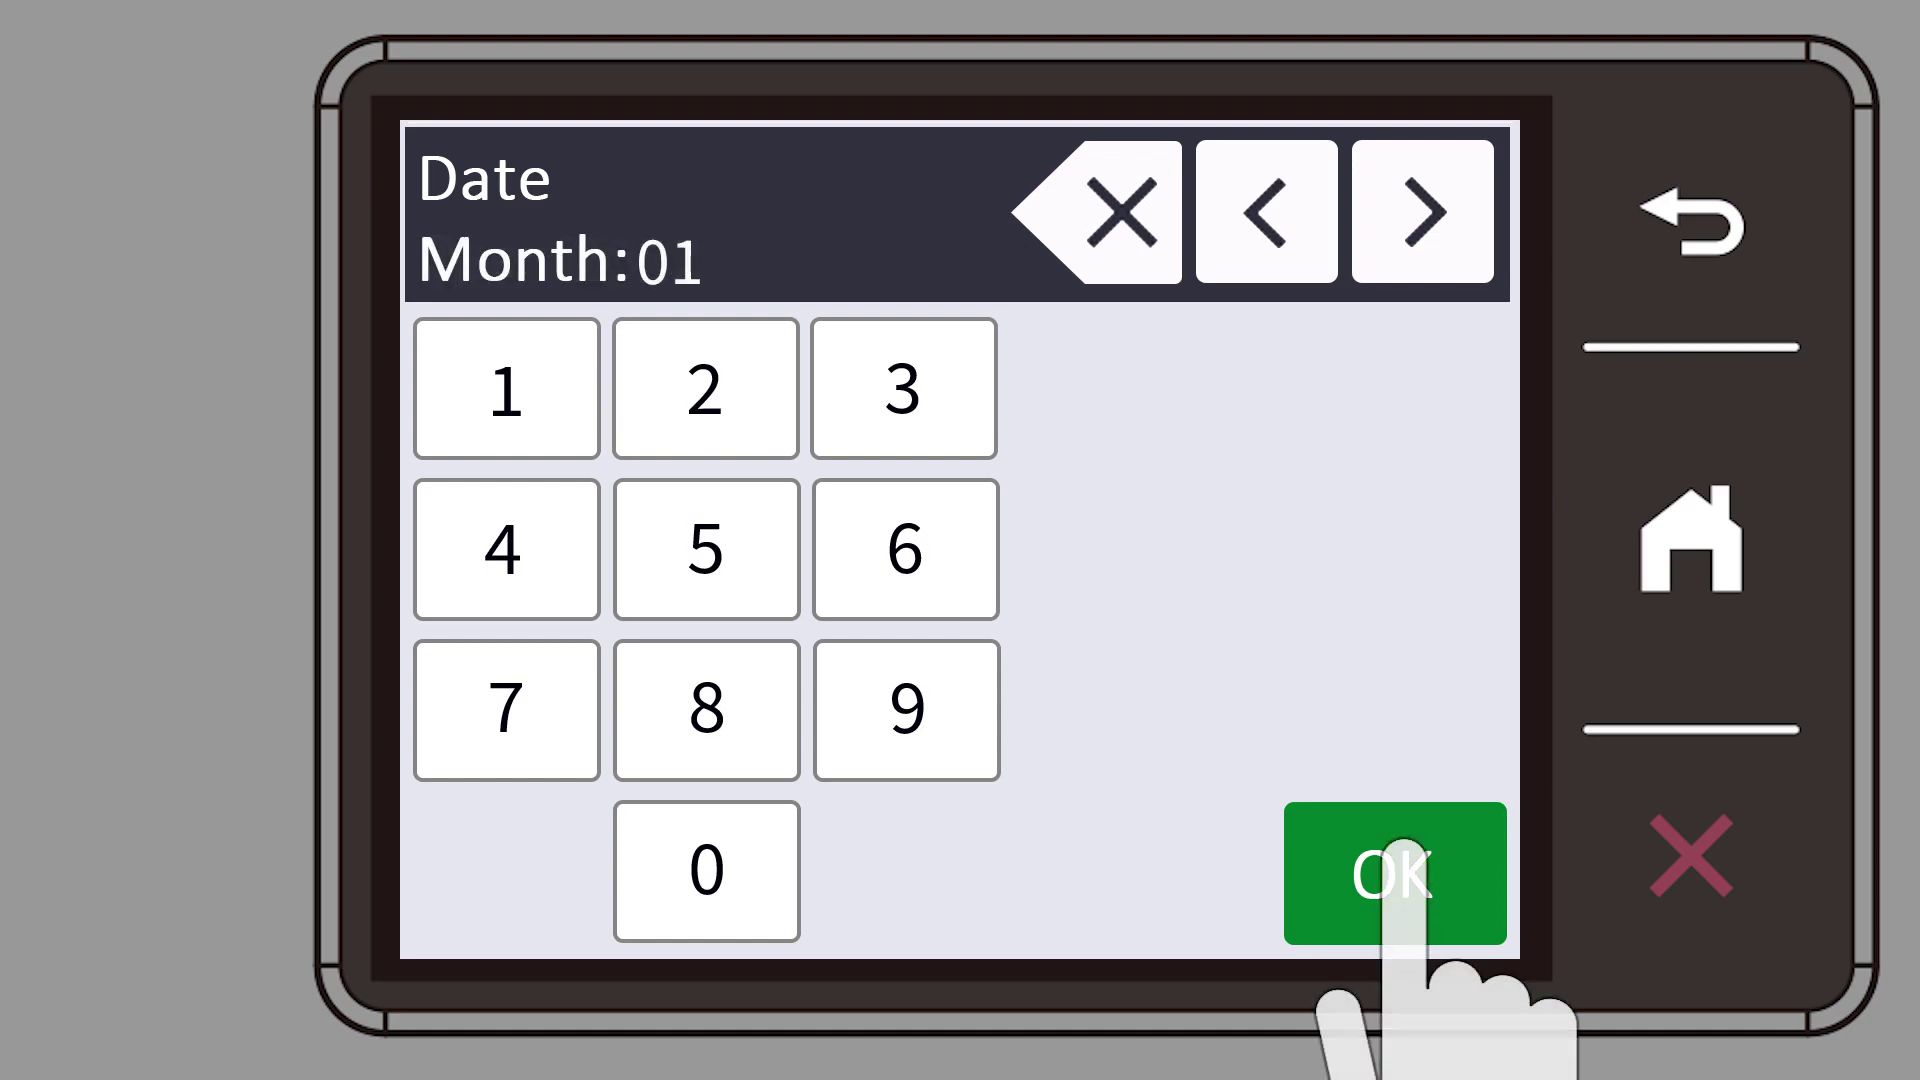
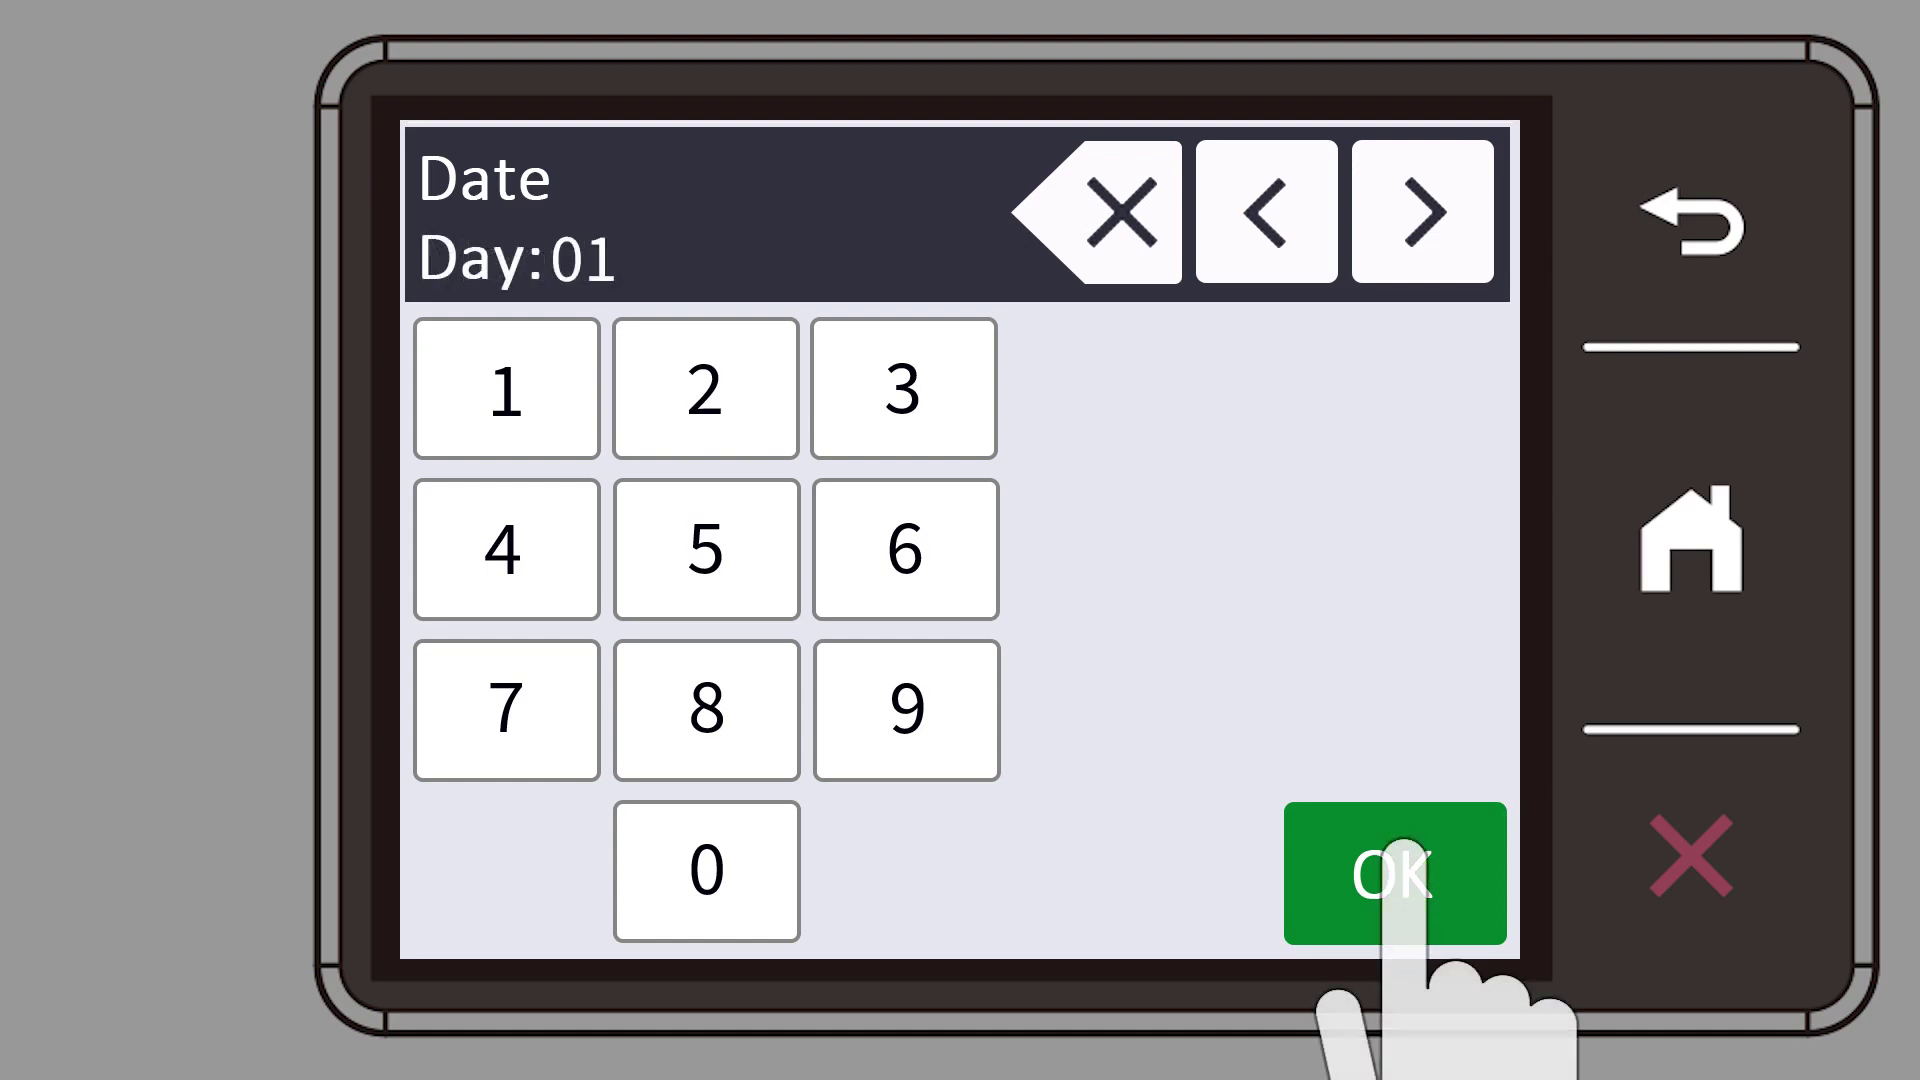
Date and Time
Once you turn the printer on for the first time you will be prompted to set the date and time.

PrintModa Trays
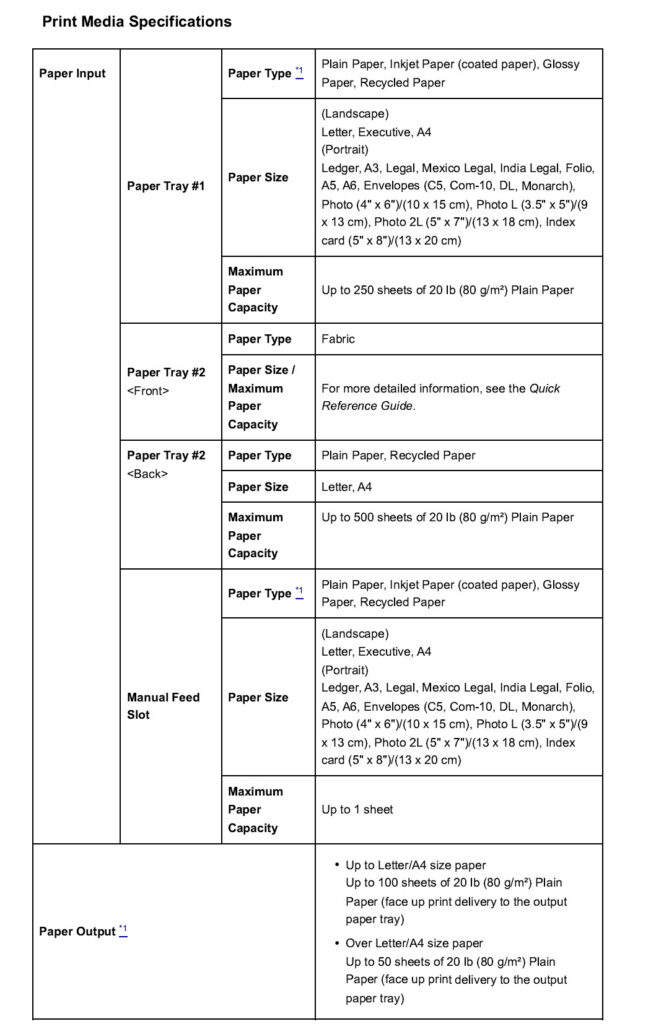
Once the ink is installed, and the date and time set, next install the paper trays. The PrintModa machine has two paper trays and one manual feed. Take a look at the flexibility of printable paper sizes:
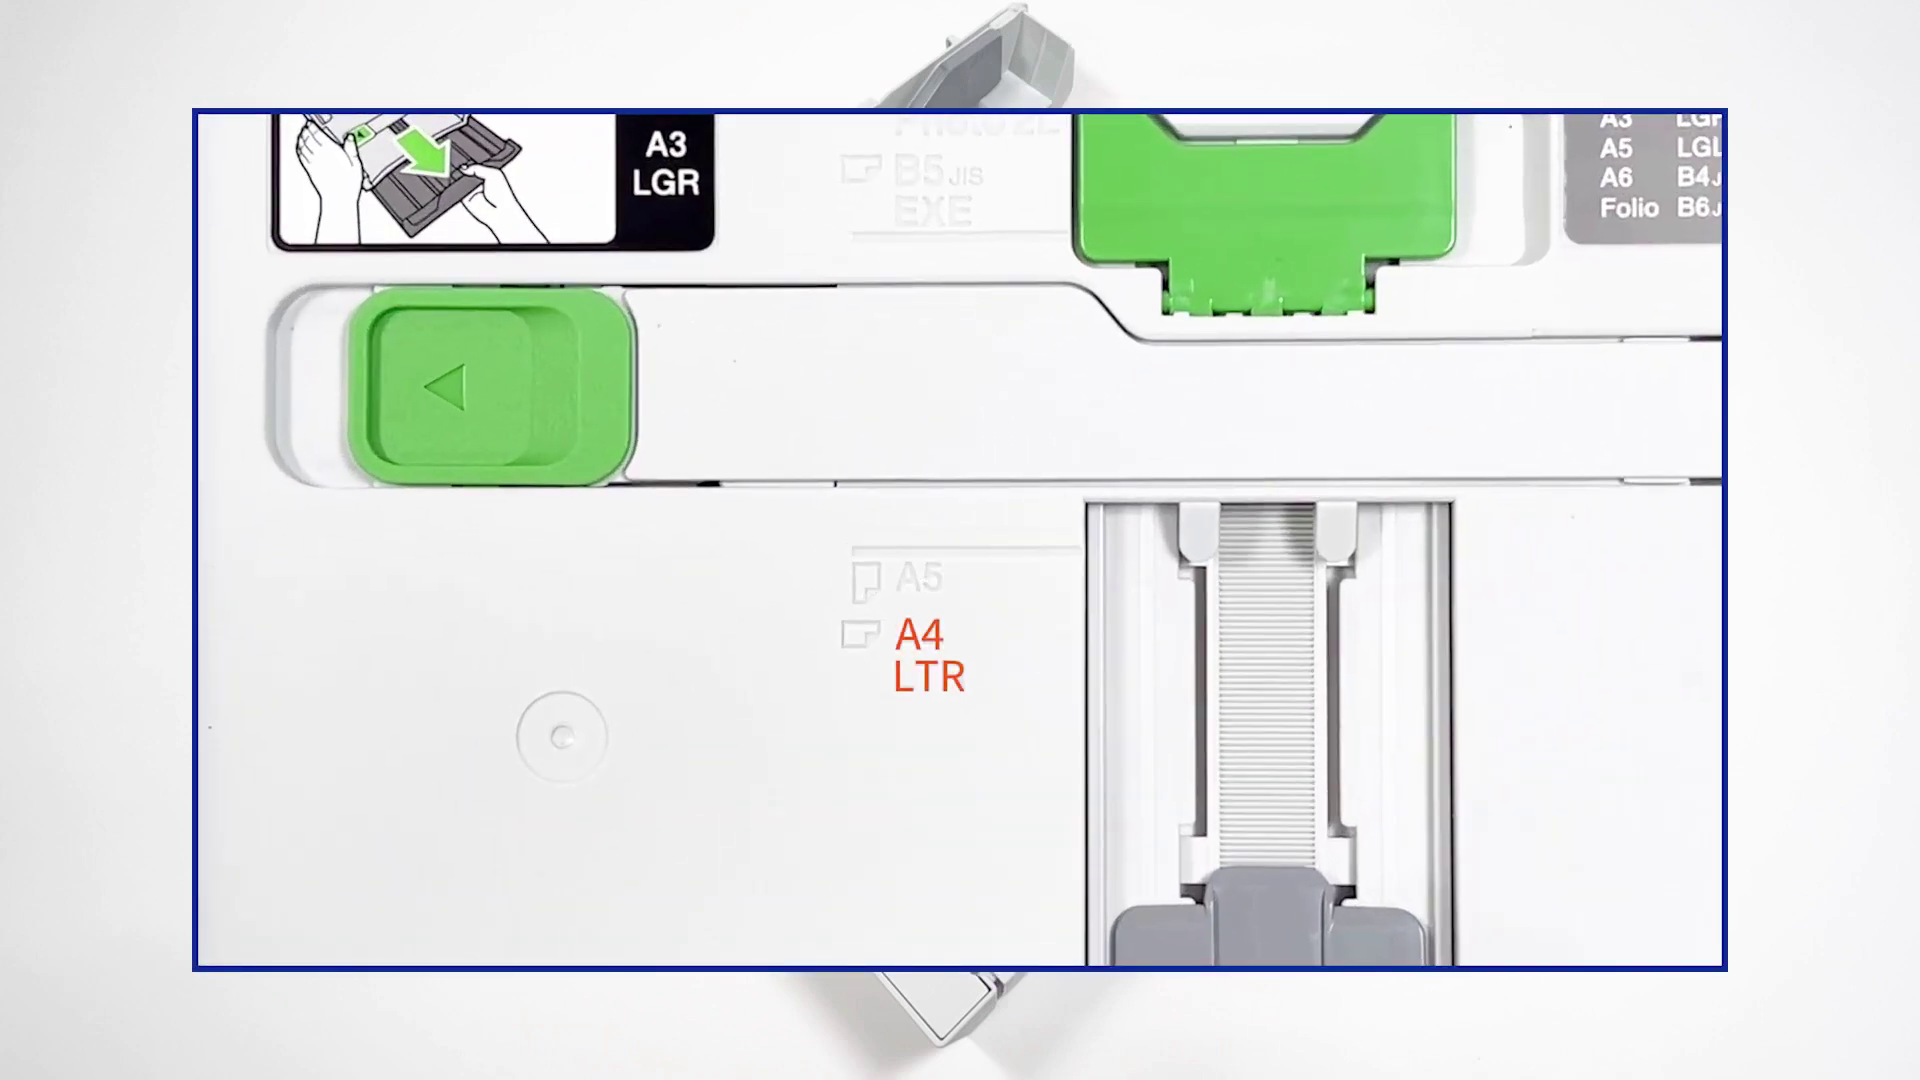
Tray #1
Tray#1 has adjustable tabs to hold the different paper sizes. It holds up to 250 sheets of 20lb paper.

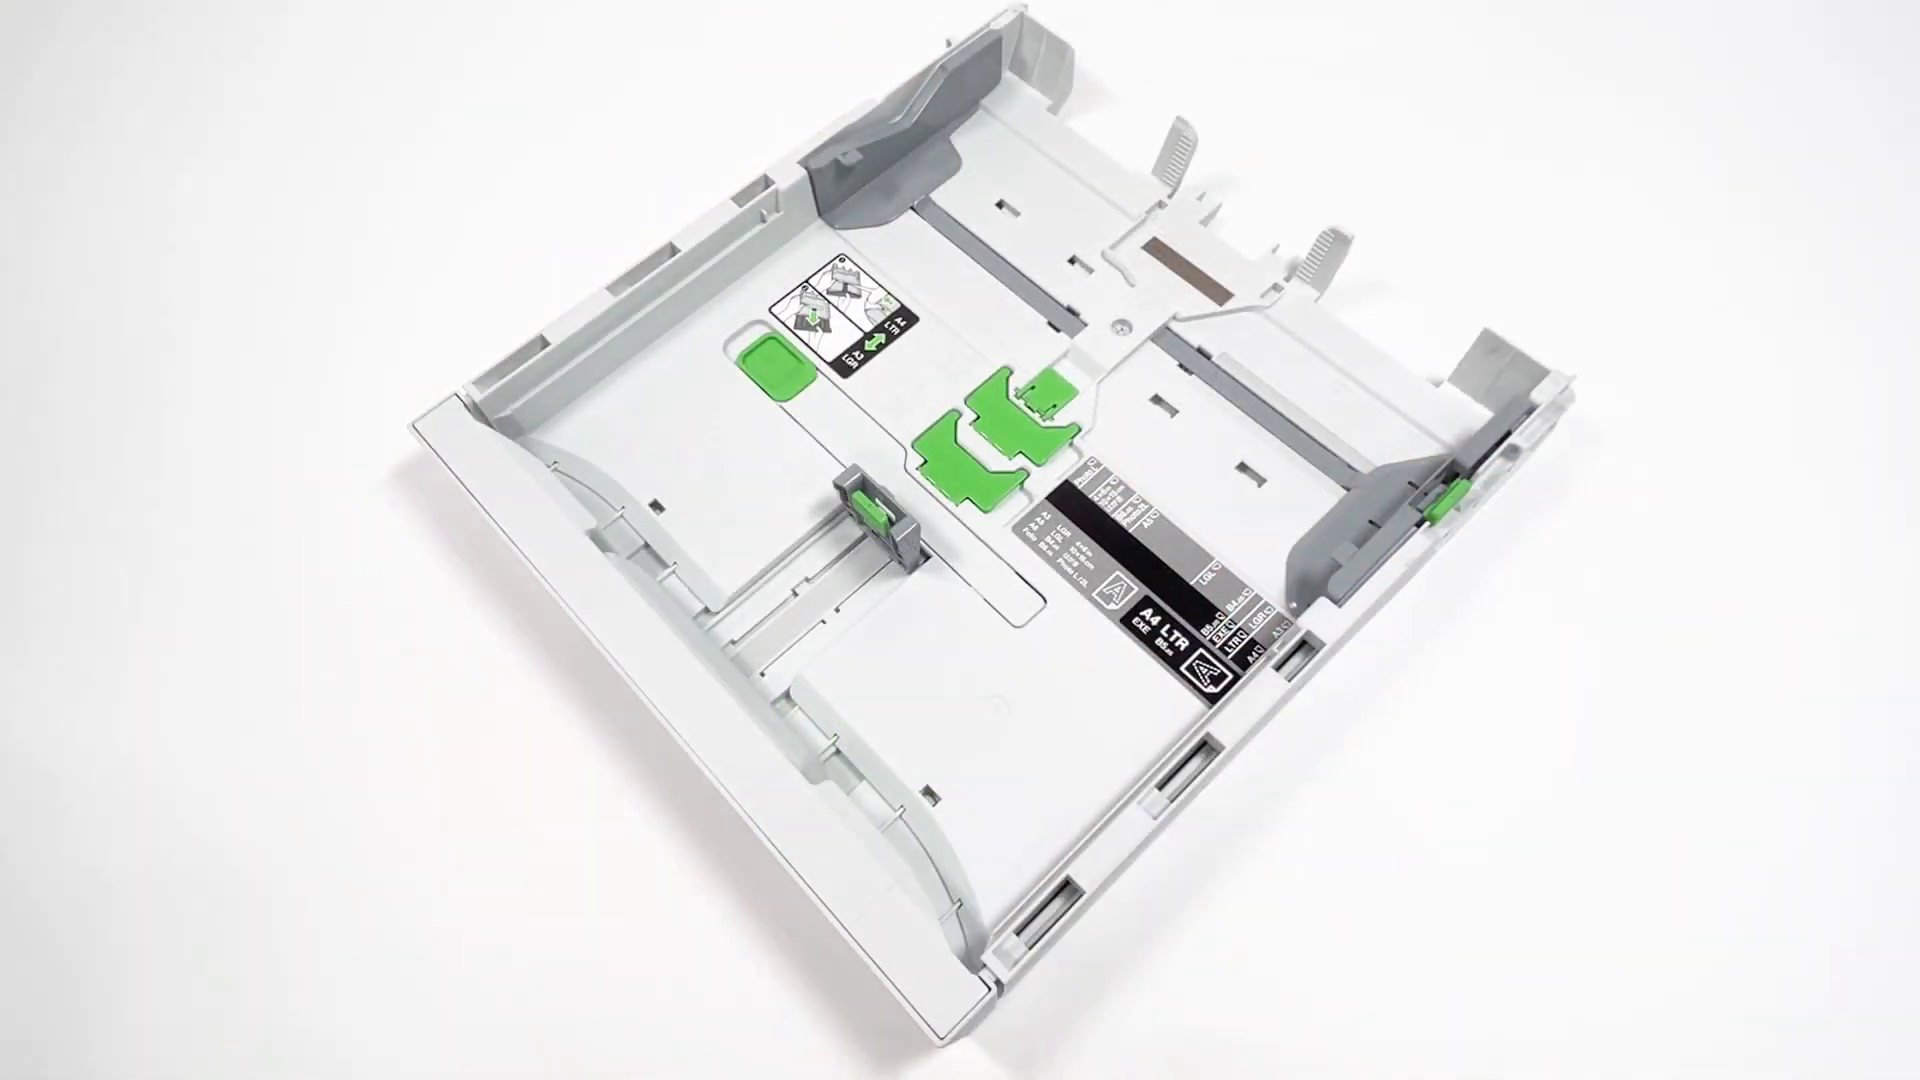
With 8.5″ x 11″ paper loaded into Tray#1, continue with the set up to check the print quality.
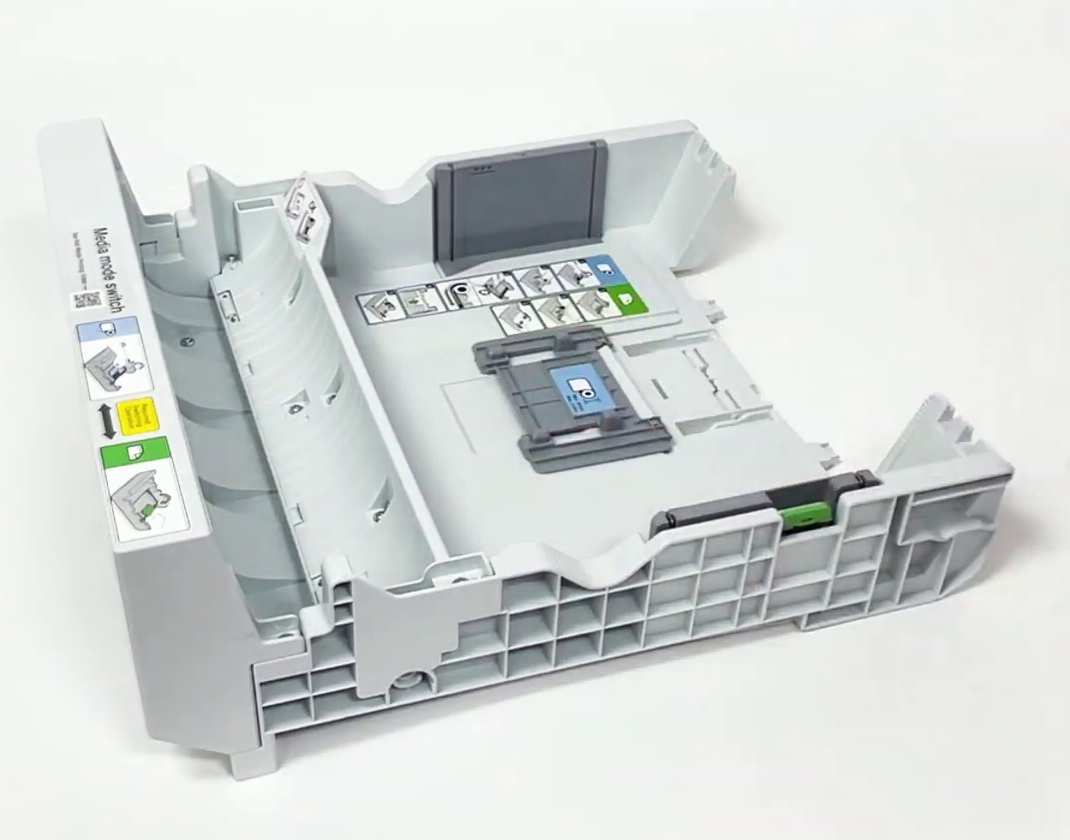
Tray#2
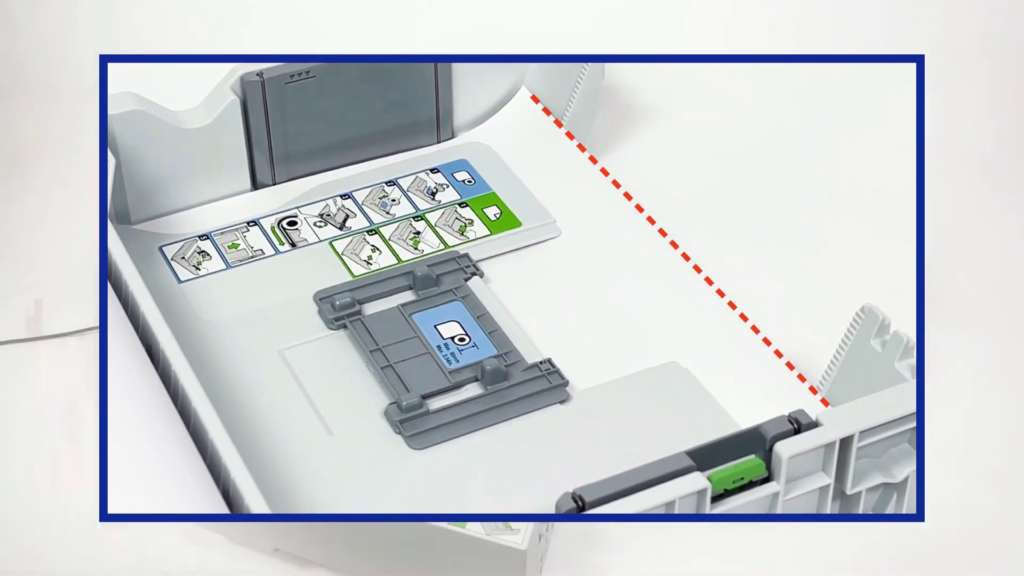
Tray#2 can handle either paper (up to 500 sheets) or the fabric roll, but not both at the same time. Flip the tab in the bottom of the tray to indicate whether the tray holds paper or the fabric roll accordingly.

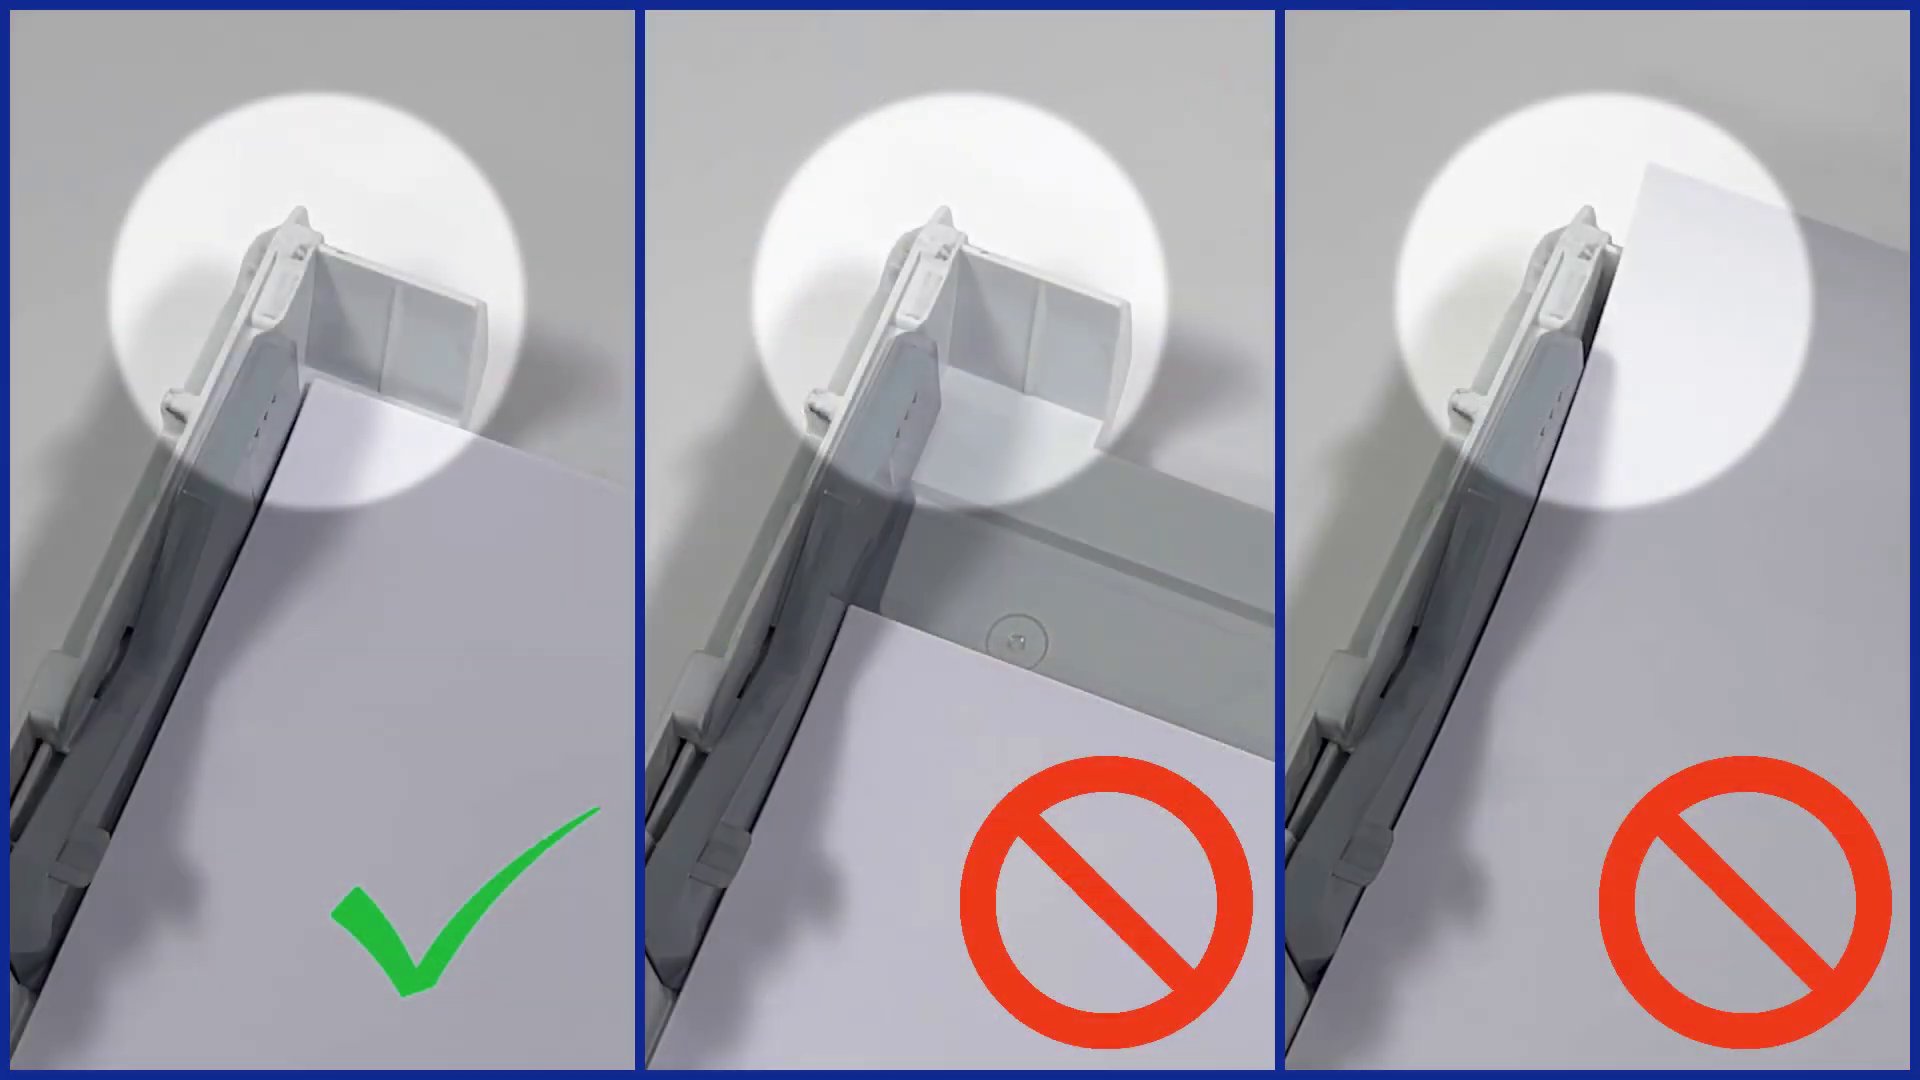
Loading the fabric roll is easy, just make sure the edge of the roll is all the way up in the tray.
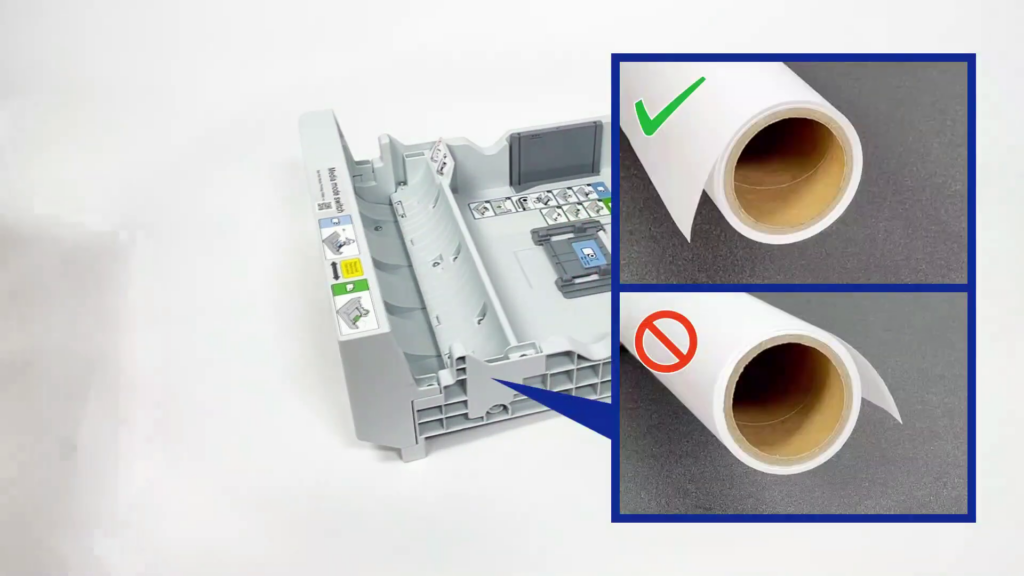
Note, if you open the tray after installing the paper roll, be sure that the edge of the roll is all the way to the back of the tray before closing the tray as it slides back when the tray is opened.
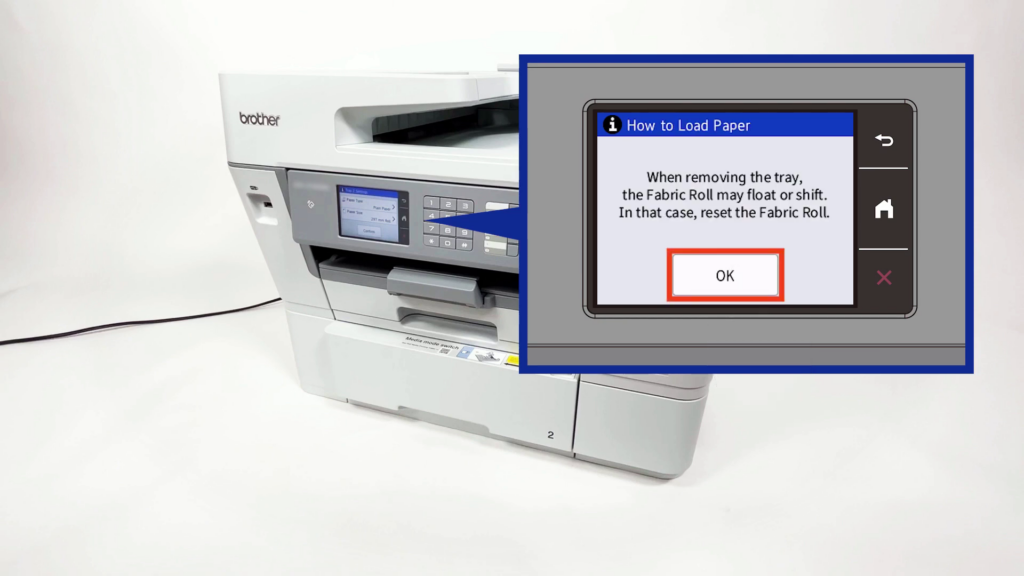
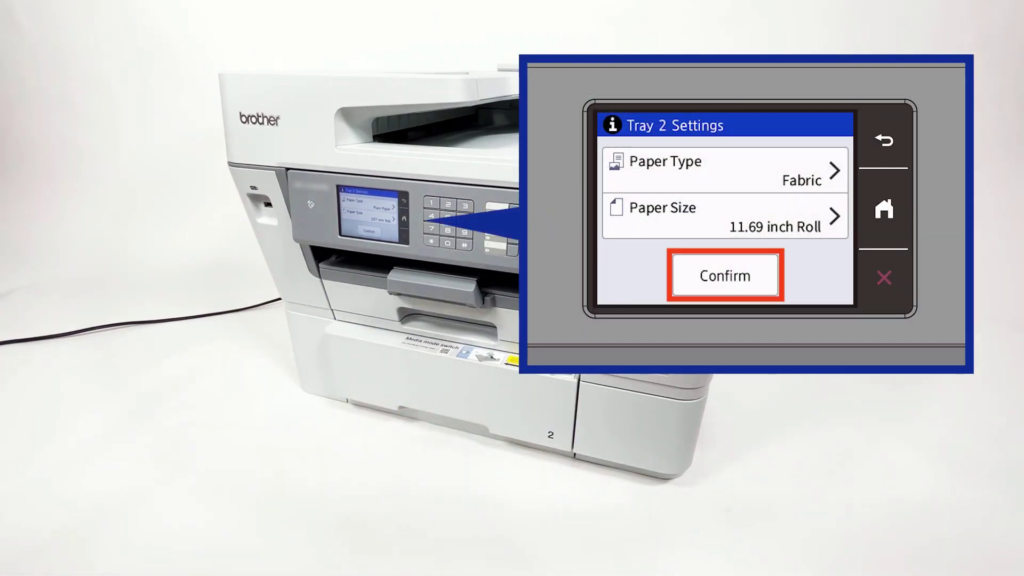
As soon as you open the tray, the LCD screen so you can verify the contents of the tray.
Networking
The PrintModa has wireless capability. This gives you more creative freedom as you can connect to a Brother Wireless enabled sewing or embroidery machine or even one of the ScanNCut DX machines to take your creations to a whole new level.
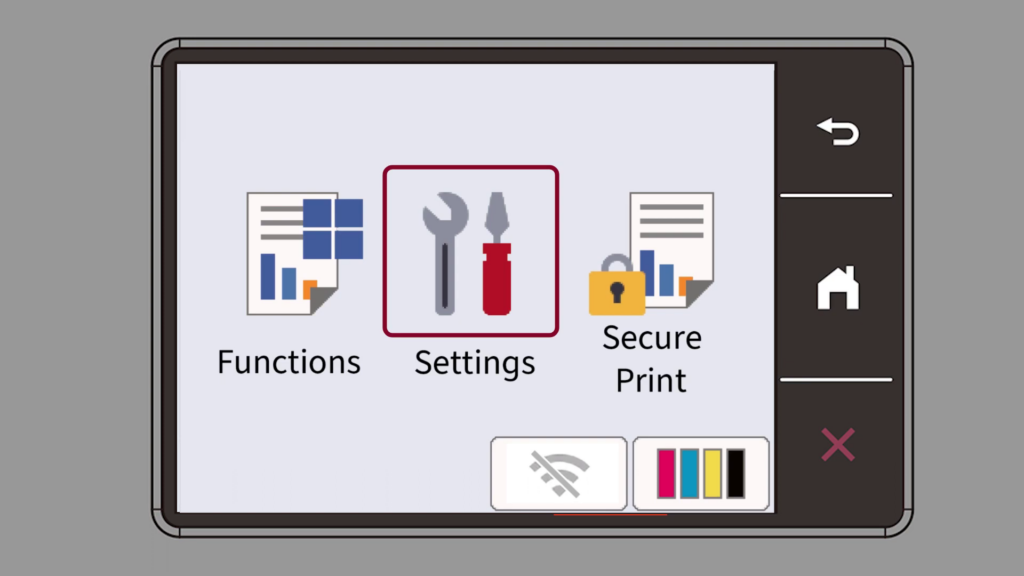
Firstly, select Settings from the home screen to add the printer to your home network.
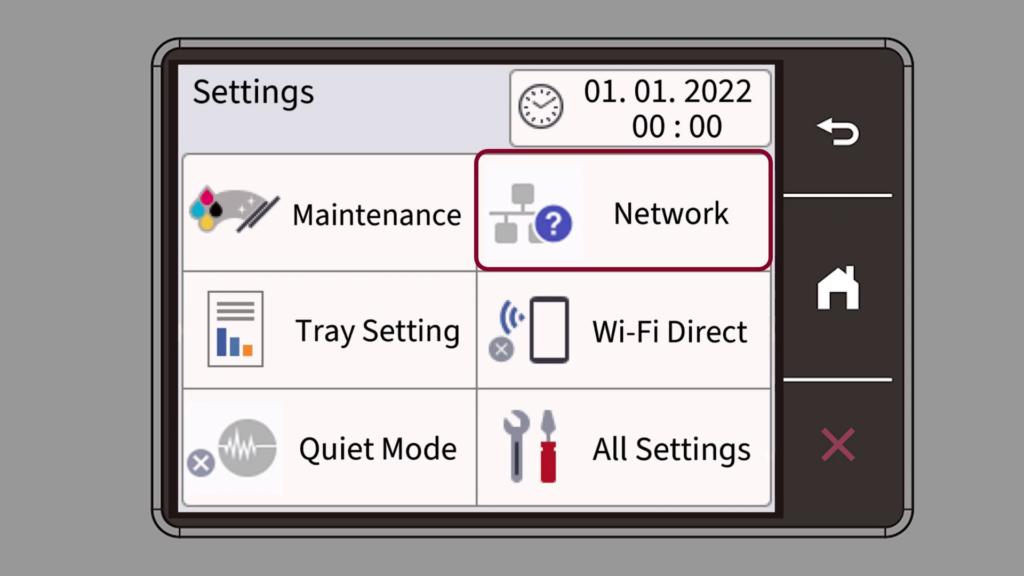
Next, select Network.
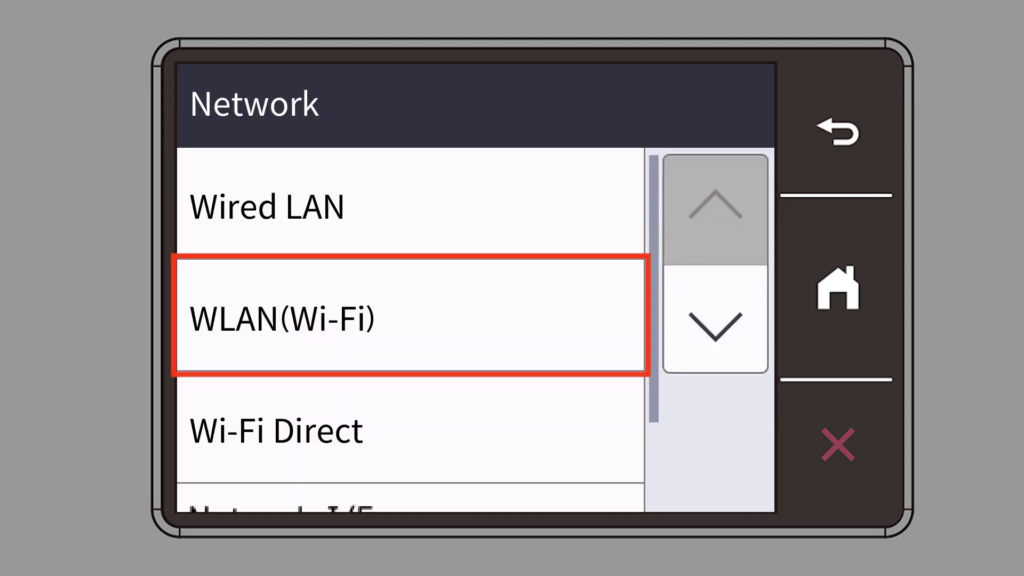
Select WLAN(Wi-Fi) from the list.
Choose Find Wi-Fi Network.

Select your home network from the list.
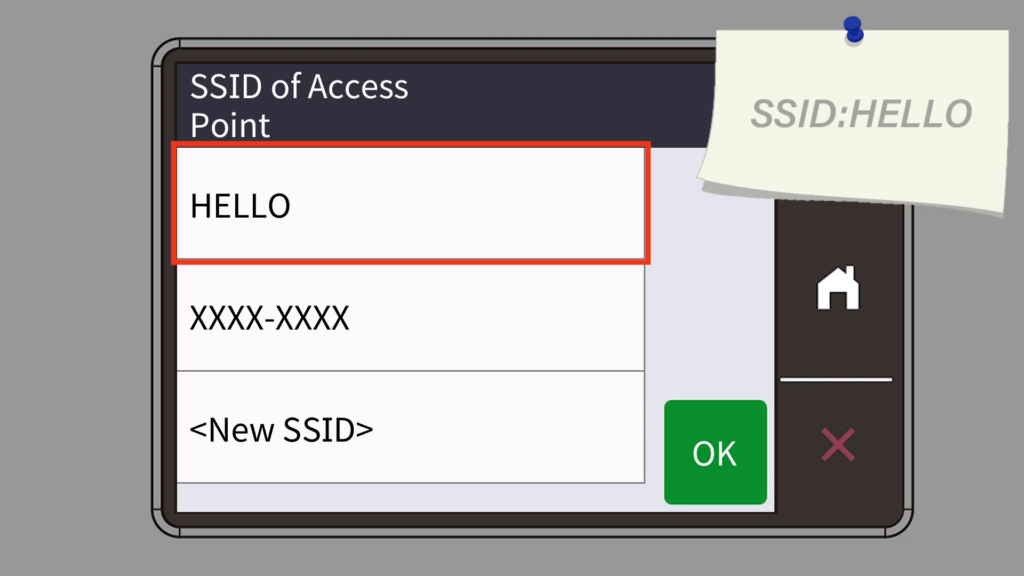
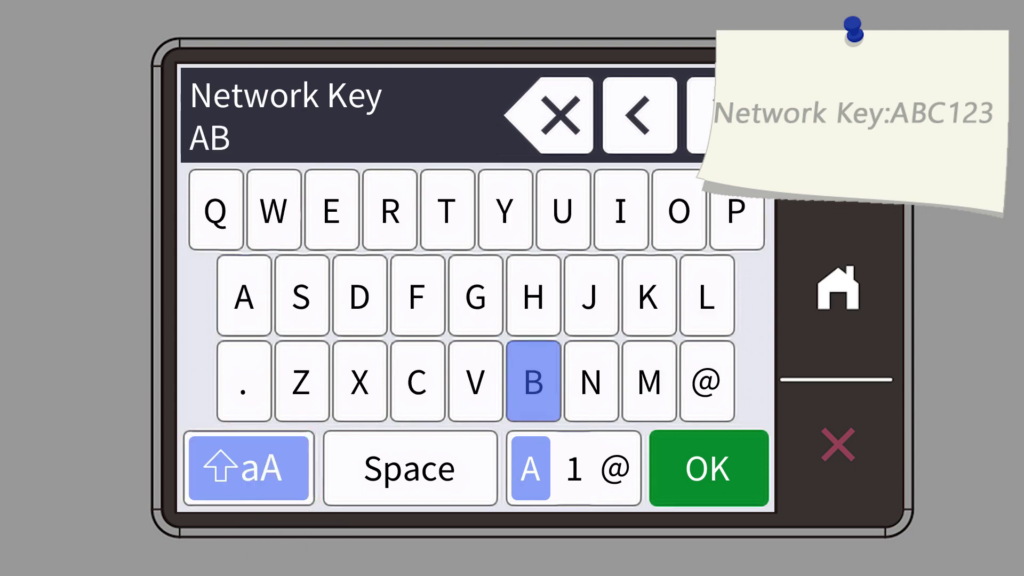
Type in your Network Key (Password).
Click on OK when finished.
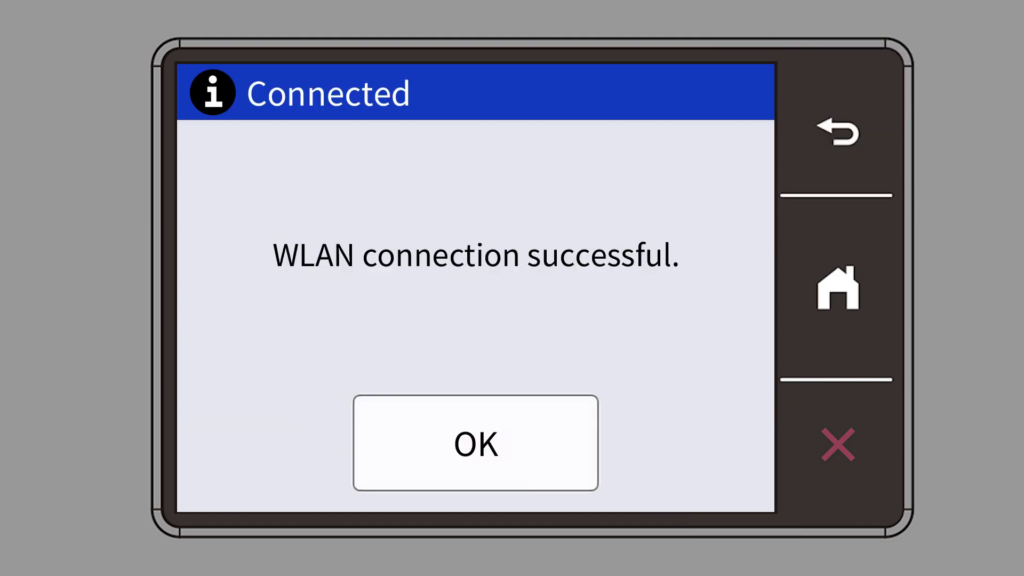
Finally, verify the connection is successful.
Intall the Printer for the PrintModa on your computer.
Use the printer driver for your computer’s operating system by downloading it from Brother’s website. With the driver installed, use the print feature of any application to print from your computer in the sizes listed in the table above.
Brother has a great User’s Guide online that will help with most questions you might have as to setup and use.
Artspira1 Integration with PrintModa
Link the PrintModa to the mobile app, Artspira and open a whole new world of possibilities! The inventive Artspira1 App has many designs in the app, including photo frames, banners, quilt blocks in a convenient 5” x 3” size, labels, fabric patterns, and bags/purses designs and lets you edit text elements, swap out images, and change the backgrounds of the templates.
With Artspira, there are a variety of designs to choose from, and the ability to execute minor edits, such as editing text elements, swapping out images, and changing the backgrounds of the templates. All done right on the screen. Then, designs and artwork can be wirelessly transferred to PrintModa for printing.
Undoubtedly, with your imagination, the possibilities are almost unlimited with the only limitations being size. The maximum width is 11.69″ and the maximum length is 106.3″. Notably, the printer has a built in cutter for the roll fabric and thus, has a minimum length of 8.25″. Therefore, if you print something smaller on fabric, like a 4″x6 “photo, the 4″x6″ photo will be on a 11.67x 8.25″ piece of fabric. So plan your prints accordingly, combining items you are printing to maximize fabric use. In the photo below the printed fabric was 54” long!
See The PrintModa For Yourself!
I’ve sent samples of the above to our four locations, so stop on by and see them in person. Then talk to one of our great sales staff to see if this printer is right for you and your sewing/embroidering/crafting needs. I think the revolutionary PrintModa Studio Fabric Printer will transform your crafting and sewing experience!