You are dressed to go out. You are handing off the baby to the sitter, but want one last snuggle. Then, burp! Spit up all over your blouse! (The baby’s spit up, not yours!) Make a flannel burp cloth to keep handy, place it on your shoulder, and protect your clothes from baby’s little messes. These are so simple to whip up, yet so nice to receive. What new mother (or grandmother) wouldn’t want a lovely set of personalized flannel burp cloths for their little one?
I do make burp cloths from the pre-folded gauze ones available at Target. I like the padding in the middle of the prefolded diaper as well as the size. However, they are just plain white. Further, when you embroider them, the back side of the embroidery shows on the back of the diaper. They do make cute burp cloths, but I wanted to take it one step further and decided to use flannel.

Flannel Burp Cloth
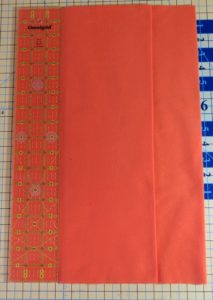
The finished flannel burp cloth will be 12″ wide and 18″ long. You need one half yard of flannel for each burp cloth, cut to 18″ x 36″. Jo-Ann’s has great sales on flannel in a variety of cute prints for a baby. You can coordinate with the nursery theme, favorite hobby of the parents, or favorite sports team. The possibilities are as endless as the supply of flannel!
Folding the Flannel Burp Cloth
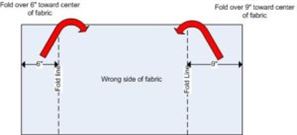
In order to create the look of the prefolded diaper, I fold the flannel so that the center has 4 layers of flannel and the sides have two layers of flannel.
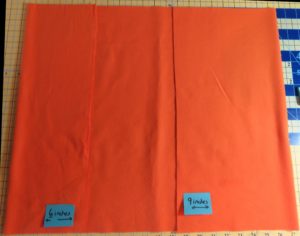
Set your flannel (or fabric of your choice) that is 18″ x 36″ on a table and mark 6 inches from one edge of the fabric (along the 18″ length).
Mark 9″ from the other edge, also along the 18″ length.
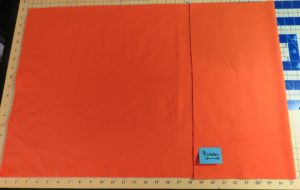
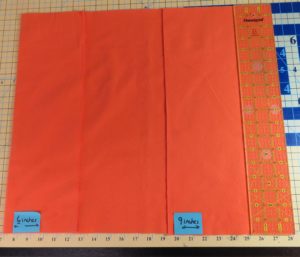
Mark a line 3″ from the outer edge of the of the 9″ fold. I just put a 3″ quilting ruler along the edge.
Bring the edge of the 6″ fold over to the line that is 3″ from the edge of the 9″ fold. Press all folds.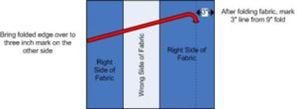
You now have a folded flannel burp cloth with 4 layers of flannel in the middle 6″. Each 3″ side has two layers of fabric.
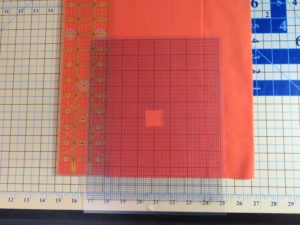
Find the center of the folded burp cloth. I use a plastic gridded sheet with the center cut out for my snowman. I use the grid lines to make sure the snowman is centered and straight on the fabric.

Embroidering the Flannel Burp Cloth
Open the folded flannel and hoop the center to embroider. If you embroider before you sew down the folds of the flannel, you can hide the back of the embroidery. If you embroider after you’ve completed the burp cloth, the back of the embroidery will be on the back of the completed flannel burp cloth.
Hoop a piece of Floriani No-Show Nylon Mesh stabilizer . Depending on your design, if it’s not too stitch intensive, you can just lay the flannel on top of the hooped stabilizer. If you do that, either secure it with tape or have your machine stitch a basting line around the design area. Of course it’s always safest to hoop the fabric as well. Since we’re working with flannel, a woven fabric, you can use tear away stabilizer if you prefer.
Since flannel has a bit of nap, I use Floriani Water Soluble Topping on the top of burp cloth to keep the stitches up on the flannel.
Stitching the Folds of the Burp Cloth
Once your embroidery is finished, refold the burp cloth as described above and press the folds.
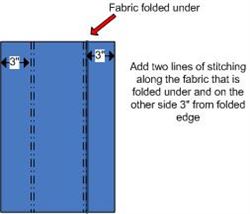
Stitch a line of stitching on the of the the burp cloth along the inside fold line. Stitch a second line of stitching ¼” to 3/8″ from the first line of stitching.
Repeat on the other side of the burp cloth, stitching a line 3″ from the outer edge, and then again ¼” to 3/8″ to the inside of that line of stitching.
This secures the folds and adds a nice touch to the burp cloth. You can, if desired, just add one row of stitching at the inside fold to anchor it down and then another single line of stitching 3″ from the other edge. I just like the look of the double row of stitches.
Finishing the Top and Bottom Edges
I usually serge the top and bottom 12″ edges of the burp cloth to tidy up the flannel and provide some bulk to sew some ribbon or trim to.
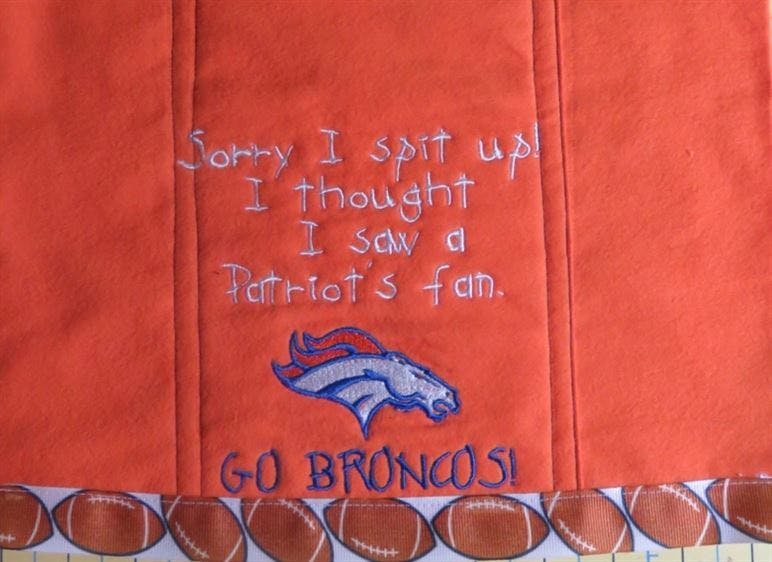
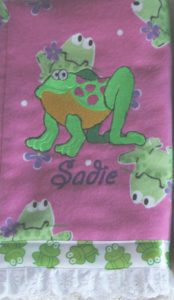
Here’s my finished flannel burp cloth, just in time for football season.
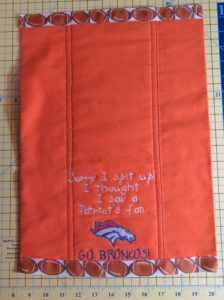
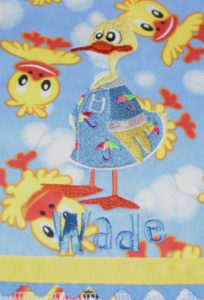
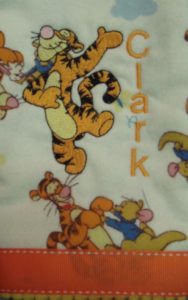
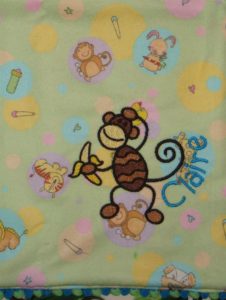
The possibilities are endless with the different ribbons, lace, rick rack or other trim you can add to the top and bottom of the burp cloth.
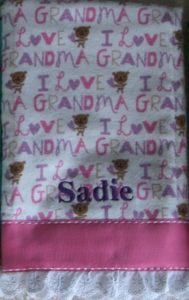
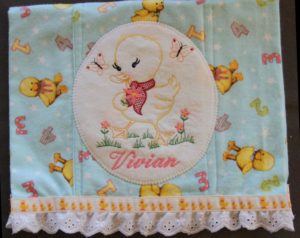
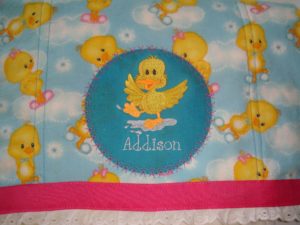
I really like that you can often match the embroidery design to the design of the flannel.
Make Ahead Flannel Burp Cloths
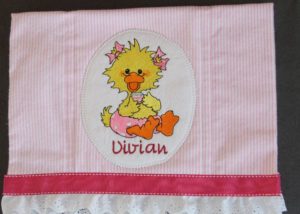
You may want to make some of these flannel burp cloths in advance to have on hand for the next baby gift. If you don’t know the sex or name of the baby, you can make the flannel burp cloth, then add the design as an applique after the burp cloth has been finished. That way, only the applique tack down sewing line shows on the back of the burp cloth. You can use a decorative stitch to sew the applique to the burp cloth.
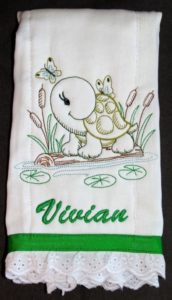
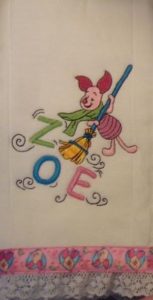
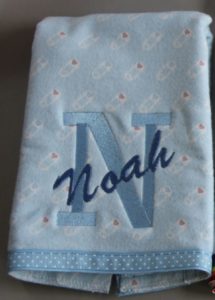
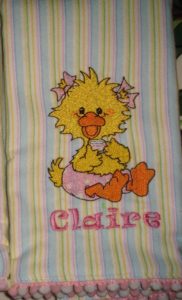
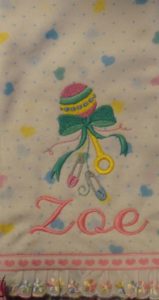
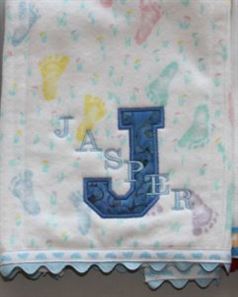
Personalize It!
Whether you make a burp cloth with a favorite character, ball team, quote, or monogram, personalized burp cloths are sure to please and be treasured by the baby’s mom. If you do a search on Google for “burp cloth” you’ll see hundreds of examples and styles. I hope this blog serves to stir your imagination and inspire you to create something special — even if it’s purpose is to be spit up on!
Comments
Cathy Ellsaesser
Glad it was helpful! Happy sewing, and thanks for reading our blog.
Elaine
Very good directions with good pictures. That is just what I was looking for. Thank you!