You know the old saying, “What goes around, comes around.” Well, if you’re applying binding to the edge of a quilt, a wall hanging, a placemat, a pot holder, or even the inside of a backpack, at some point you have to join the beginning and ending of the binding. In this blog, I’ll discuss several ways to join binding ends that, I hope, will help you in your efforts.
Different Ways to Join Binding Ends
Blunt Ends
In my early days of quilting, to join binding ends I just folded a straight edge at the end. Then I just placed it over the raw edge of the beginning. That was before I learned “the right way” to finish binding. Now, I bring the starting and ending edges of binding together on a diagonal.
Diagonal Seam
A diagonal seam joining the start and end of the binding is so much neater and more professional looking. Besides that, it’s so easy to do!.
When starting to attach the binding, leave about 6″ free at the begining. Then, sew the binding all aroudn the project, and leave a gap of 10-12″ between from where you started to sew to where you stopped.

Overlap Ends
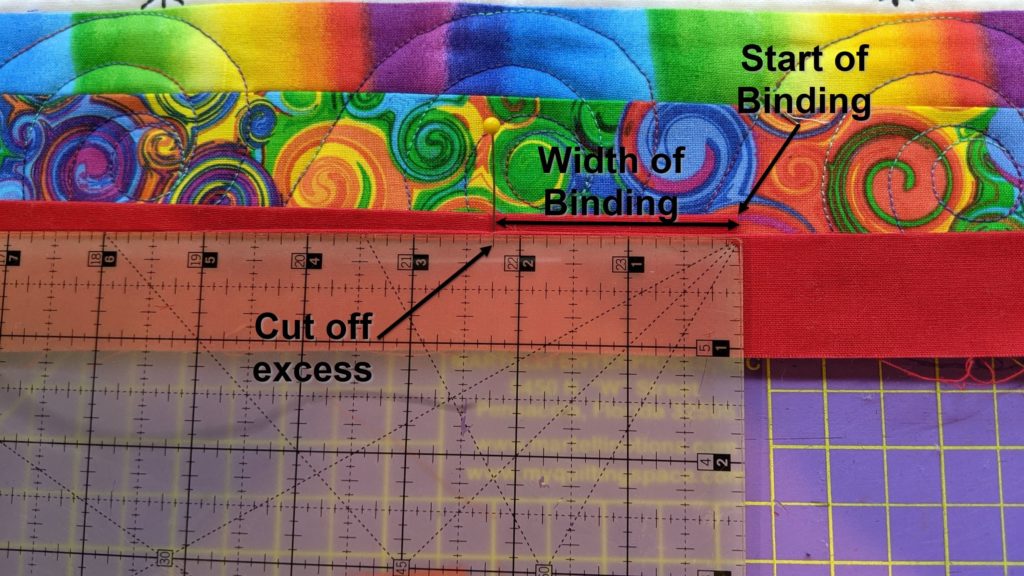
Overlap the start by the width of the binding and trim away the excess.
Create Diagonal Seam
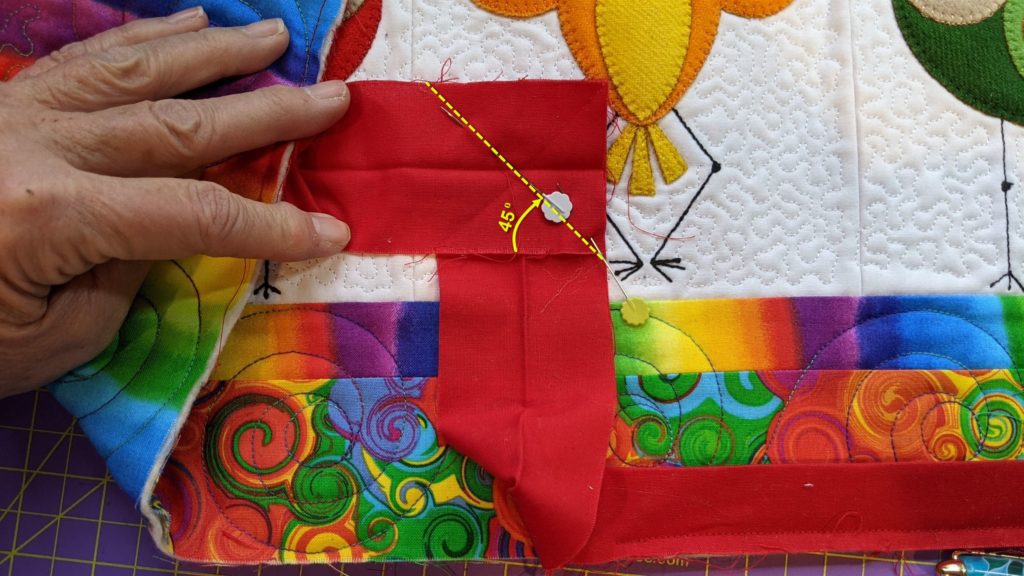
Turn the binding that’s under the overlap right side up at a 90º angle to the edge of the project. Turn the binding that is on top of the overlap right side down and match the corners and edges of both pieces of binding as shown below.
Stitch from the lower right corner of the overlapped binding at a 45ºdegree angle to top of the binding. The seam should be sewn from the upper left corner of the bottom piece to the lower right corner of the top piece.
Once you have sewn the seam, trim it to ¼” and press open.
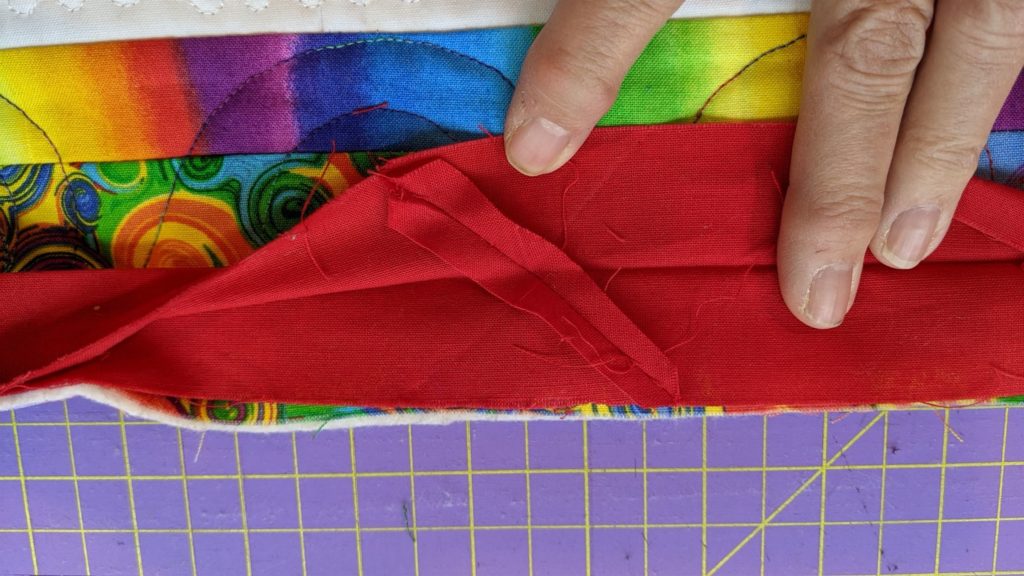
Fold the binding in half, align it to the edge of the project and finish sewing it all the way down.
Now you have a beautiful diagonal seam on your project binding . It is basically identical to other diagonal seams you made to sew the binding strips together.
But, What If There Isn’t Room ?
For small items like placemats or potholders or binding around something like a star, there may not be room to place the binding ends 90º to each other and to sew the diagonal seam. Here’s an alternative that still gives you a diagonal seam.
Tuck It In
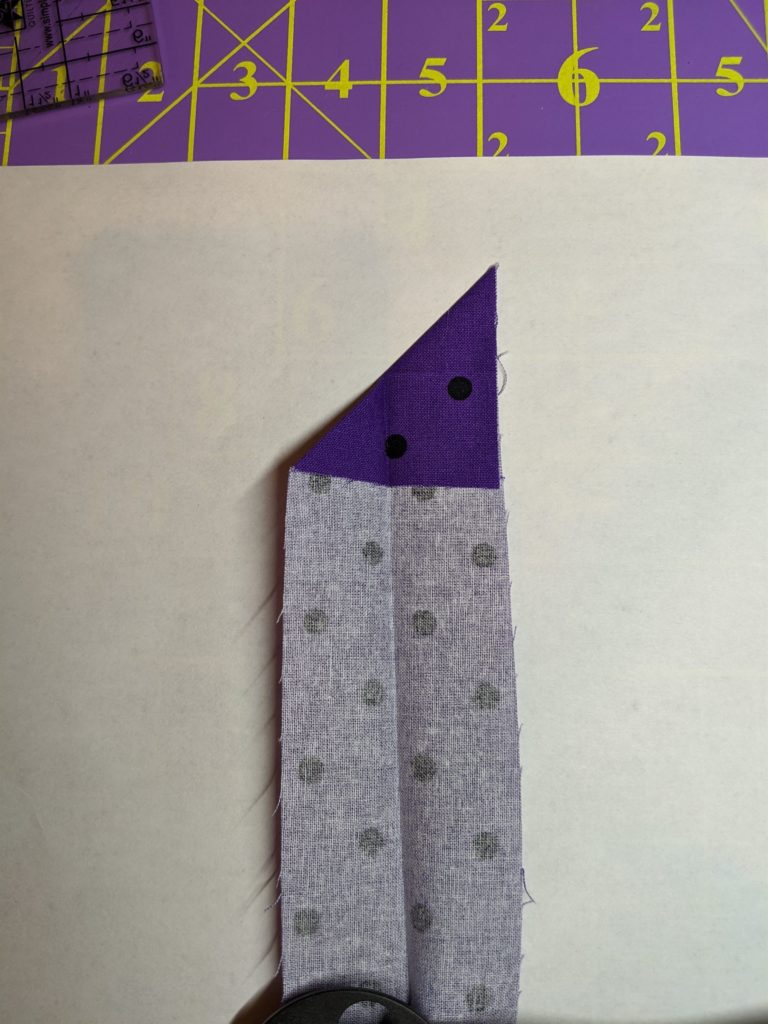
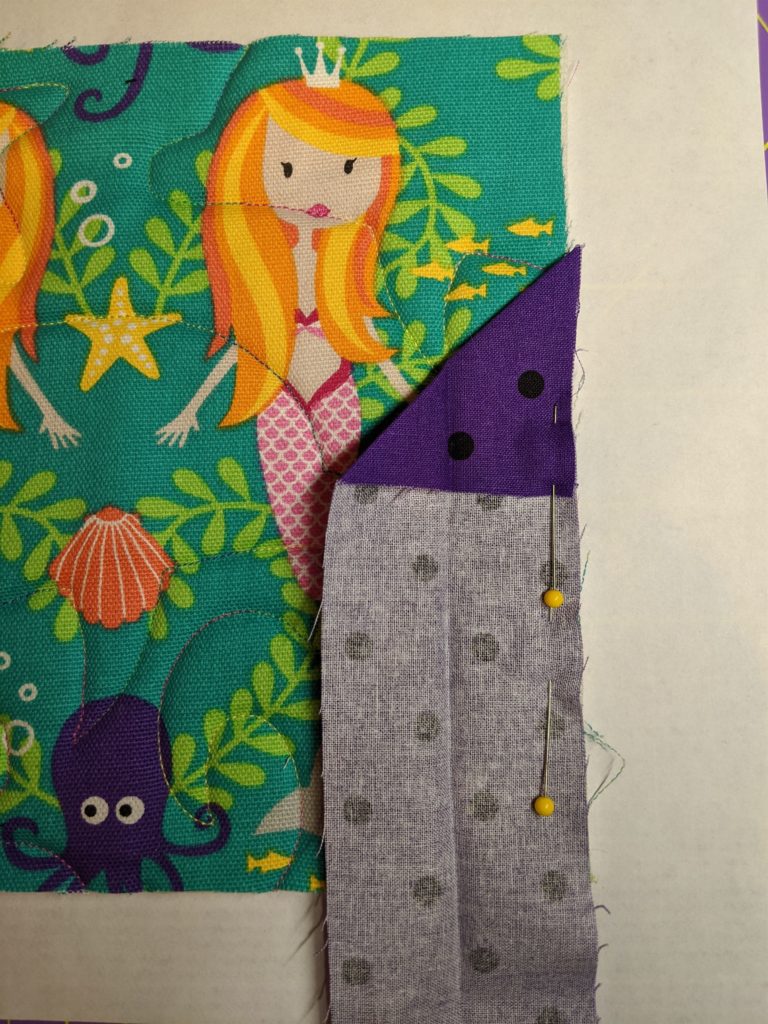
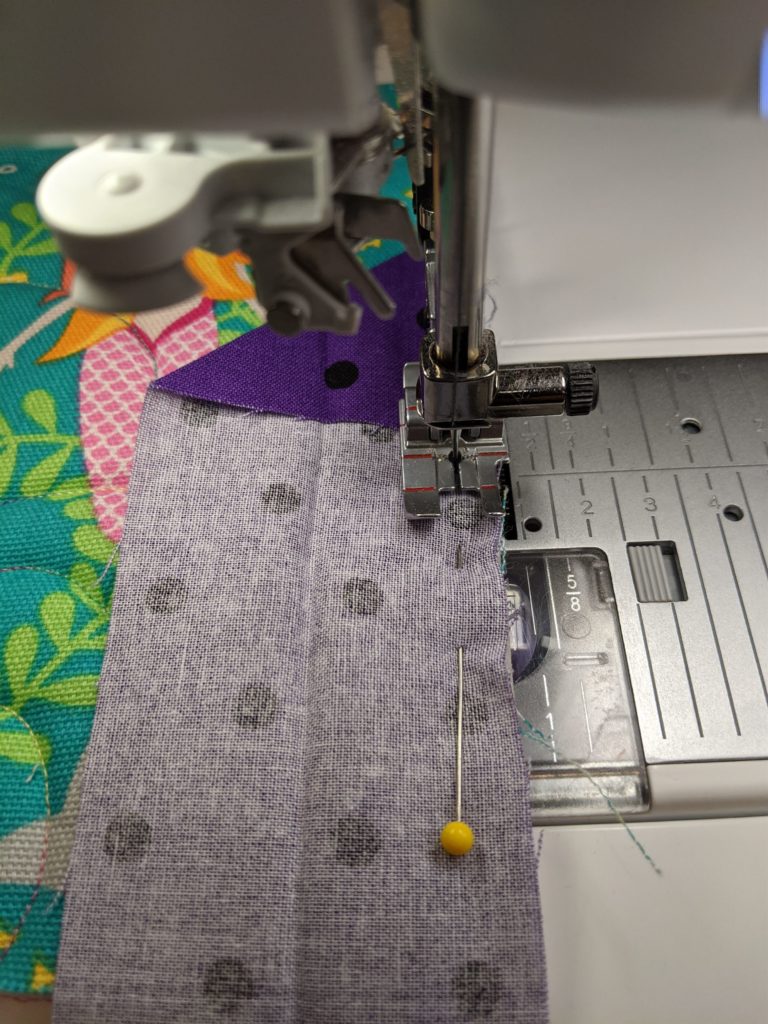
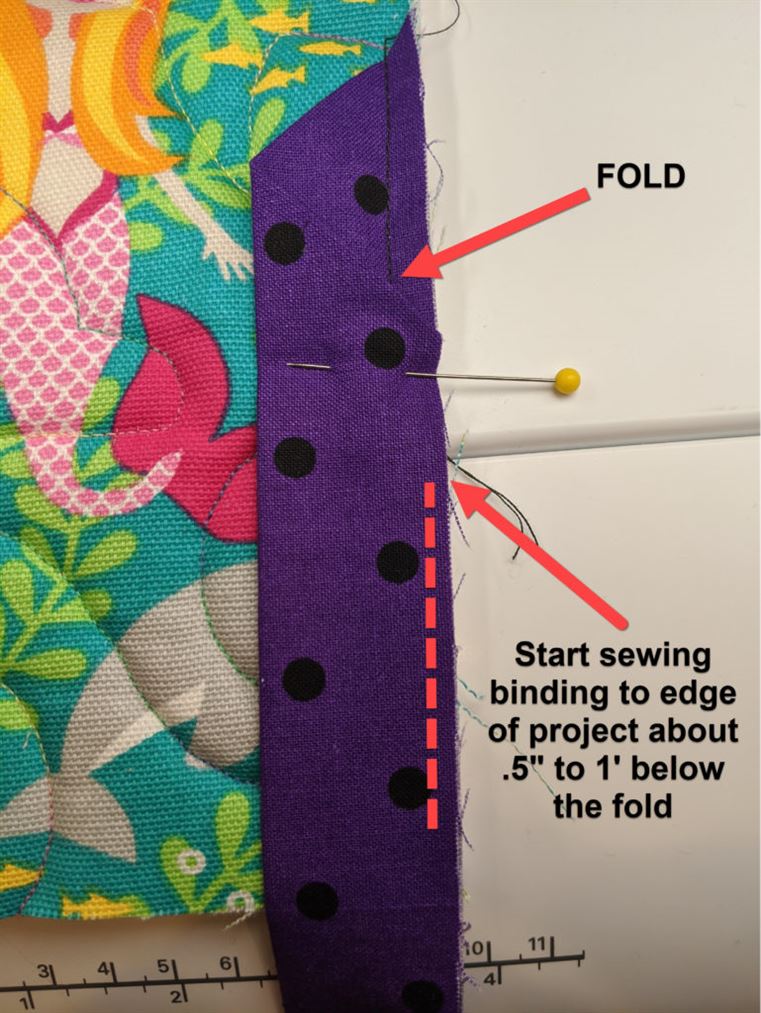
Start by folding the beginning of the binding strip at a 45º angle. Next, align one long raw edge of the binding with the raw edge of the item to be bound. Leave the binding unfolded and stitch down along the raw edge for 2-3″.
Fold the binding over and sew binding down starting about 2″ below the folded end of the binding.
Sew the binding on per usual until you get around to where you started. At that point, trim the binding so that the end of the binding will tuck completely inside the fold you made at the beginning.
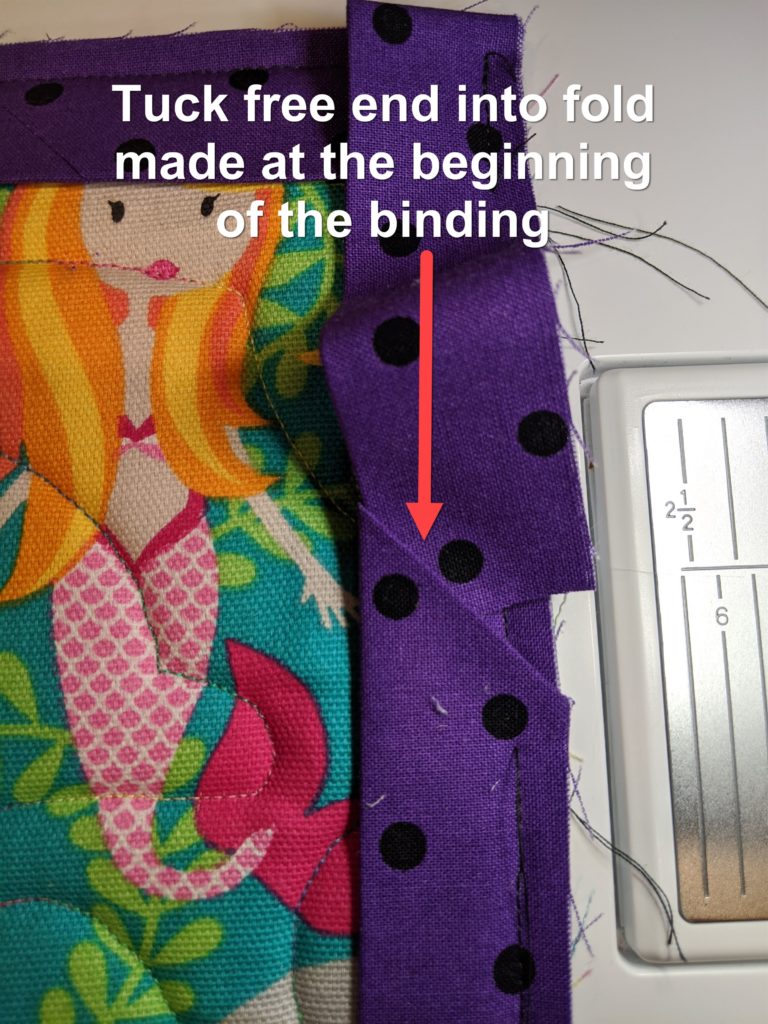
Once you have the binding tucked just stitch it down

Once you have sewn down the binding all along the raw edge, fold the binding over the edge of the project and sew the binding to the back of your project by hand or your preferred method.
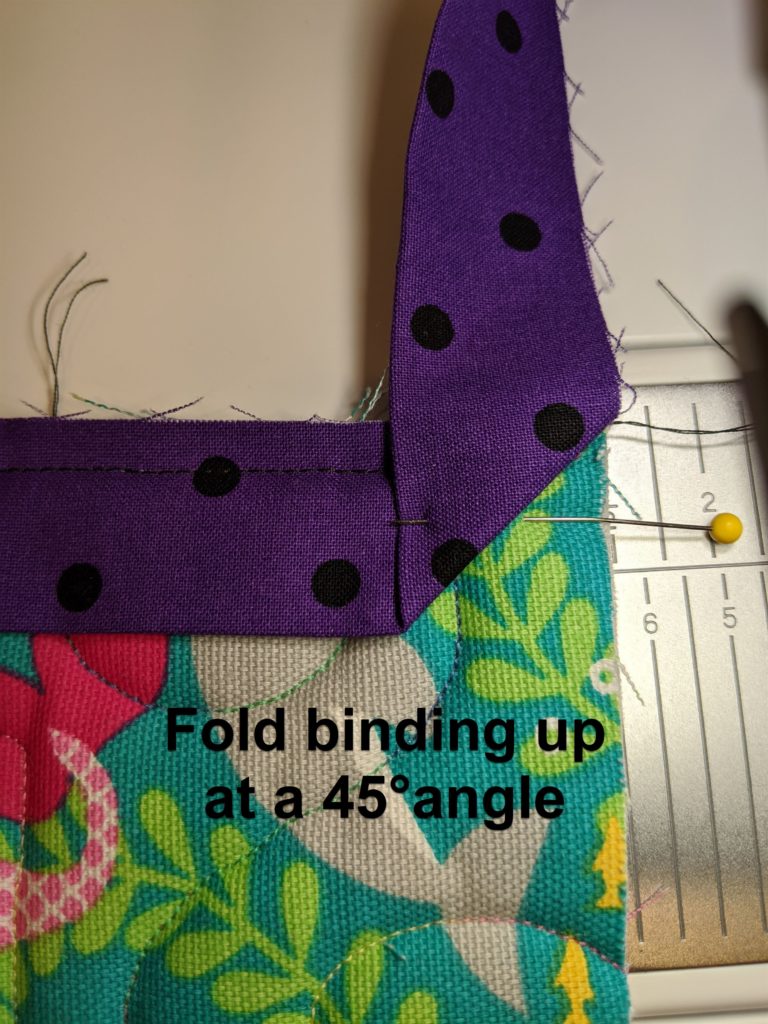
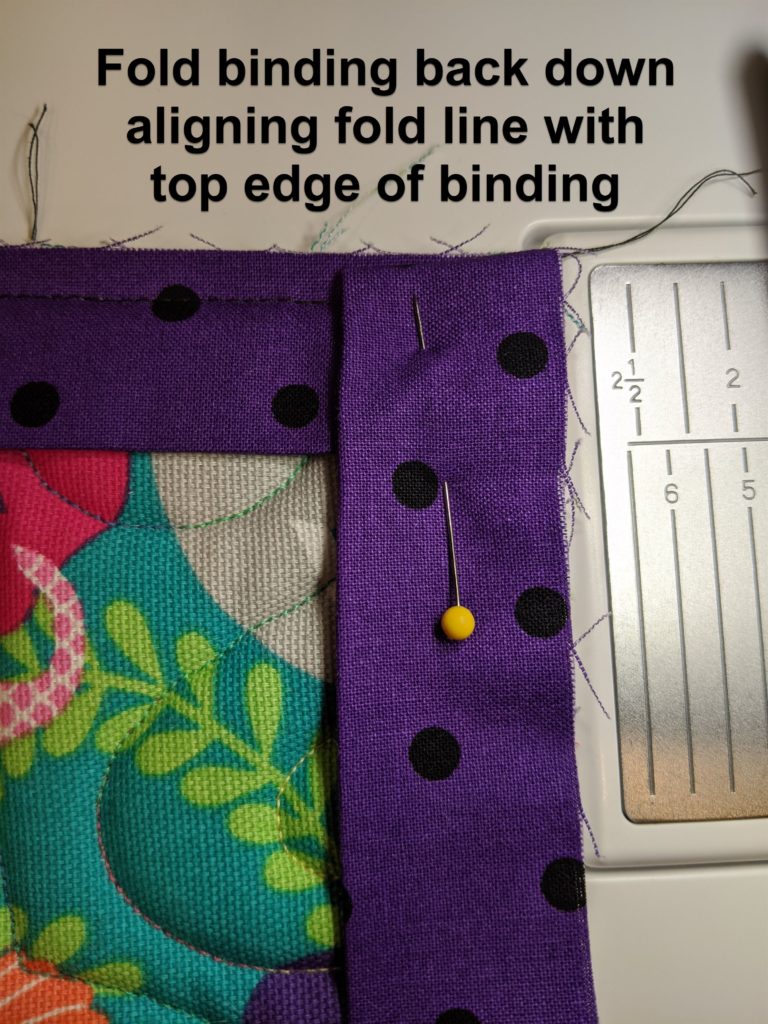
Mitered Corners
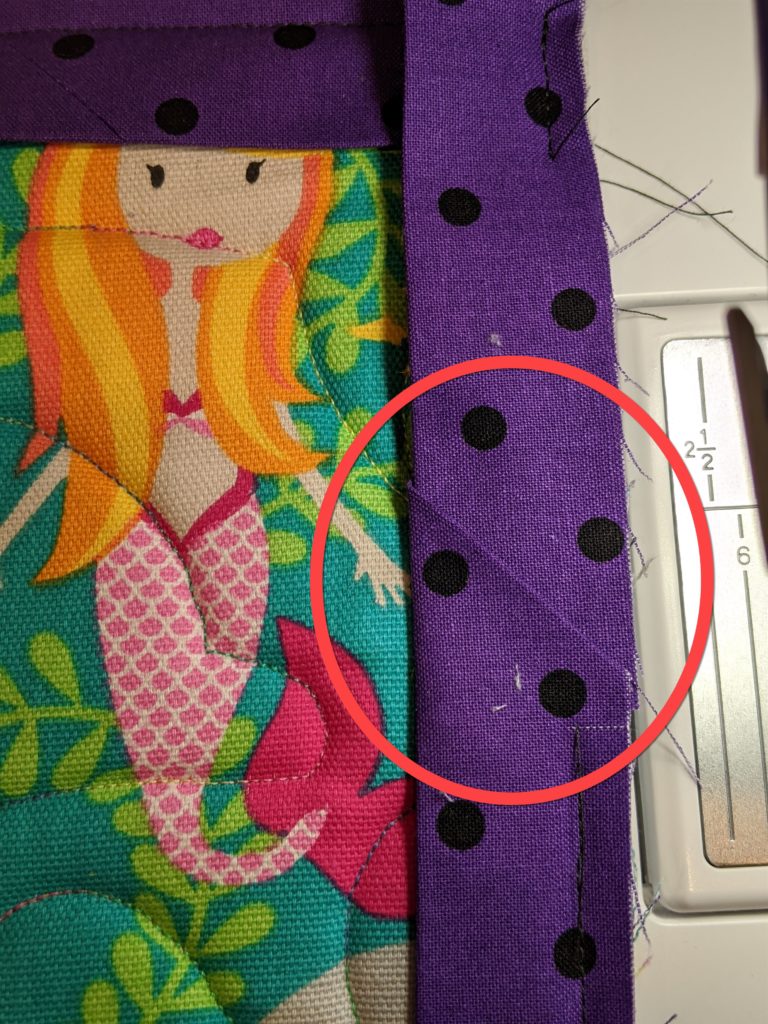
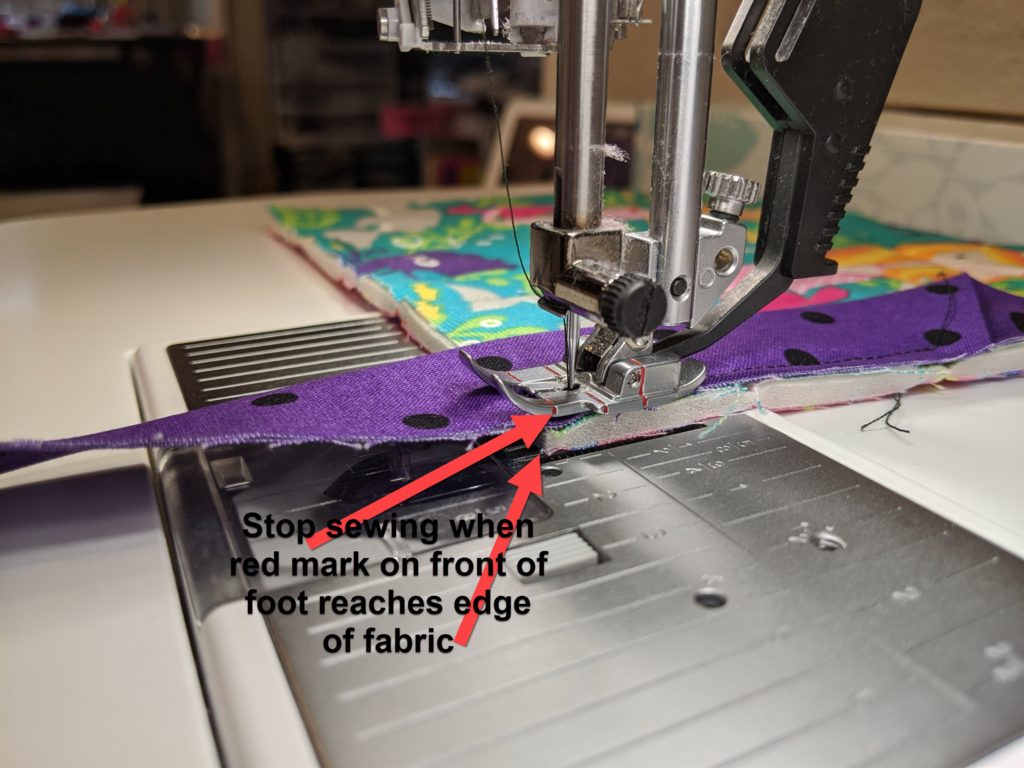
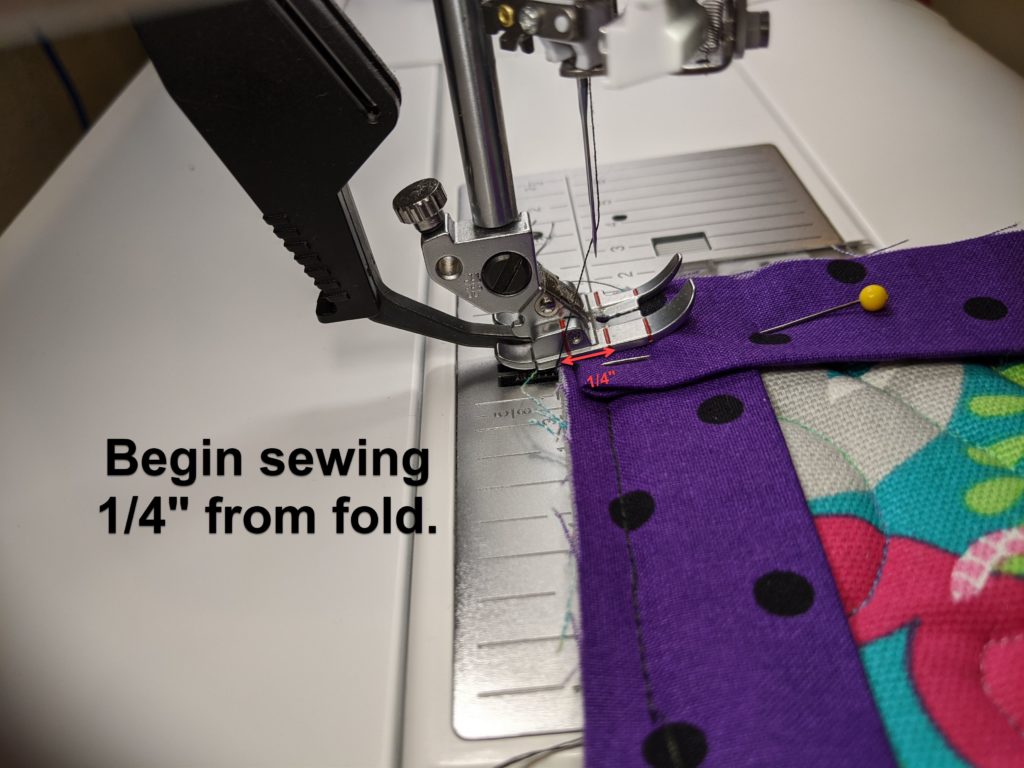
Use a 1/4″ foot
A ¼” foot is almost indispensible for sewing binding on a project. Marks on the foot help guide you in that effort. For example, for my PFAFF Performance Icon, has red marks on the foot. These mark indicate where to start and stop sewing to create a mitered corner.
If you don’t have a 1/4″ foot check with your local Rocky Mountain Sewing and Vacuum store and find out what is available for your machine.
So don’t get caught in a bind! Learn how to neatly join binding ends so your projects reflect the expert sewist that you are!