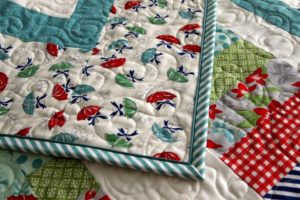
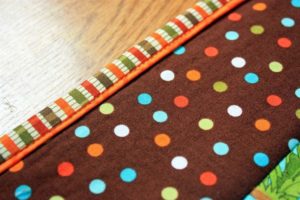
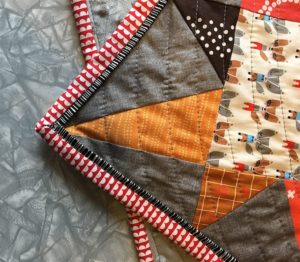
Frame your quilt with a little extra pop of color with flange binding. Use two different fabrics for your binding, and create binding with a little peek of another fabric for your quilting project. This technique uses two fabric strips sewn together to make the binding strip. Look at some of the beautiful projects that were edged with flange binding.
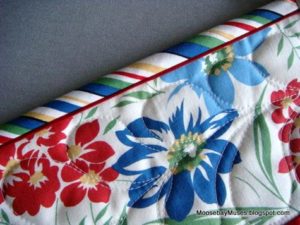
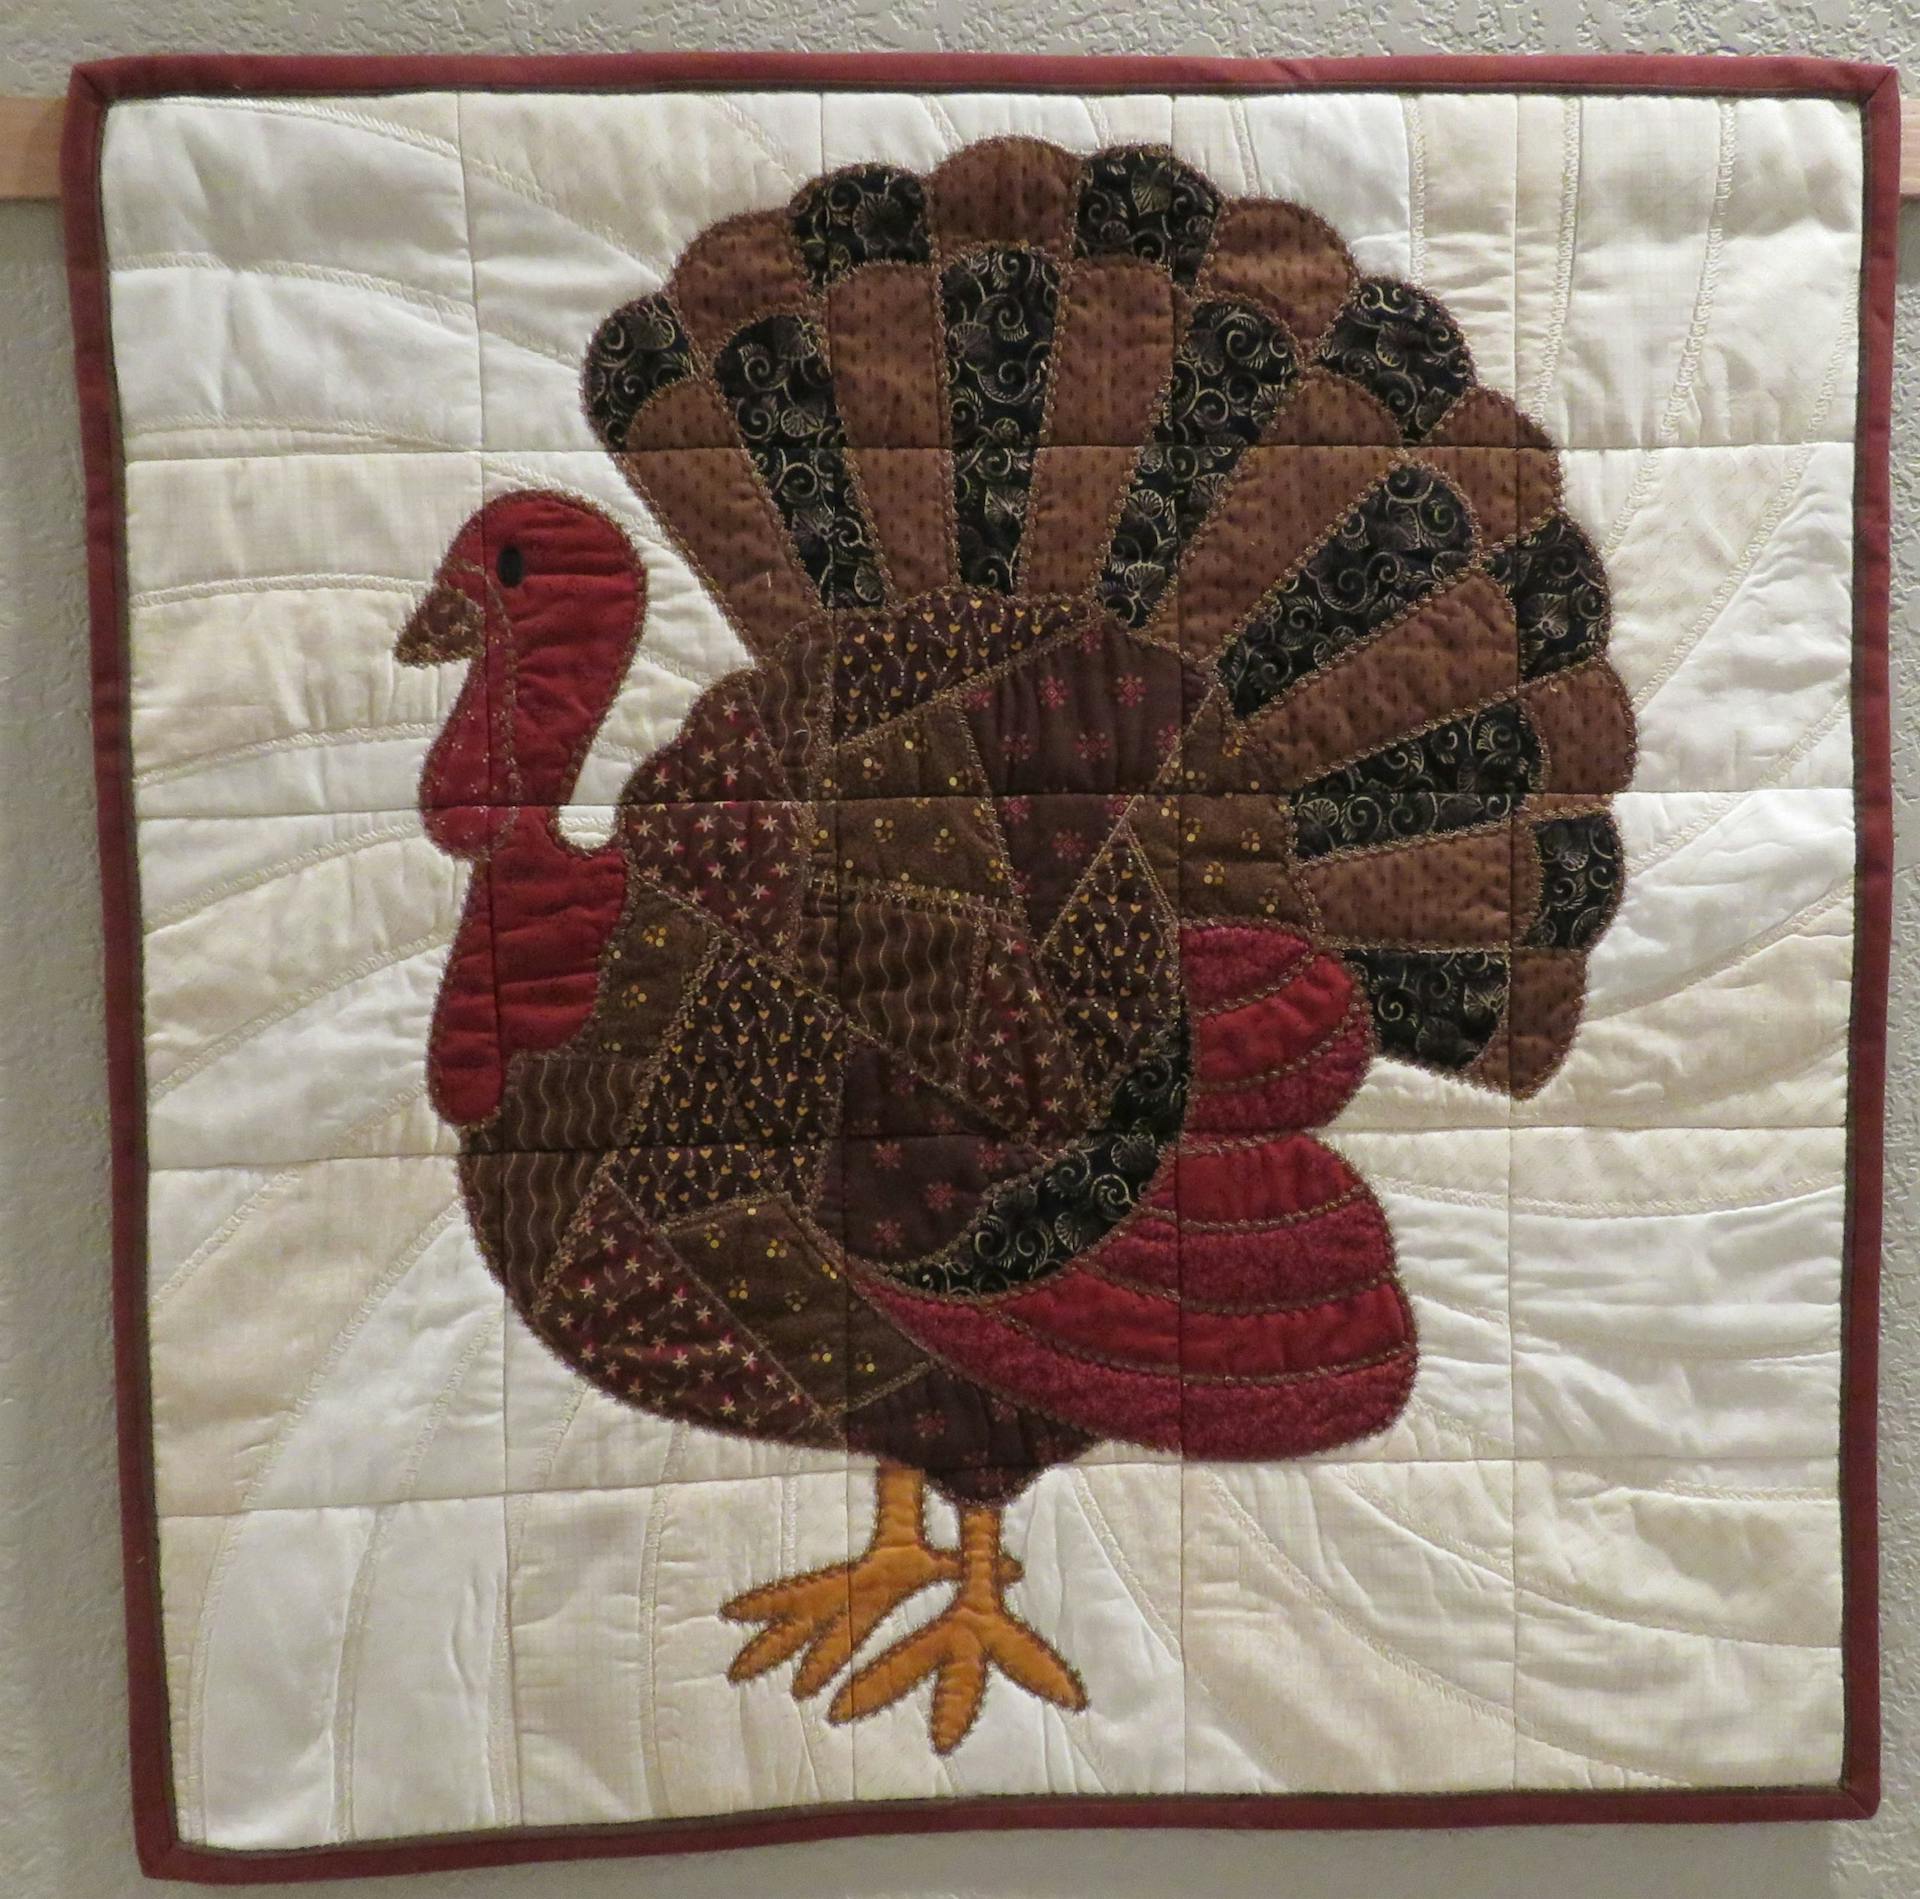
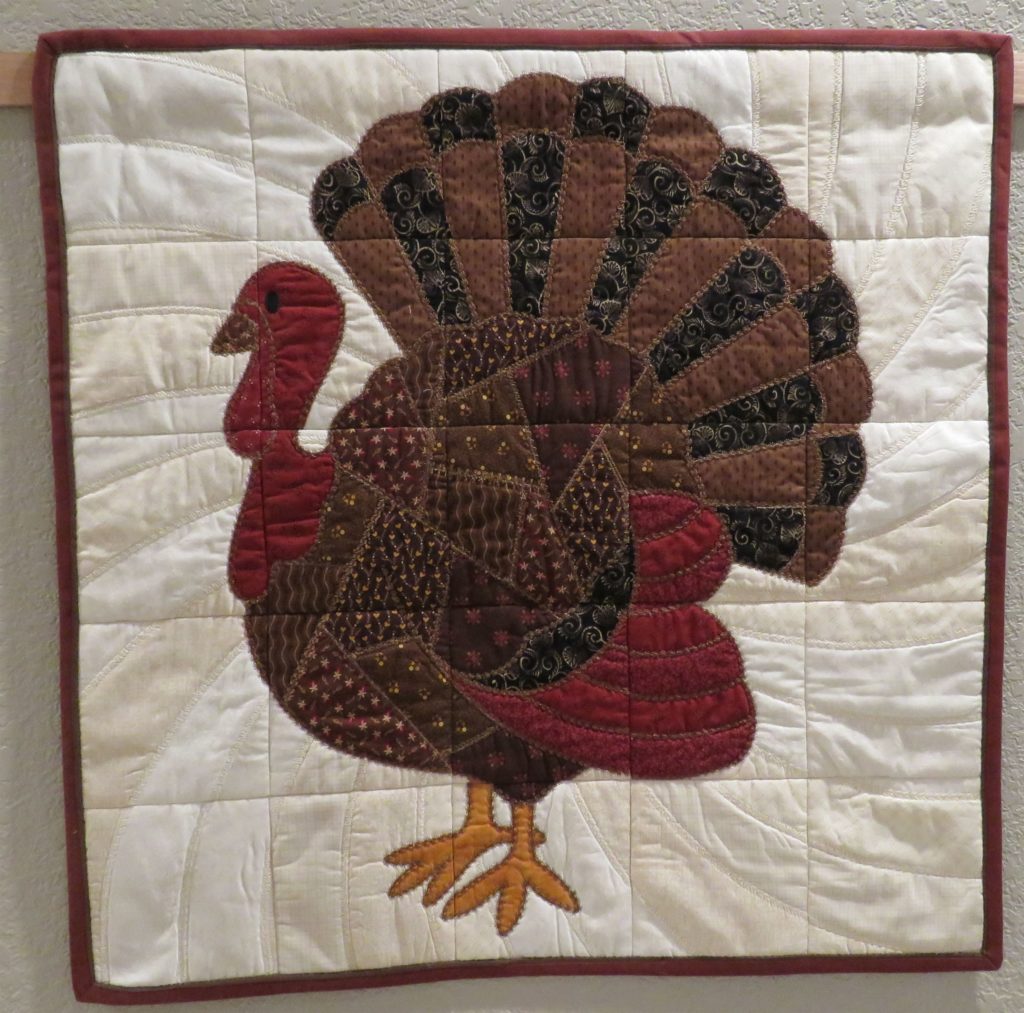
I have a crazy quilt patchwork turkey from an old Anita Goodesign collection that I thought would be perfect for flange binding. I am making the flange dark brown and the rest of the binding dark red.
Making the flange binding
To make sure we’re all using the same terminology, I call the strips that are creating the flange, or accent, the “flange” strips, and the strips that wrap around the quilt from back to front as the “binding” strips.
Determining the Length of Binding Needed
Step 1
For bindings made from width of fabric strips, first add the measurements of all four sides of your quilt. Then add 12” for seams, corners and finishing.
My turkey quilt wall hanging is 28″ square. So I need (28 x 4) +12 = 124″
Step 2
After you have your total measurement, divide by 42” to determine the number of strips you’ll need.
For my quilt wall hanging, 124 ÷ 42 = 2.95 strips. I’ll throw in one extra strip for good measure, and cut 4 each of the binding and flange fabrics.
Calculating Strip Width
The flange binding is made up of two strips of fabric sewn together along their long edge with a ¼” seam. For a 1/8″ flange, the flange fabric is cut ¼ inch wider than the binding fabric. I usually like wide binding, so I cut my single fabric binding strips to 3″ and use a 3/8″ seam to sew the binding to the quilt. With this in mind, I need to calculate how wide each of the strips for the flange binding should be.
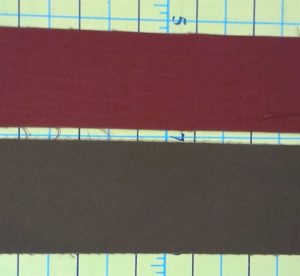
Usually, I use 3″ quilt binding, so for the flange quilt binding I needed to have a total unsewn width of 3 ½” to allow for the ¼”seam allowance. If they were to be even, without a flange, each strip would be 1 3/4″. That way, when I sewed them together with a ¼” seam, the total width of my strip would be 3″. However, I want some of the flange fabric to show, so it needs to be wider than the binding fabric by ¼”. So I subtract ¼” from the binding fabric strip width and add that to the flange fabric strip. So I cut the binding strips 1 ½” wide (red in the photo below) and the flange strips 2″ wide (brown in the photo below.)
From my calculations above, I know I need 4 strips of each fabric, or 8″ of brown fabric and 6″ of red fabric (cutting strips from width of fabric).
Other Options
For those who like a narrower binding, you might want a 2 ½” strip as the final width. Thus you would cut the binding strip 1 3/8″ wide and the flange strip 1 5/8″ wide. So, when joining the two strips together with a ¼” seam, you end up with a total width of 2 ½” (1 1/8″ binding and 1 3/8″ flange.) Just remember that you cut your flange fabric ¼” wider than your binding fabric for a 1/8″ flange. Along that notion, you’d cut your flange strip ½” wider than your binding strip if you wanted a ¼” flange.
Sewing the Flange Binding
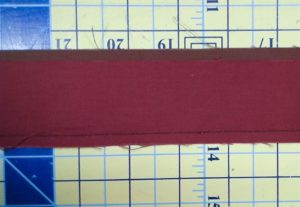
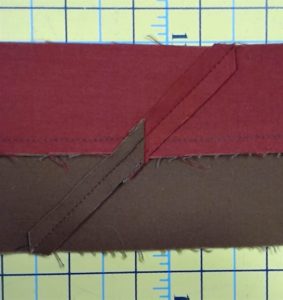
Once I have cut enough width of fabric strips from each color to go around my wall hanging, I sew the strips of binding fabric together end to end using a mitered join, trim and press the seams open. I do the same for the flange fabric.
With right sides together, I sew the strips of binding and flange fabric together along the length using a ¼” seam. I then press the seam toward the darker fabric.
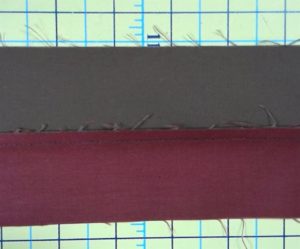
I take care to match the seams that join the strips end to end.

When I fold wrong sides together and press as with normal binding, the little flange peeks over the top.
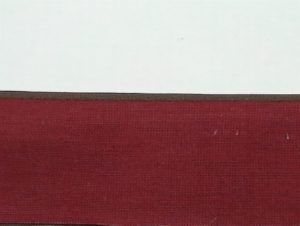
The binding is now ready to be sewn to the quilt.
Binding the Quilt
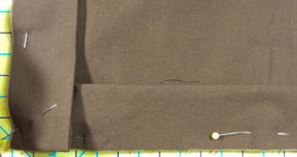
A flange binding is different from a regular binding in that you do not first sew it on the front. You sew it to the back.
I place the binding on the back of the quilt with the flange face down. Next, I align the raw edges of the binding with the raw edges of the quilt. I attach the binding to the quilt, mitering corners as usual.
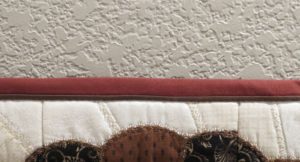
Once I have completed sewing the binding to the back of the quilt, I wrap the binding around to the front of the quilt, and voilá! The brown flange runs along the edge of the quilt, just peeking out from the red binding.
Finishing
I decided to hand sew the binding to the front of the quilt.
Many people, however, sew the binding down by stitching in the ditch between the flange and the binding fabrics. Others stitch on the flange just to the side of the seam where the two strips meet. In either case, results in a seam line, next to the binding, on the reverse side of the quilt. With careful sewing, this can look quite nice, and is much faster than hand sewing!
Try It! You’ll Like It!
I hope you’ll try your hand at making flange binding. It really adds a nice touch to a project.
If you need a little more help in understanding the process, check out this video from the Missouri Star Quilt Company.
Flange binding can be a considerably faster binding method if you stitch the binding down from the front once applied. It helps if you use a good top stitch needle to sew the binding down. Stop in one of our stores for some top stitch needles. Here’s a coupon to “buy one, get one free” top stitch needles to help you get started!

I’d love it if you’d share some photos of any projects you’ve completed with flange binding. Just click on the “Choose File” button in the comments section of this blog.
Comments
Cathy Ellsaesser
I stitched in the ditch in the seam where the flange met the binding. I do hand stich the back of my quilt bingins if I’m not doing the flange.
Joy of JoysJotsShots blogspot
I want to do this method on a QOV quilt. They require the final step to be handstitched. I’m wondering if you handstitched along the edge of the flange or did you try to stitch at the seam where the flange met the binding? Thanks.