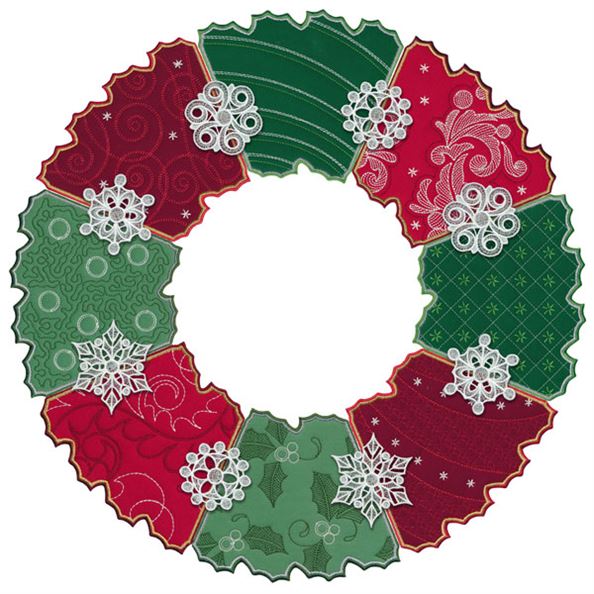
How about a cute embroidered Holiday Wreath for your Christmas decor? One of the designs released by OESD in November was Free Standing Holiday Wreaths. (Check out a special offer on OESD designs at the end of this blog.)
This freestanding collection puts a fun twist on a holiday decorating staple. With 8 different festive patterns and 4 freestanding lace snowflake accents, you can mix and match your own creation for adorning your doors, surrounding your centerpiece, or hanging in your windows.
The Panels
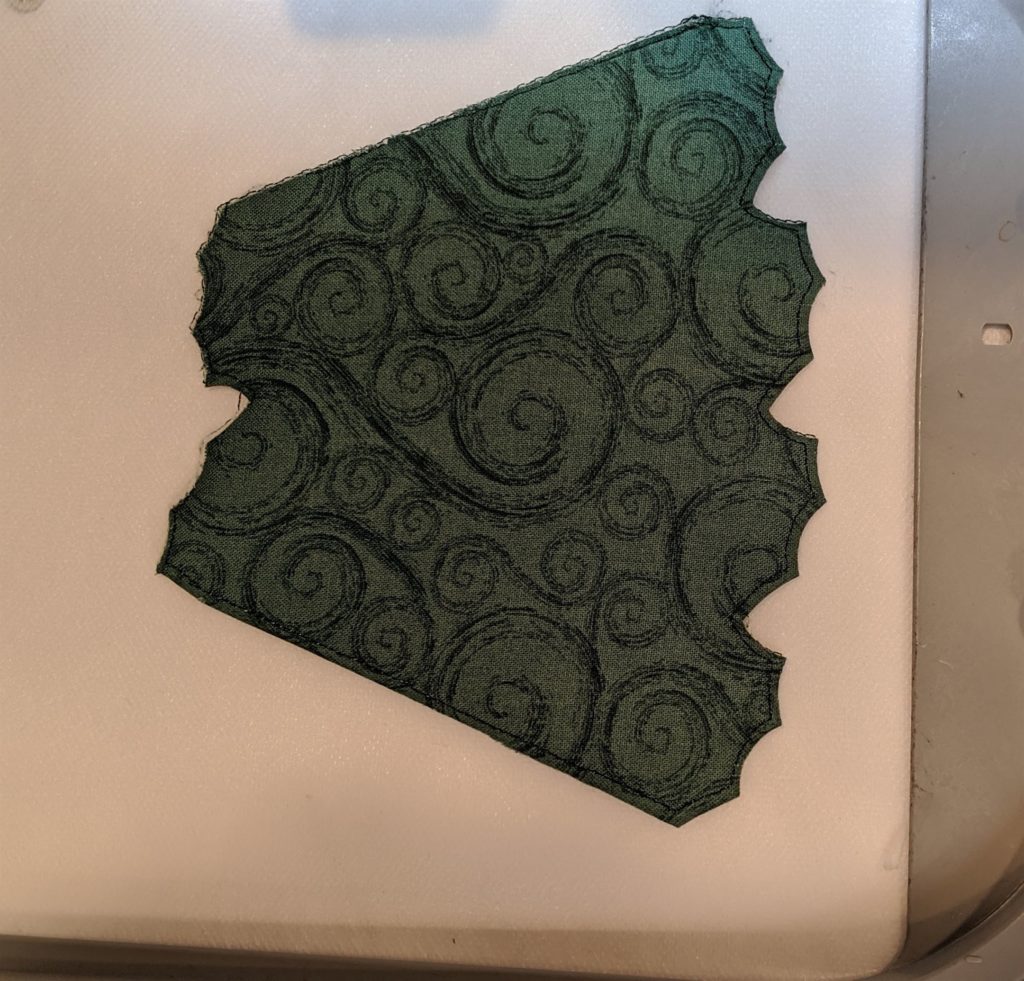
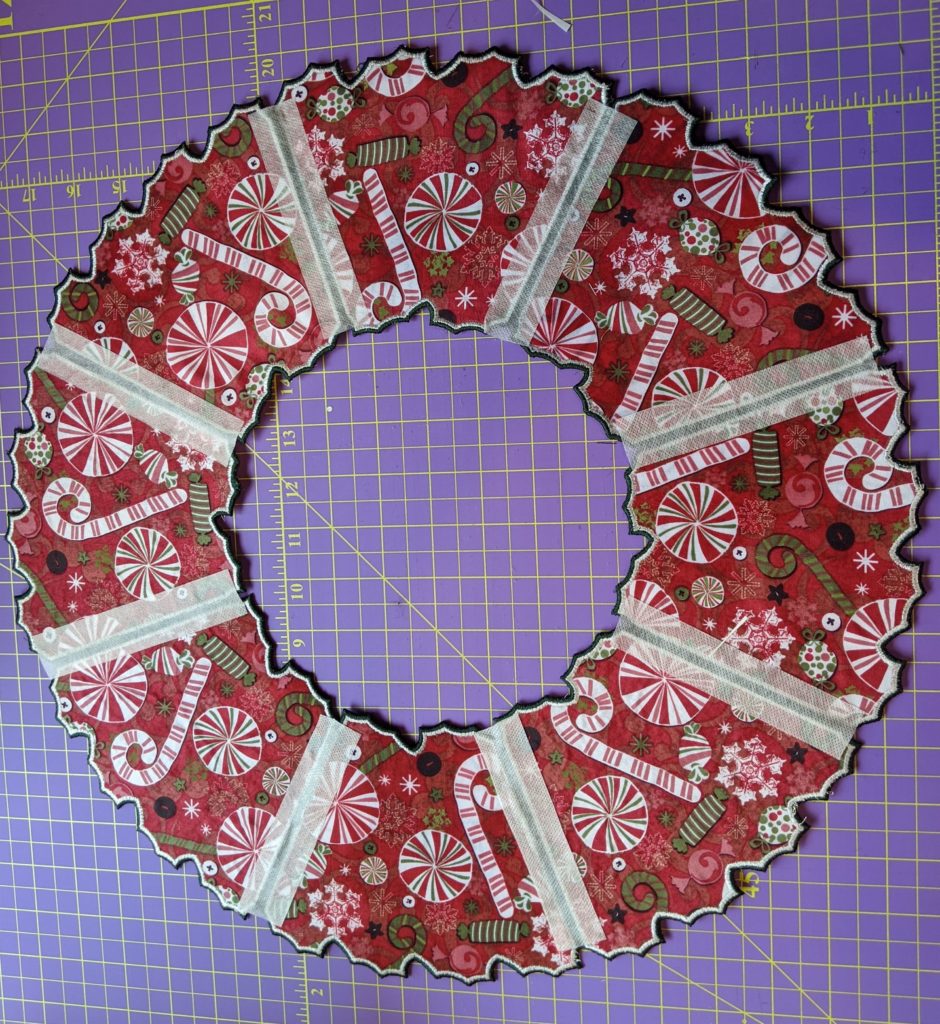
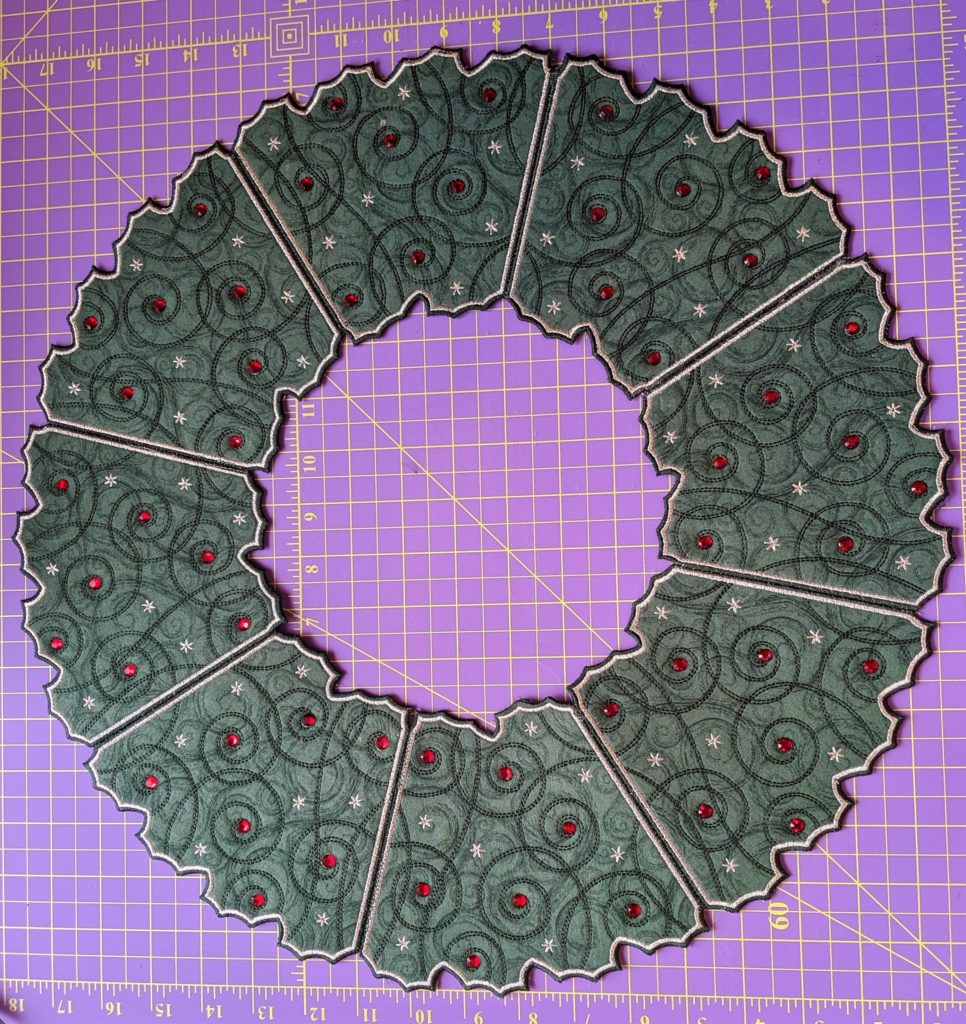
The Free Standing Holiday Wreath collection includes 8 different designs for the panels. You can use a different design in each panel, but I decided to make one of these using just one of the panel designs and just one fabric for the front of the wreath and one for the back. Eight panels are needed for the wreath, but they sew up quickly.
The Stabilizer

Since this design is not very stitch intensive, one piece of stabilizer is sufficient.
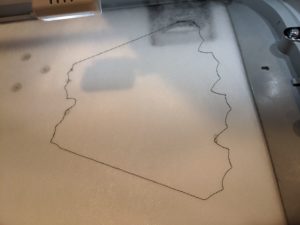
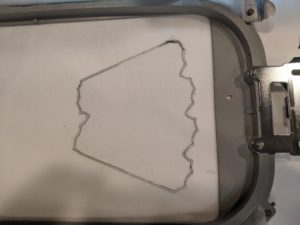
Hoop a piece of wash away stabilizer. I used OESD’s Aqua Mesh Plus.
Stitch out the placement line for the panel.
Fiber Form

Place a piece of OESD Fiber Form or other stiff interfacing on top of the placement stitch and sew the tackdown stitch.
One of the things I really like about OESD applique designs is that they use a double placement stitch. If you are cutting out your appliques as you embroider, then be sure to cut close to the outside placement stitch. The inside stitch is a safety net, so that if you do cut into the outside stitch, your applique edge will be covered as long as you don’t cut inside the innermost tackdown stitch.
I precut my Fiber Form and fabric with my ScanNCut and, thus, just placed it so that it fit on top of the tackdown stitch. The innermost tackdown stitch tacked it down.
Embroider the Panel
The OESD directions and embroidery sequence have you place the Fiber Form and fabric for the top and back of the wreath all at once and then sew the tack down stitches, then cut off the excess fabric and Fiber Form. Then, all subsequent embroidery would be seen on both sides of the wreath.
For my wreath, I did not want the back of the wreath to show the stitches for the panel design. So I had to change the sew out sequence and back up to redo a step, or skip a step and come back to it.
After I tacked down the Fiber Form, I repeated the tack down stitch after placing the top fabric for the wreath, an then sewed out the embroidery designs (swirls and stars) for the front of the wreath.
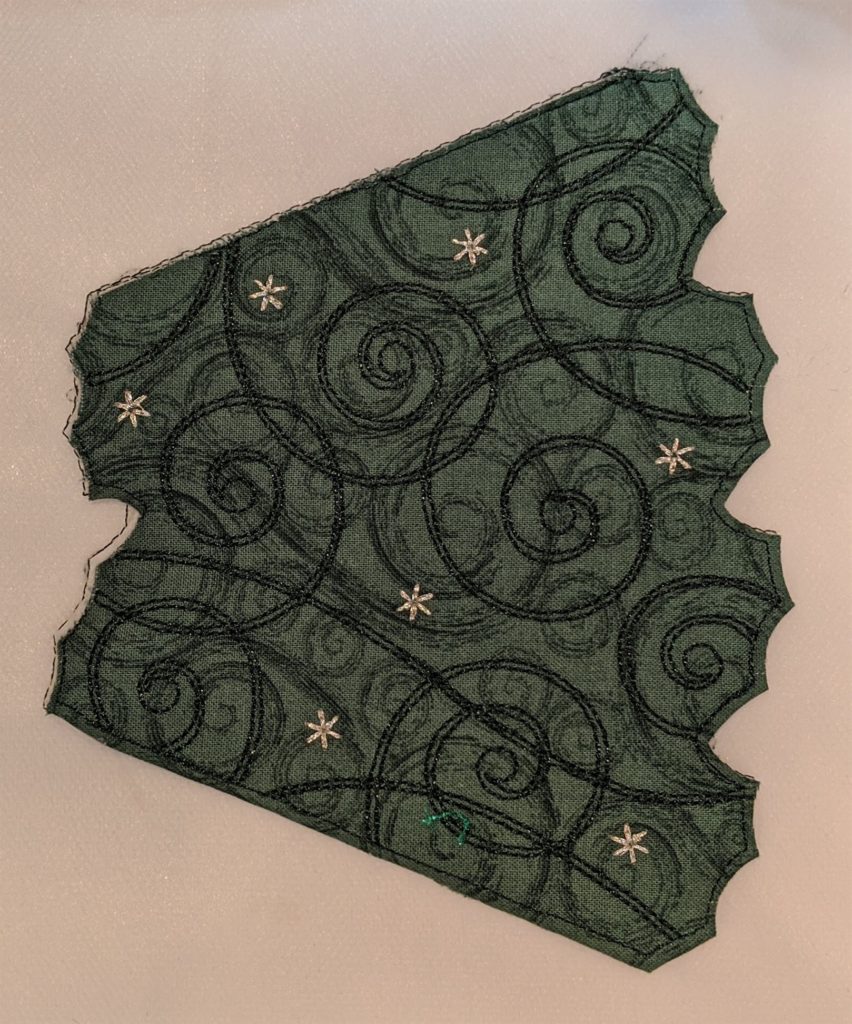
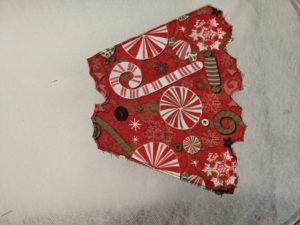
Once the front of the panel is embroidered, I added the fabric for the back.
The Back Fabric
Place the fabric for the back of the wreath on the underside of the hoop, aligning it with the tack down stitches previously sewn. Tape in place.
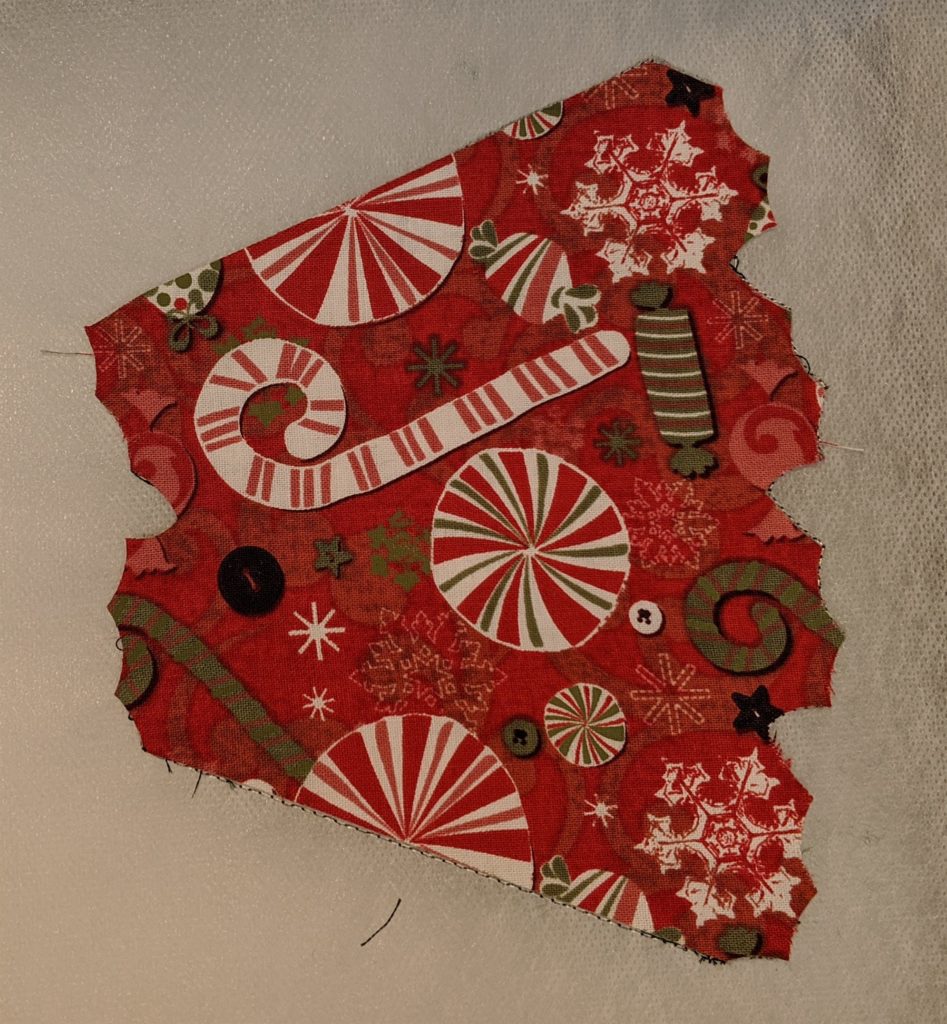
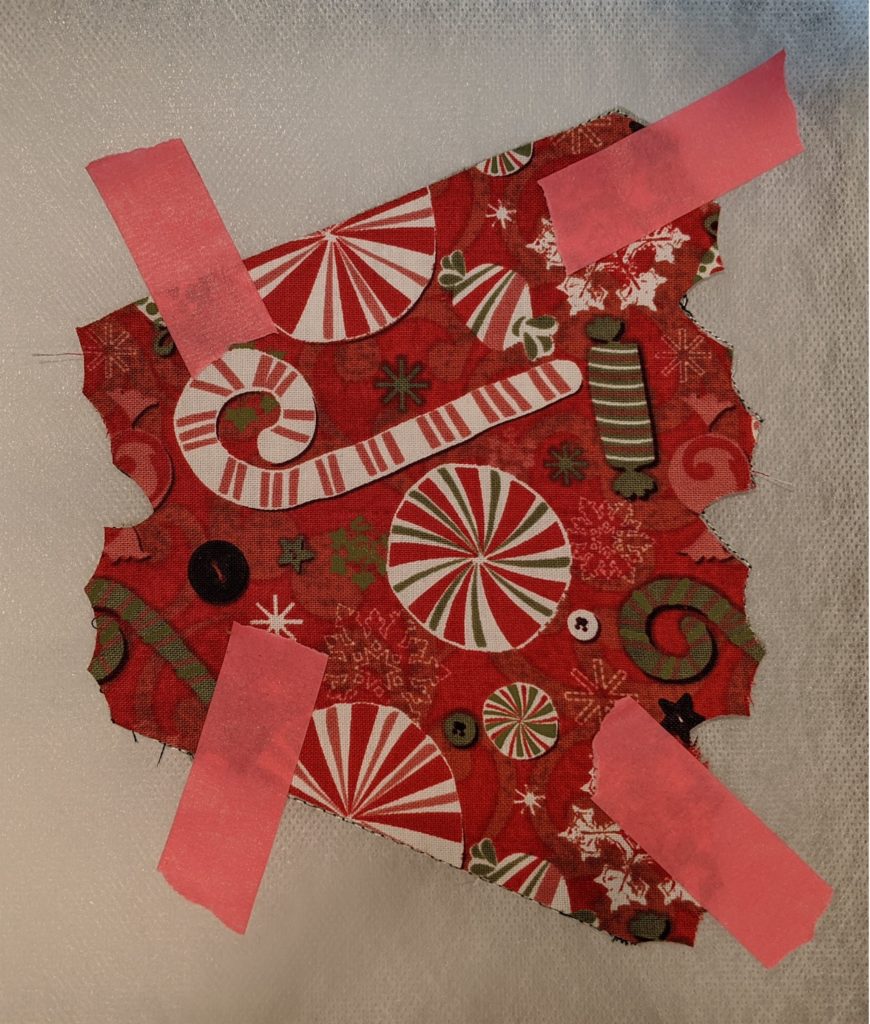
Go back to the tack down stitches after placing the fabric on the under side of the hoop and secure the fabric. Remove the tape.
Satin Stitches
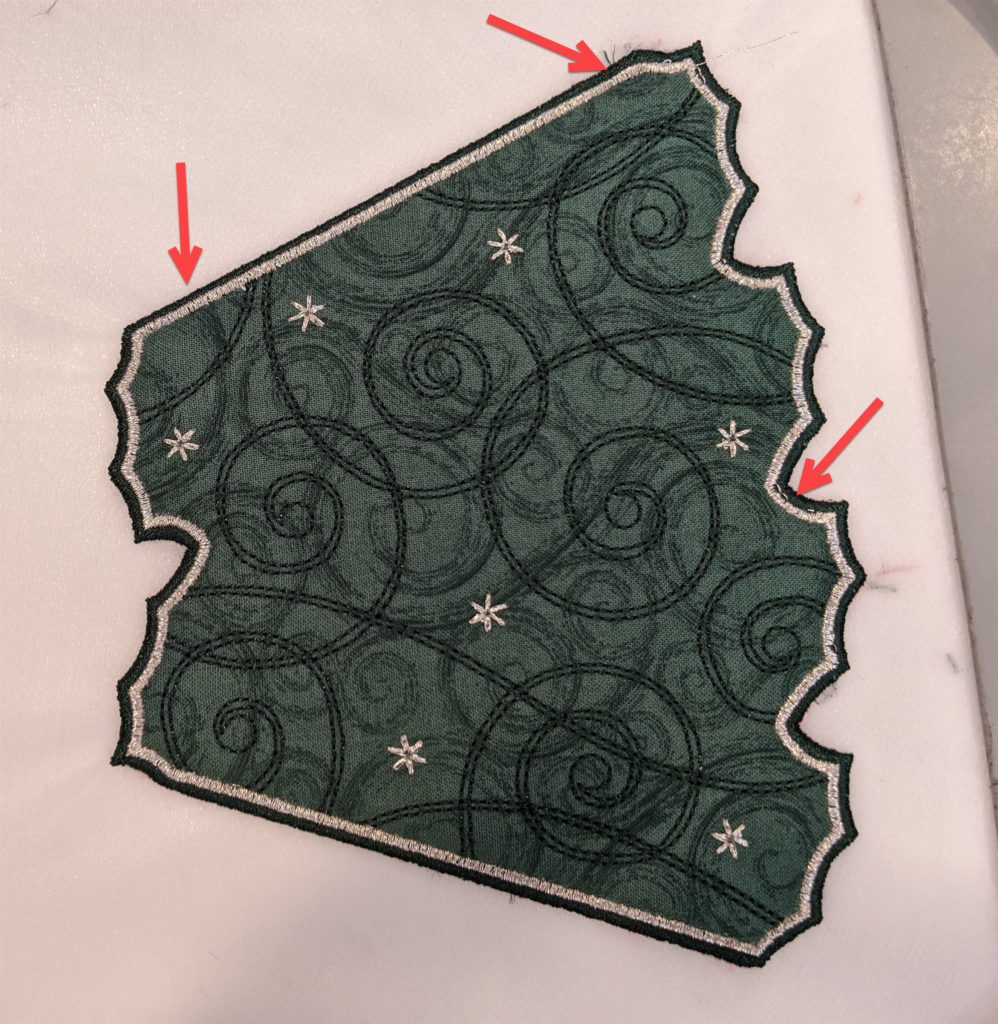
Sew out the outside satin stitches around the edge of the panel. Note that in a few places, the satin stitches did not cover the edge of the fabric. That happens sometimes when you cut out your appliques in advance rather than cutting excess fabric away after tacking it down.
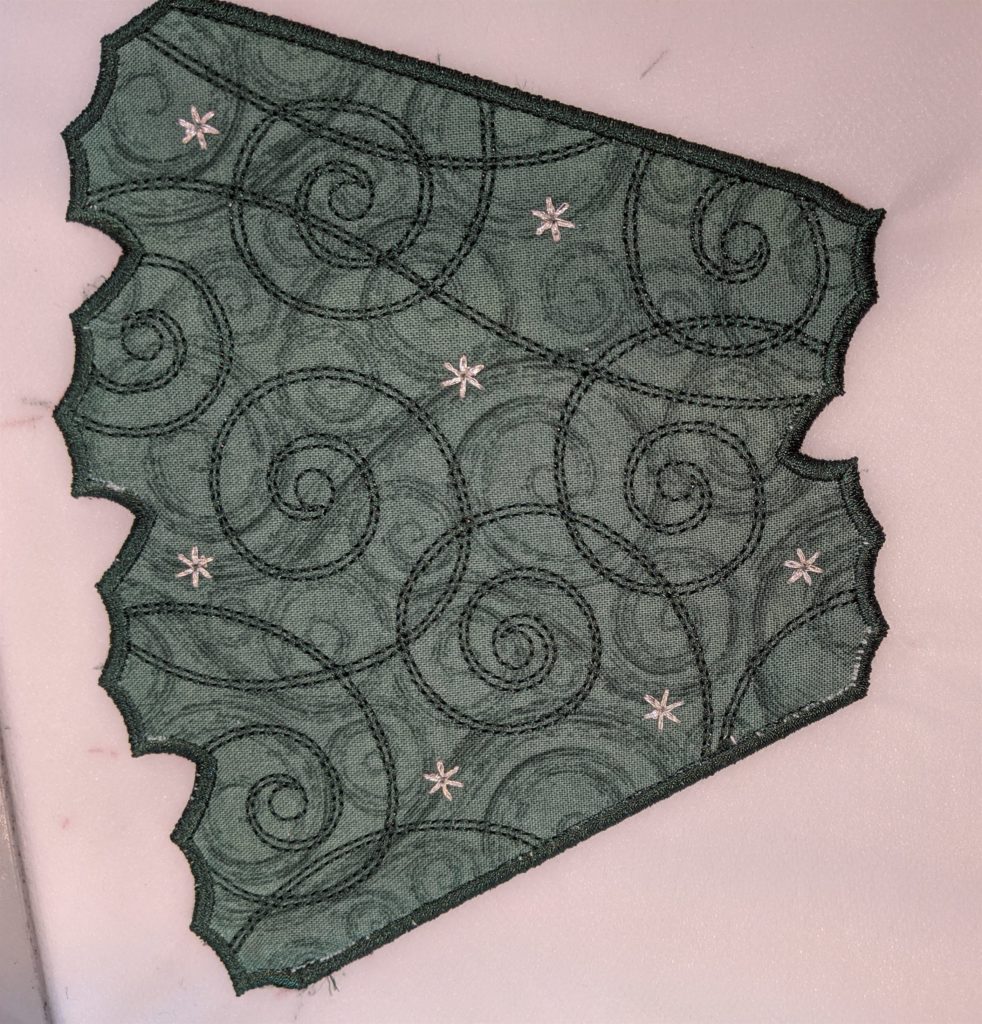
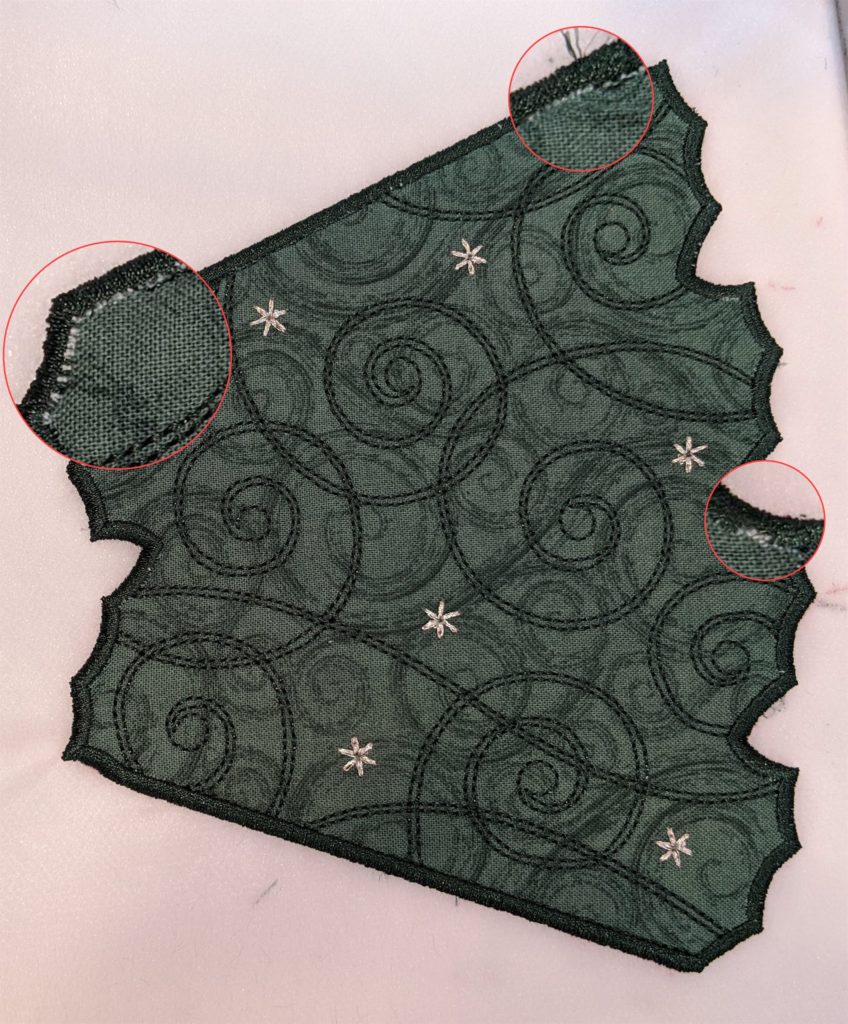
I usually cut my fabric slightly larger than the placement stitch to make sure that all fabric edges are hidden by the satin stitches on the edge. I guess I didn’t add enough margin on these panels since the Fiber Form is a little bulky.
Fortuneately, the design has a second row of satin stitches just inside the outside row. So these satin stitches covered the areas where the edges of the fabric showed.
Remove from hoop and trim stabilizer close to the edge of the panel, being careful to not clip the satin stitches. Wash away the stabilizer and let the panel dry.
Sew out remaining 7 panels as described above.
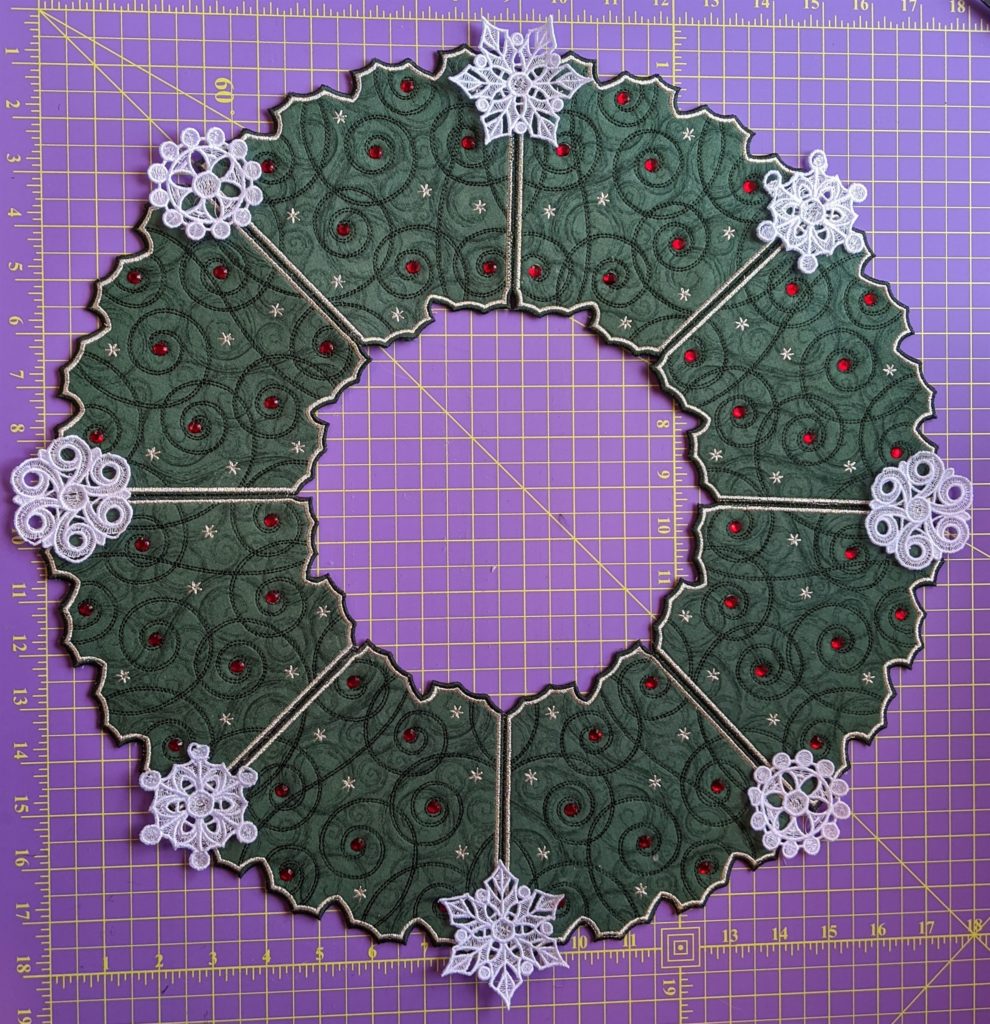
Put It All Together
Once all eight panels are complete, it’s time to sew them together.
Tape the panels together using RNK’s Stitch Perfection Tape (1/2″).
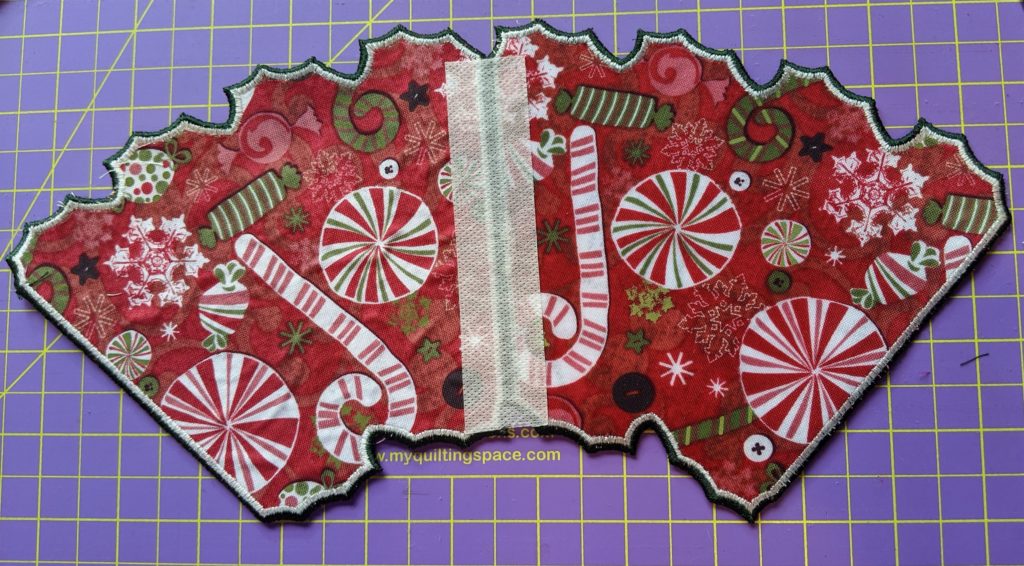
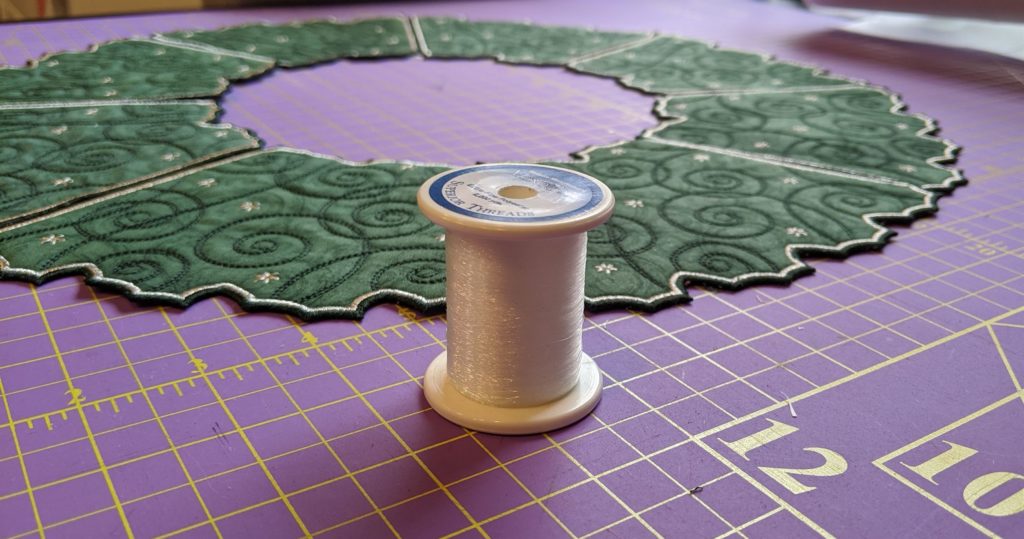
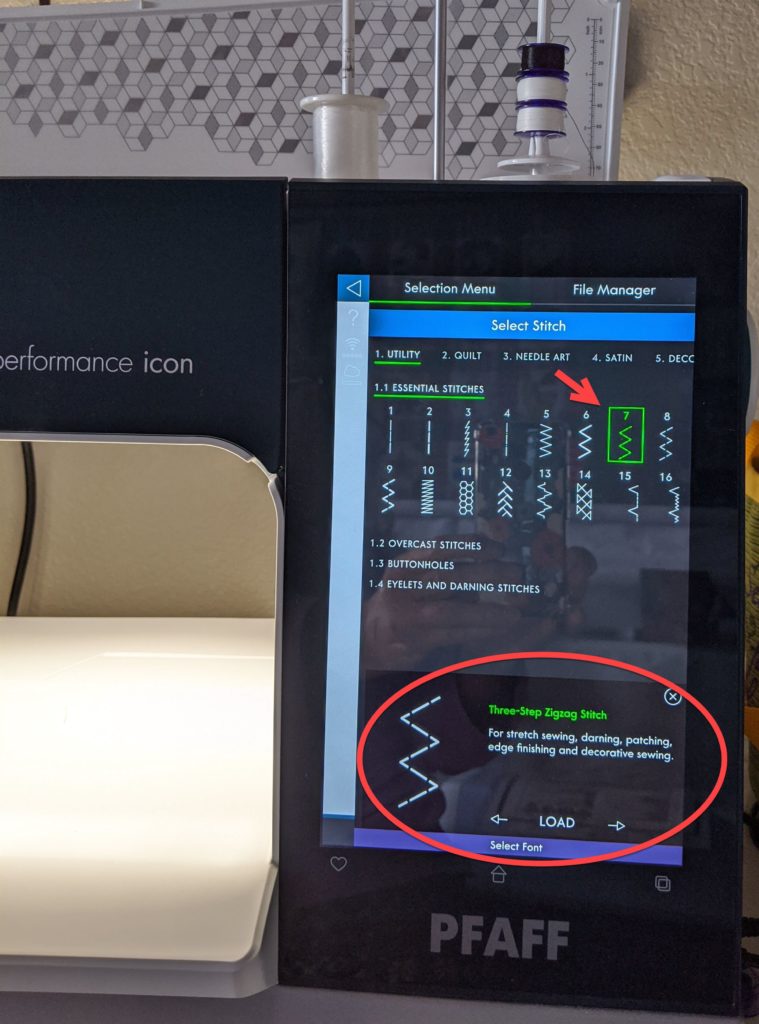
Next, using your sewing machine, stitch the panels together using invisible thread and a 3-step zig zag stitch.
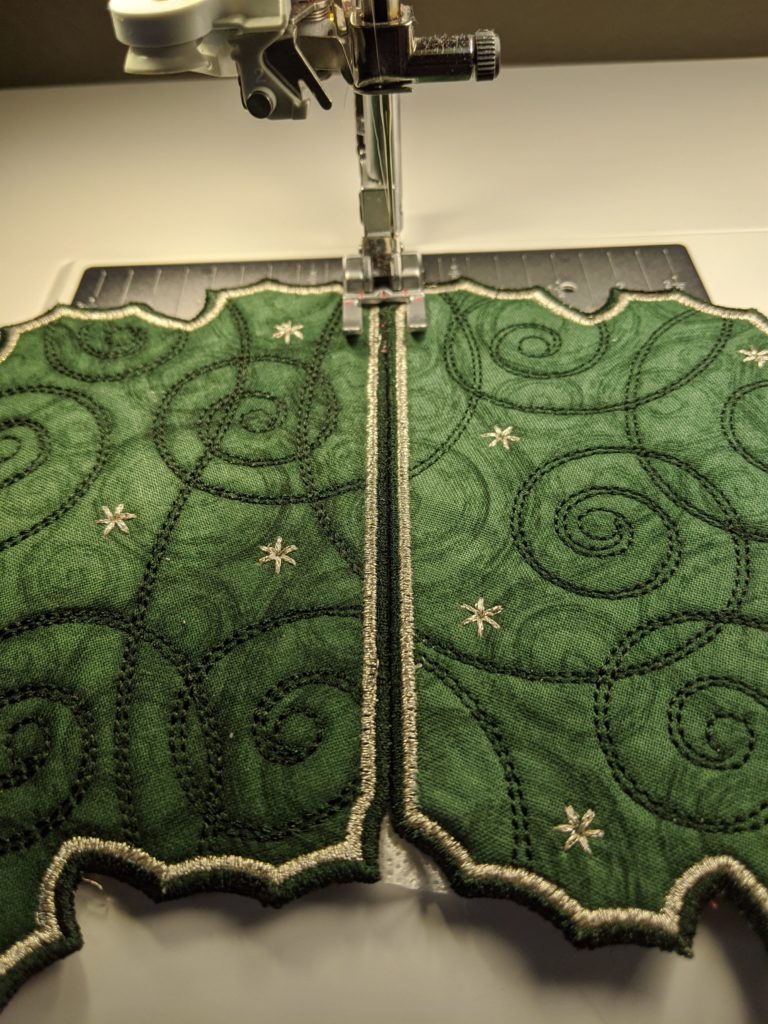
Remove tape with a cotton swab soaked in water.
Bling!
The swirls in the embroidery just called out for some red rhinestones!
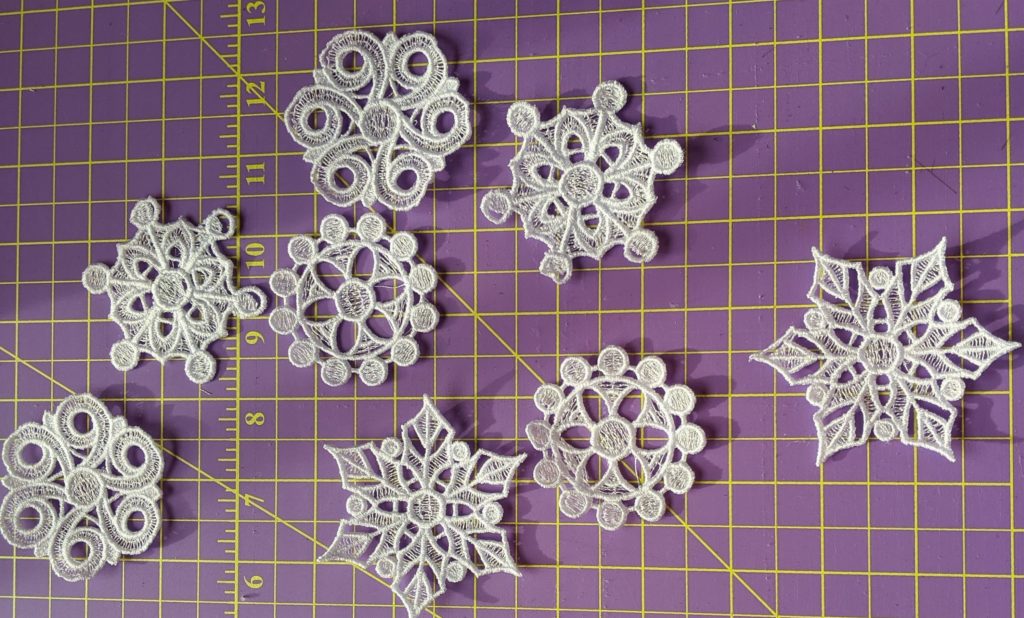
Snowflakes
The Freestanding Holiday Wreath collection includes 4 snowflake patterns. I made two of each for the wreath stitching them out on Aqua Mesh, and then attached them to the wreath with a button/bar tack stitch.
Put A Ribbon On It
Finish off your Freestanding Holiday Wreath by sewing on a pretty bow.
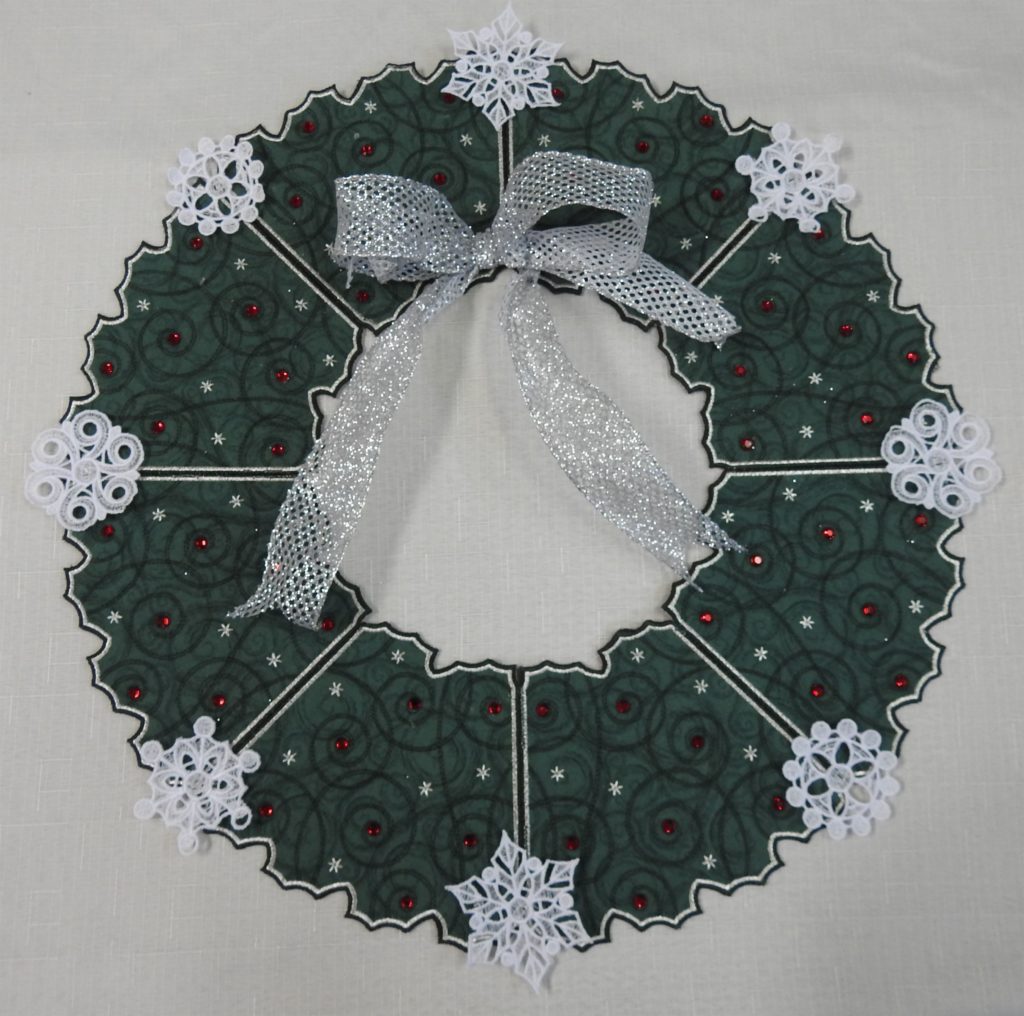
Isn’t it lovely?
Special Offer
You can download this collection from the Rocky Mountain Sewing and Vacuum OESD micro site. (If you go to the OESD site another way, please make sure you set Rocky Mountain Sewing and Vacuum as your local store.)
All of OESD designs are available online at this site. You can purchase entire collections as well as individual designs. We’re sure you can find just the right design(s) to embroider for a hostess gift, home decor, etc.
What can be better? Well, during our 12 Days of Christmas promotions, get 20% OFF all downloadable OESD designs at our OESD micro site. Just use the code RM12DAYS during check out. Valid until 12/24/19.
Merry Christmas and Happy Holidays!