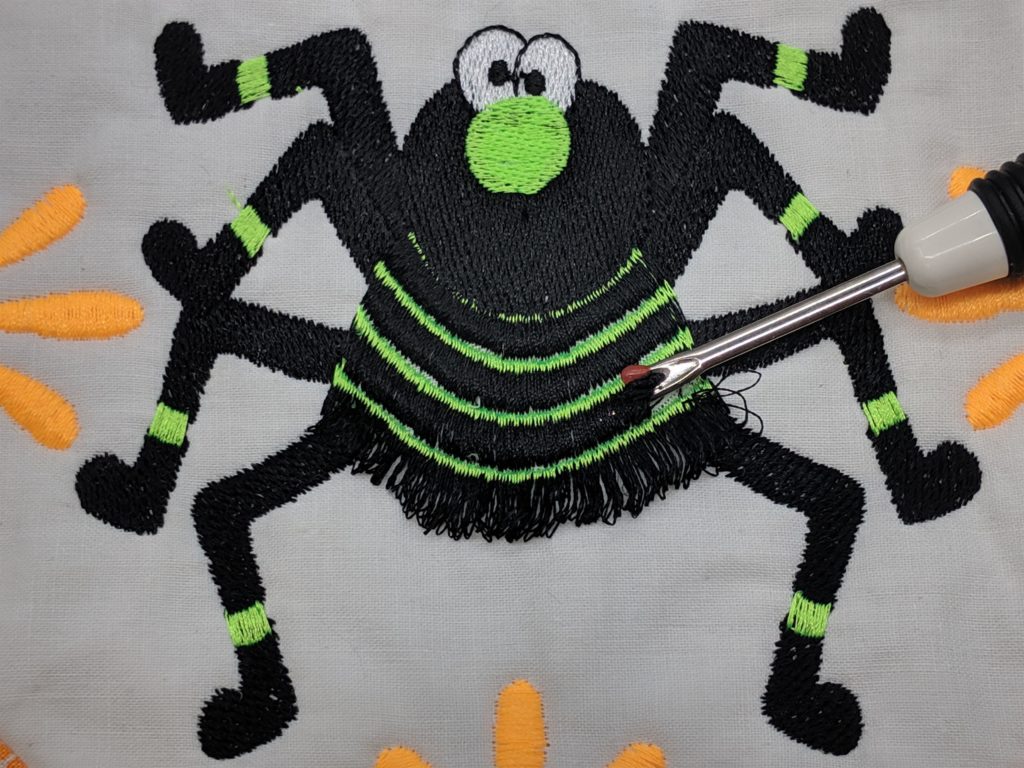
Several years ago I found some embroidery designs on Embroidery Library that had fringe as part of the design. I love the added dimension that it gives to certain designs, and wanted to try my hand at some of the designs.
Since then, other embroidery designers, like OESD and Anita Goodesign have added fringed designs to some of their collections.
It All Starts with Satin Stitches
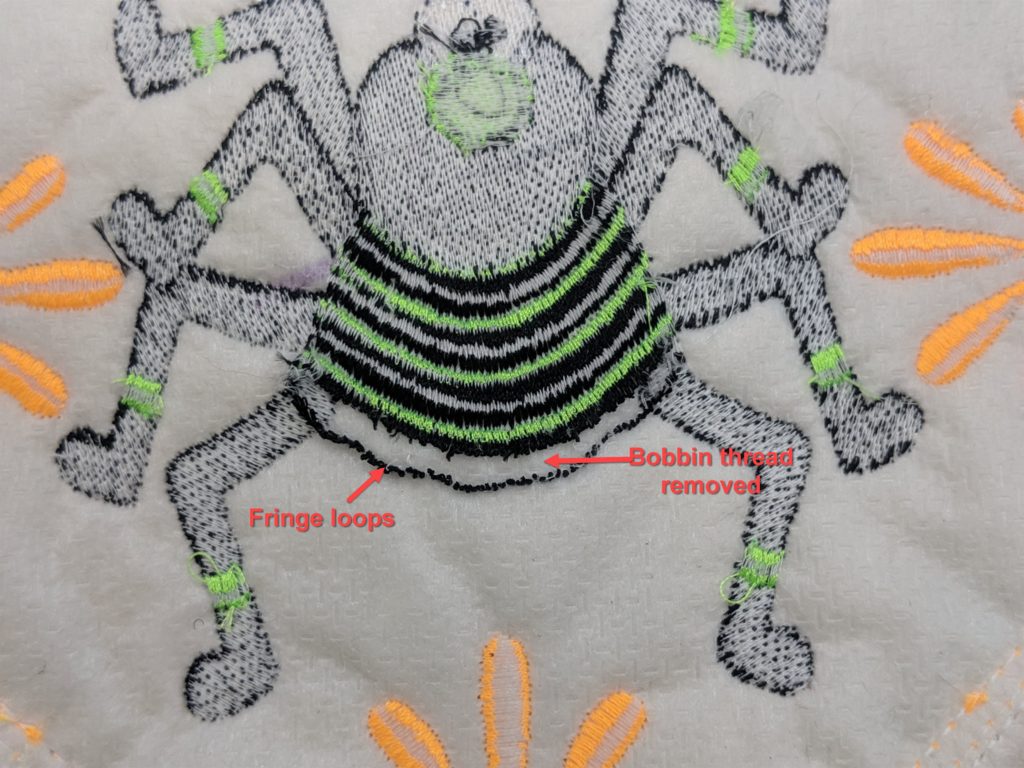
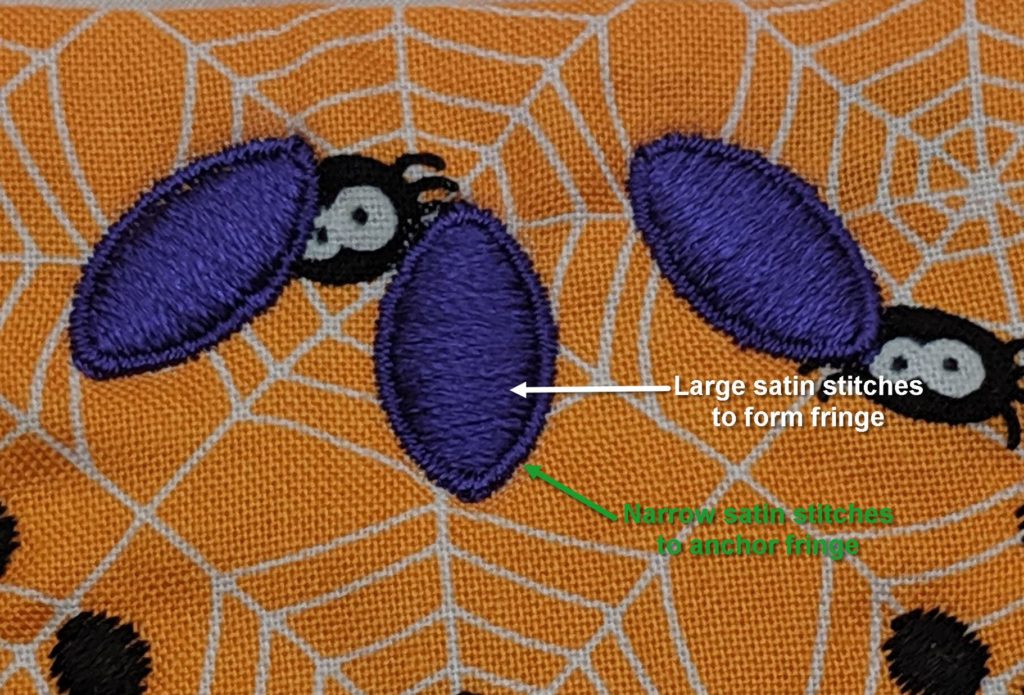
Specially digitized designs with rows of satin stitches make fringe. There are two types of fringe. In one method, you remove the bobbin thread to create loops of thread on the top of the design. For second method, you cut the satin stitches either on the top of the design or underneath the design, to create fuzzy-looking fringe.
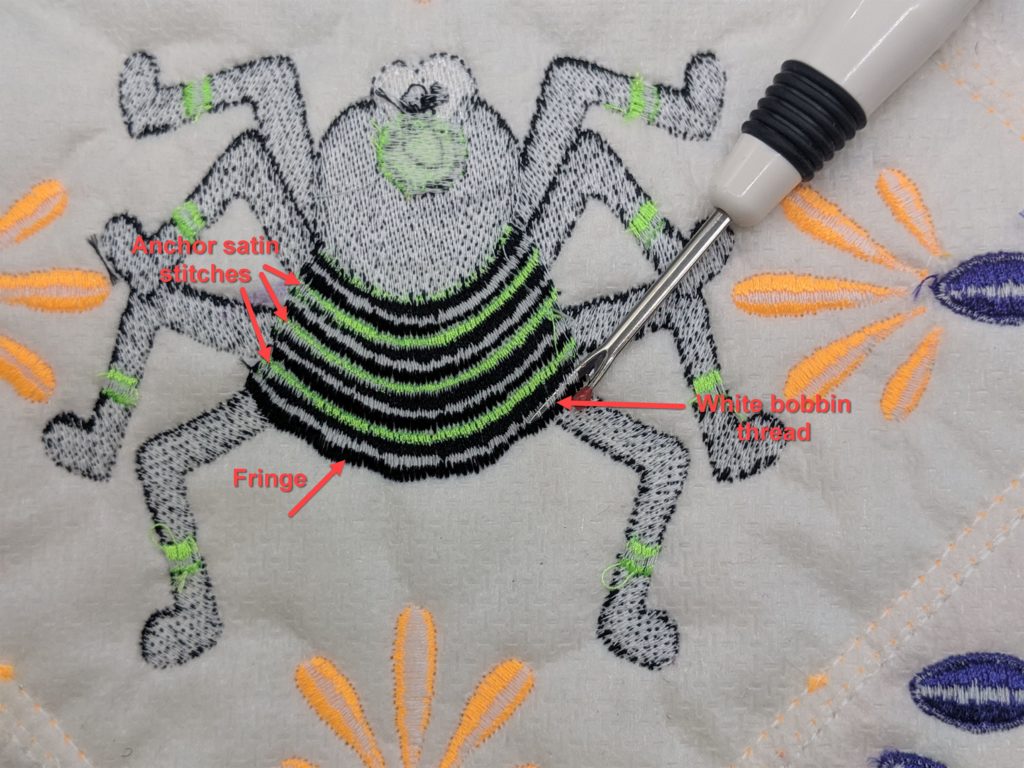
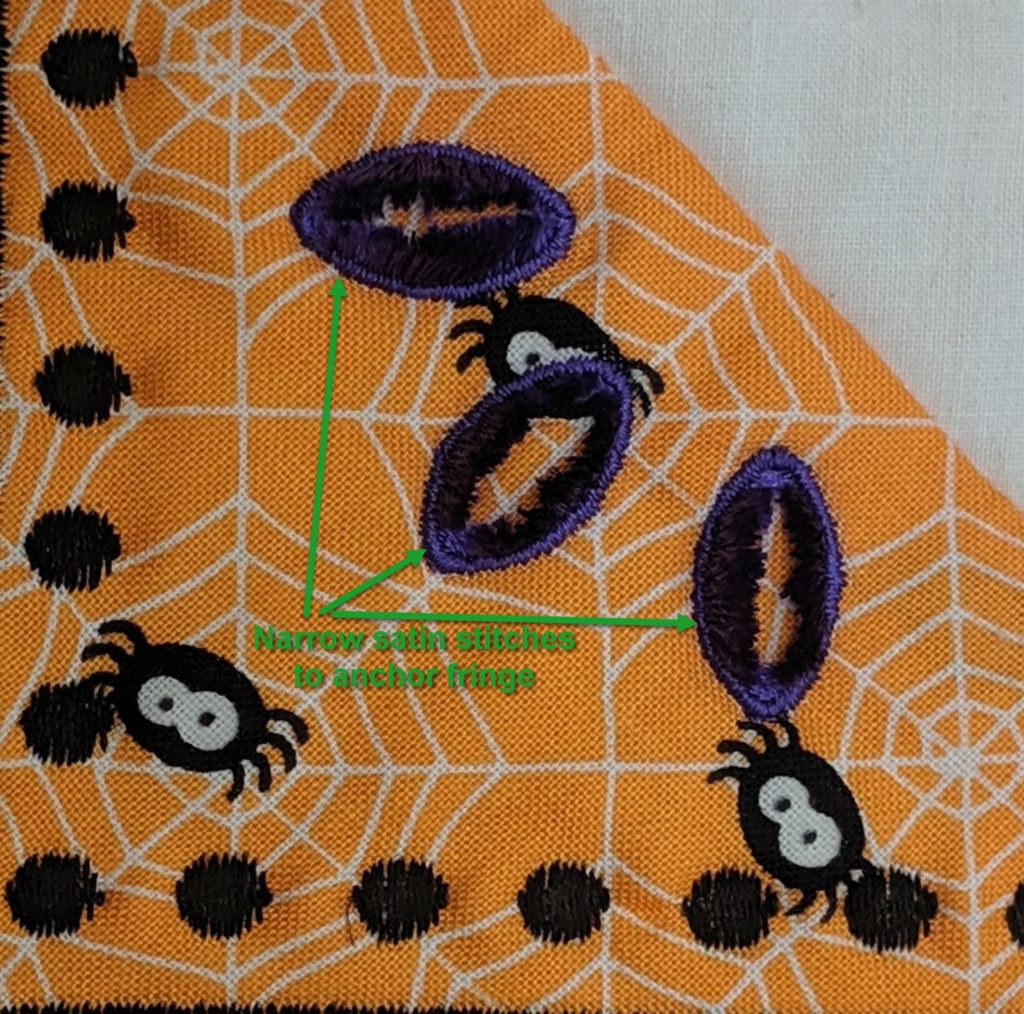
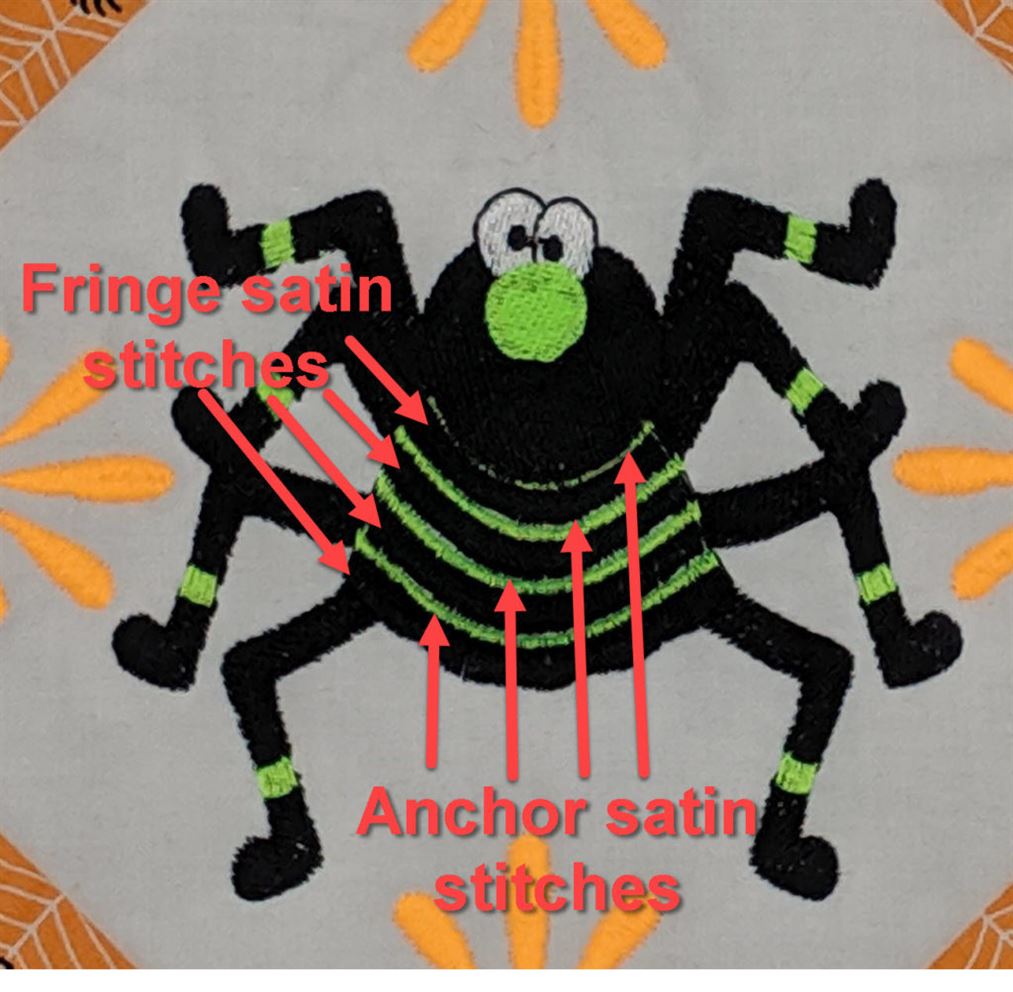
Regardless of the method, the stitches to be “fringed” are anchored by other stitches. Usually, narrow satin stitch hold the fringe threads once you remove the bobbin thread or cut the large satin stitches.
Along Came a Spider
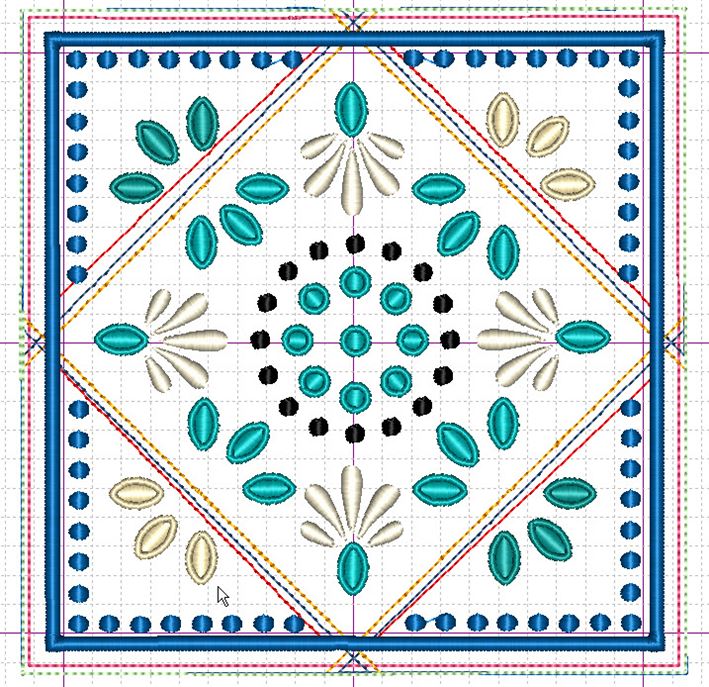
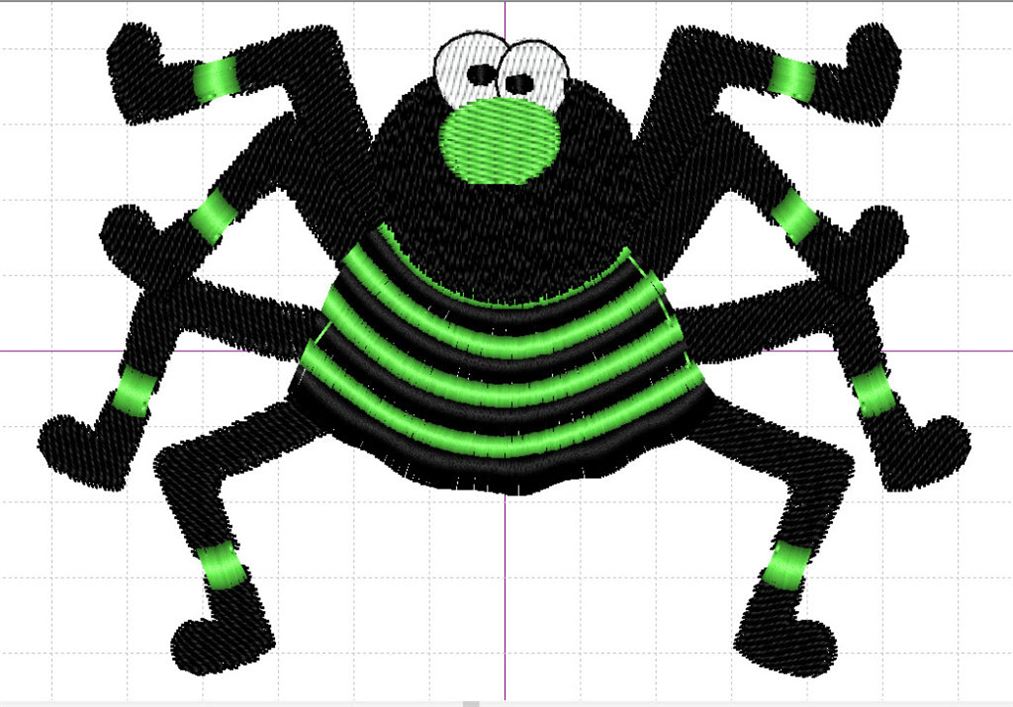
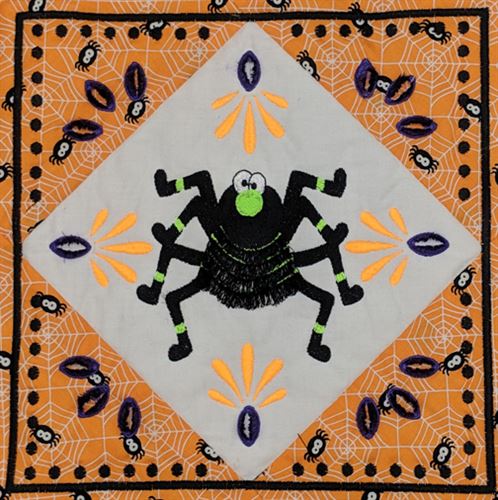
For this blog, I combined two designs. One design, from Anita Goodesign’s, Geometric Fringe Quilt collection and one design from Embroidery Library’s Halloween Fringe collection.
Next, I modified the quilt block to place the spider in the middle of the block.
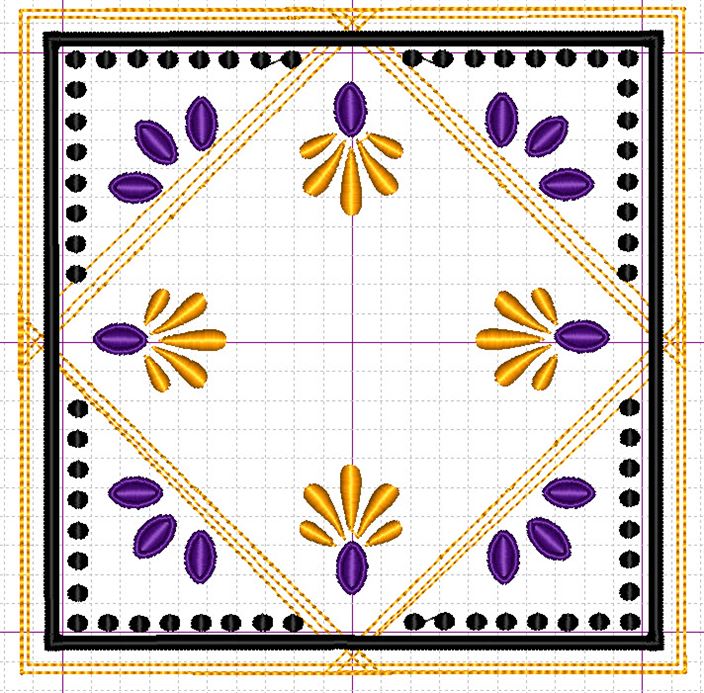
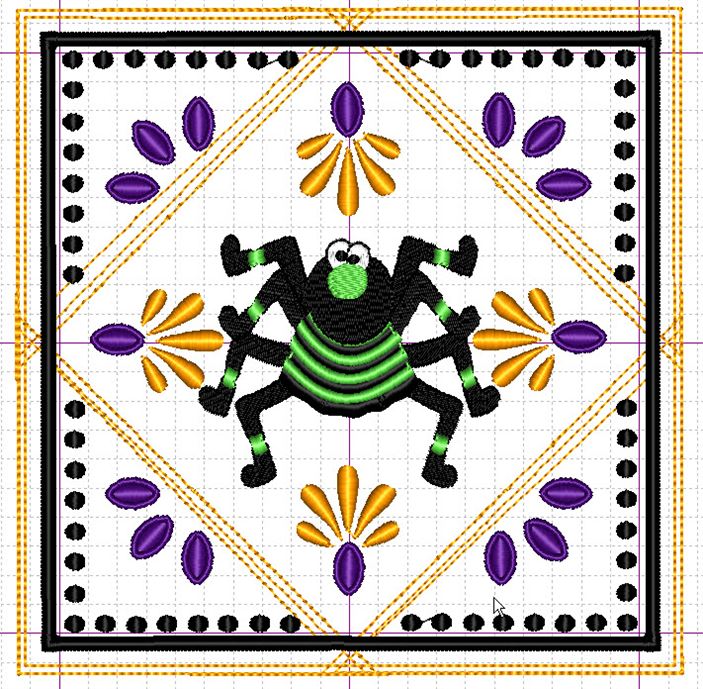
I stitched out the design on cutaway stabilizer (NOTE: do not use
tear-away or water-soluble stabilizer with designs with fringe elements.)
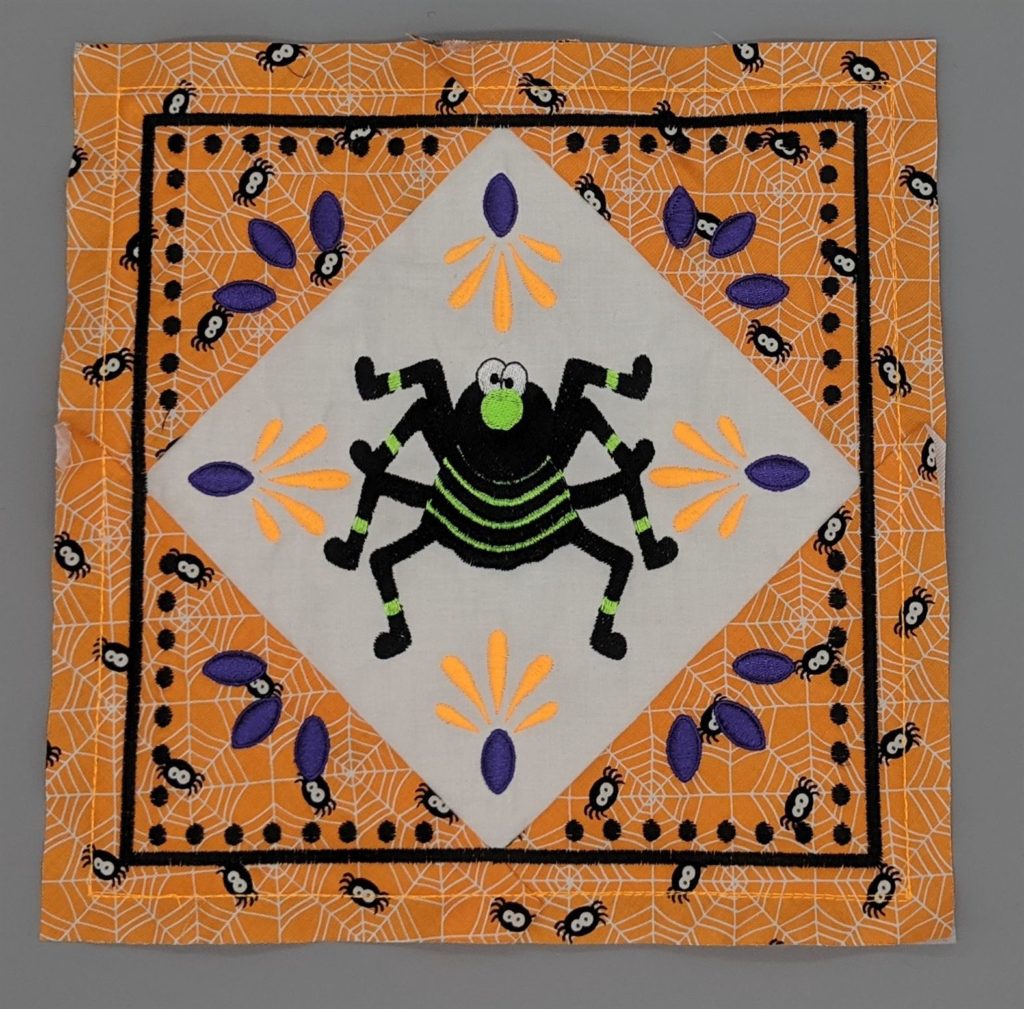
“Fuzzy” Fringe
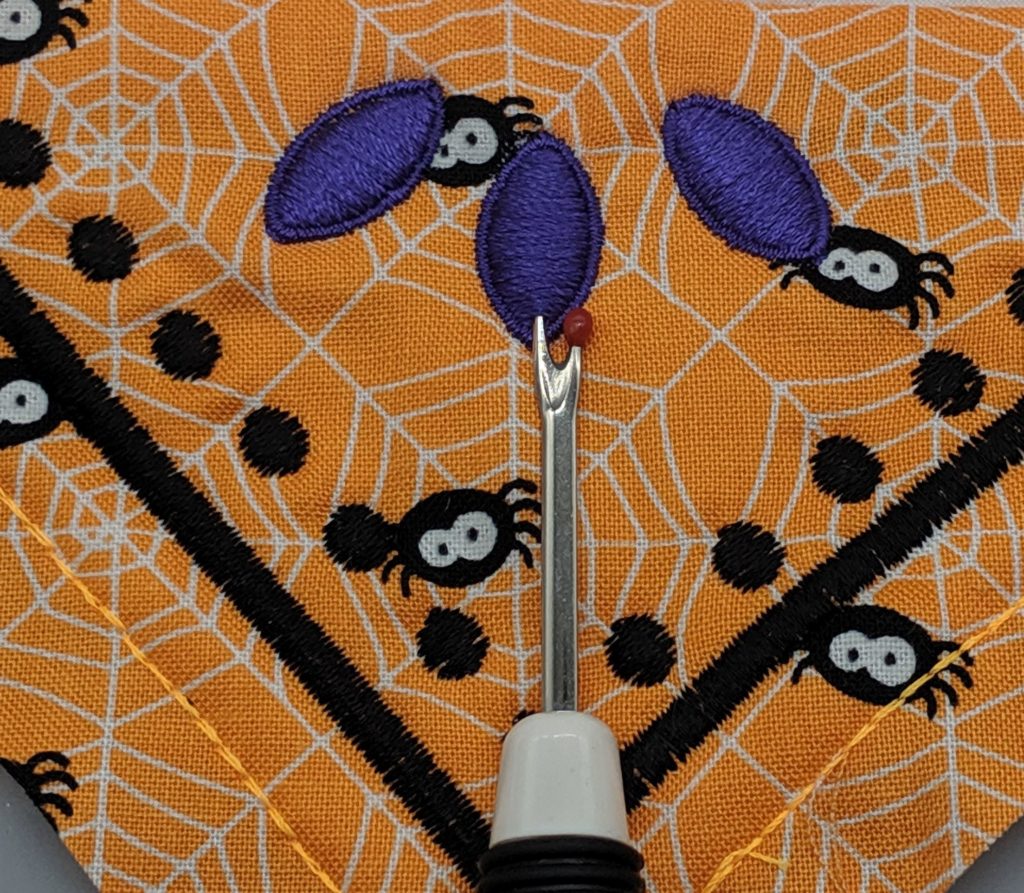
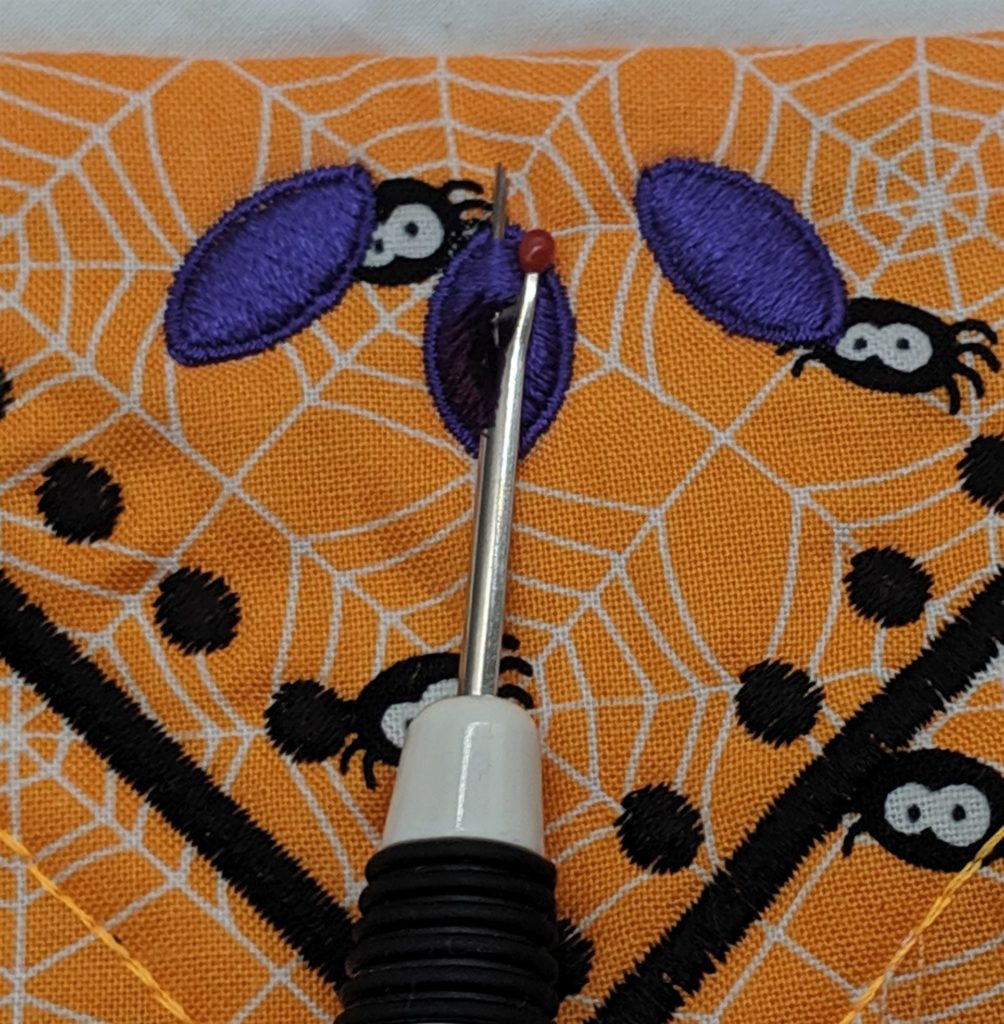
In this design, narrow satin stitches surround large/wide satin stitches to make the purple ovals. Take a seam ripper and slice up the middle of each purple oval. Make sure the seam ripper only grabs the stitches and not the underlying fabric or the narrow satin stitches around the edges.
This creates “fuzzy fringe”.
Looped Fringe
Looped fringe makes up the body of the spider. Narrow green satin stitches anchor the fringe.
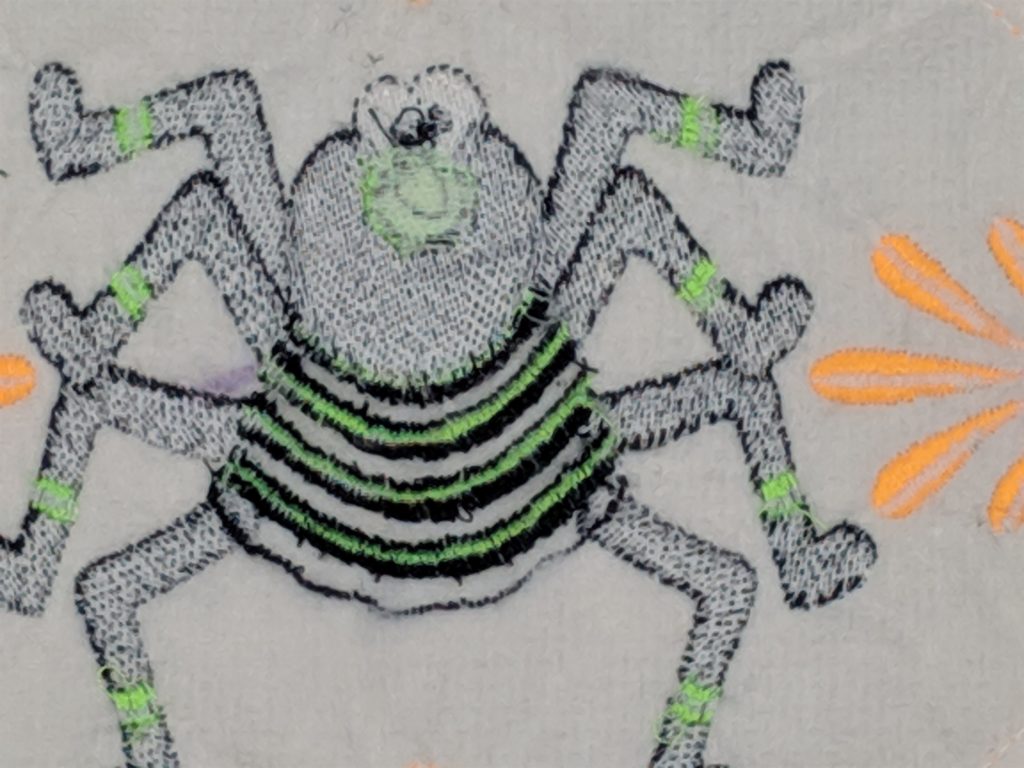
Create the loops by removing the bobbin thread from the wide satin stitches from the back of the design. Again, be careful to only cut the bobbin threads of these stitches. Remove the bobbin stitches.
Remove all bobbin thread from the rows of wide satin stitches.
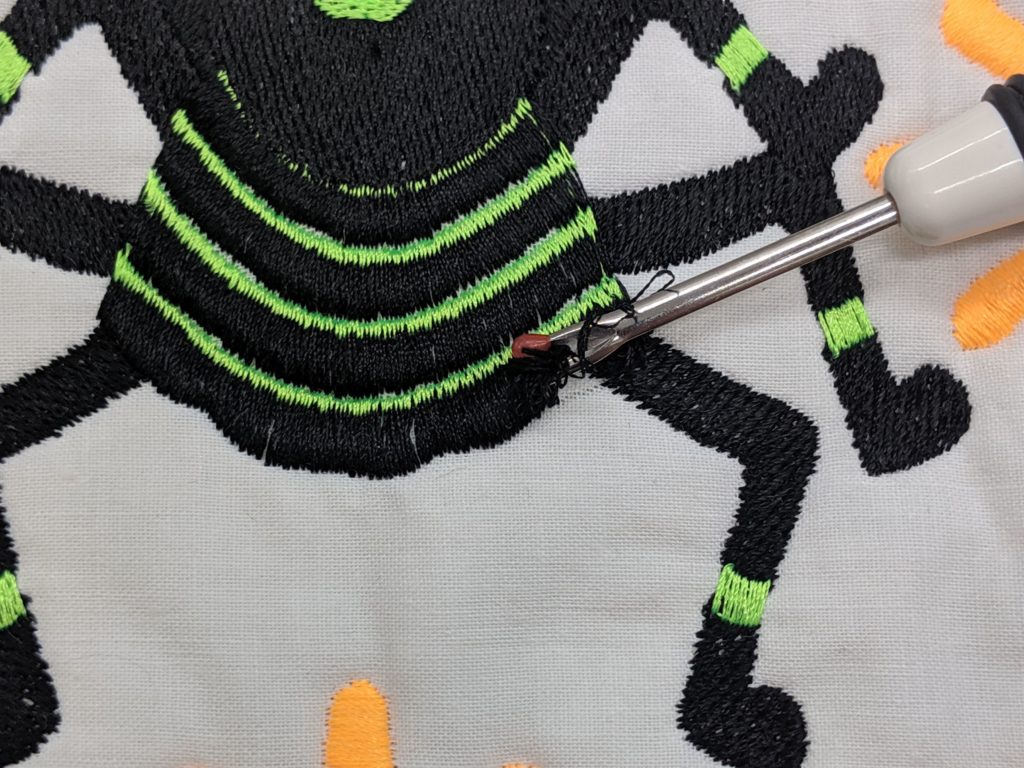
On the right side of the design, place a seam ripper or other narrow object under the loops of thread that make up the spider’s body. Gently pull the loops out from the backside of the design.
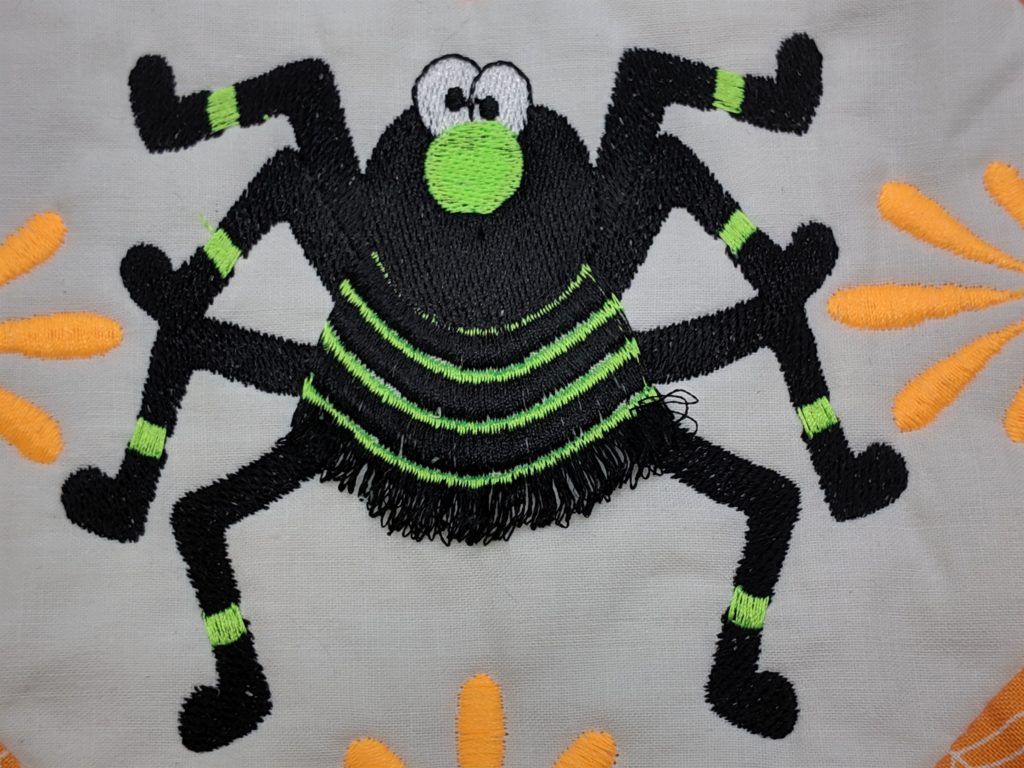
Look at the cute, fringy spider!
Vanishing Thread
If you want to make removing the bobbin thread easier, consider using water-soluble thread in your bobbin. Just be sure to use that thread only when stitching out the satin stitches that make up the loops. Of course, don’t use that thread when stitching the anchor stitches or other stitches in the design!
This is a fast and easy way to remove any type of temporary stitching, including basting stitches. It’s a nice thread to have handy in your sewing studio, so here’s a coupon for 30% off a spool of water-soluble thread. Stop in any of our four locations and pick some up. If it’s out of stock, we’ll order it for you at the 30% off discount.

