If April showers bring May flowers, what do May snow storms bring? I’m hoping for lots of June sunshine! One good thing about these past few snowy days is that I’ve had the mind to hunker down in my sewing studio, and figure how how to use the foiling feature of the ScanNCut.
Make shiny foil patterns for greeting cards, gifts, and party decorations! Add a touch of elegance to most paper craft projects with silver, gold or other colored foils with the 50 foiling patterns included on the activation card. Plus you can use your own designs, or any built-in Brother cutting machine designs, for a wide-variety of foil creations.
Foil Transfer Starter Kit

The Brother ScanNCut Foil Transfer Starter Kit contains all you need to expand you crafting capabilities using your ScanNCut machine. Start adding detailed foiled designs to your crafting projects with foil sheets.
The kit contains:
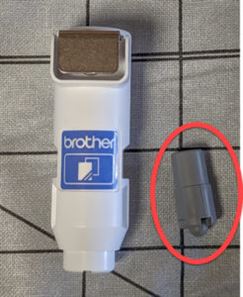
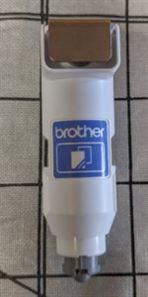
- Glue pen holder
- Glue pen 1.3 mL (0.04 fl oz)
- Pressing tool
- Foil transfer sheets 3.9”x7.8” (100mmx200mm), 1 gold color and 1 silver color
- Protective sheet 8.6”x12” (220mmx305mm)
- Dust removal sheet with storage sheet 1.9”x2.9” (50mmx75mm)
- 1 Activation Card to unlock function in CanvasWorkspace
The Design
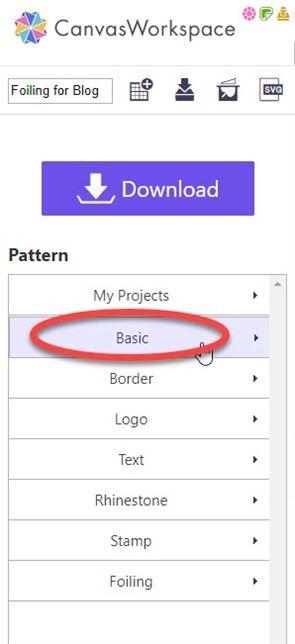
Canvas Workspace is perfect for designing your foiling project. I have posted previous blogs on using Canvas Workspace for Stickers, Rhinestones and Stamps. So the procedure to register your Foil Transfer Starter Kit is the same as for all premium add-ons.
Once you have registered your Foil Transfer Starter Kit, you can take advantage of some of the designs in Canvas Workspace for foiling.
For this blog, I created a Thank You card. Here’s how to do it:
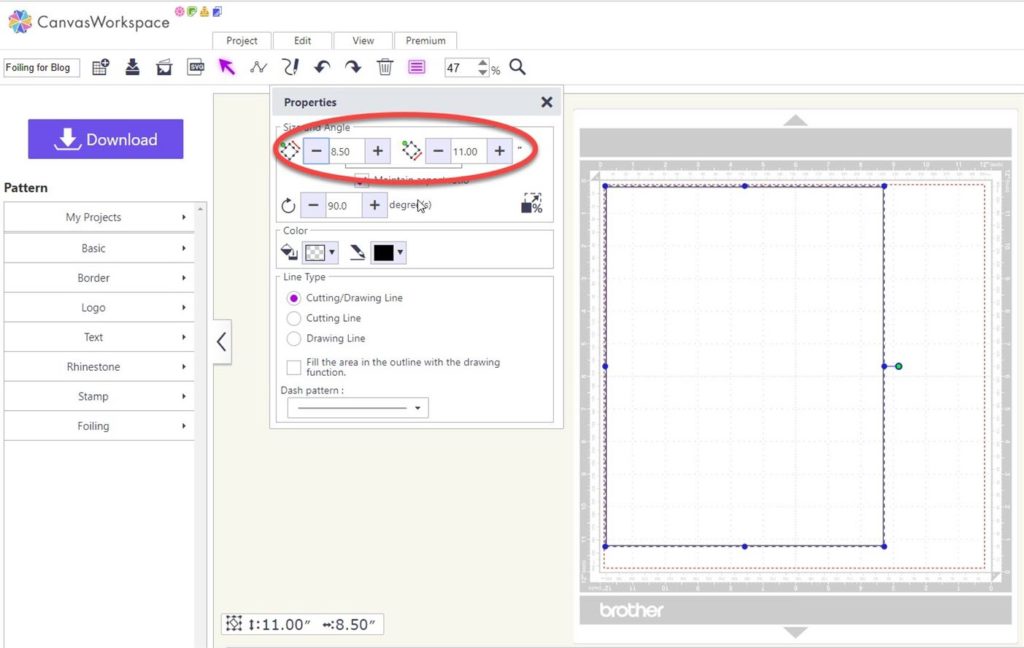
Create Page Guide
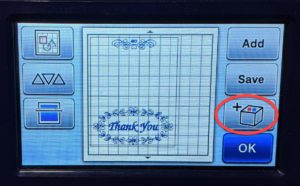
In order to get the elements of my design centered and in the right place on the card stock, create a rectangle the same size as the base material you are foiling. Use the properties feature to adjust the size of the rectangle if necessary.
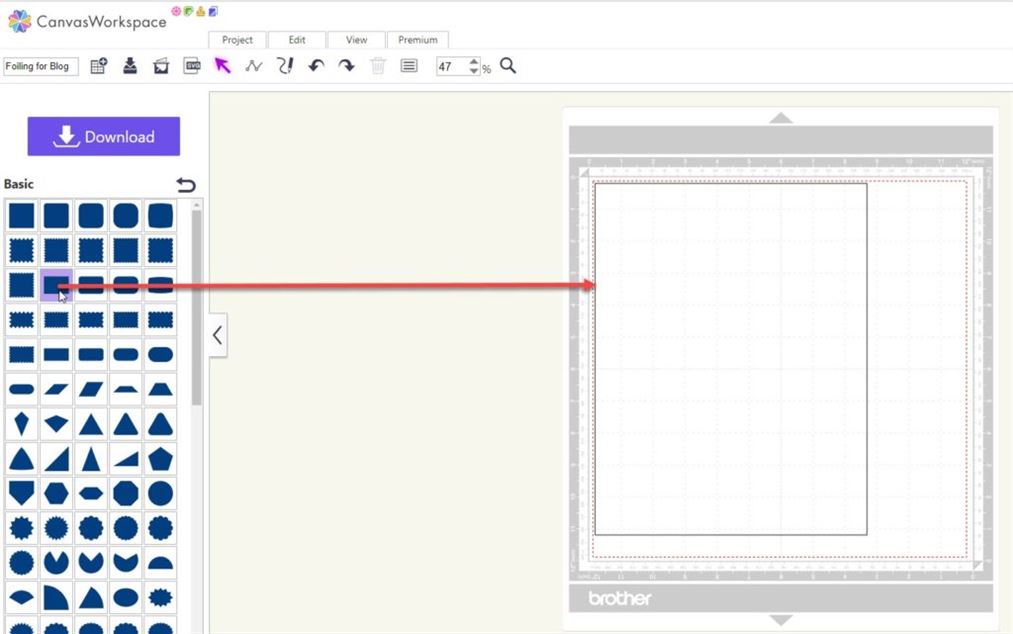
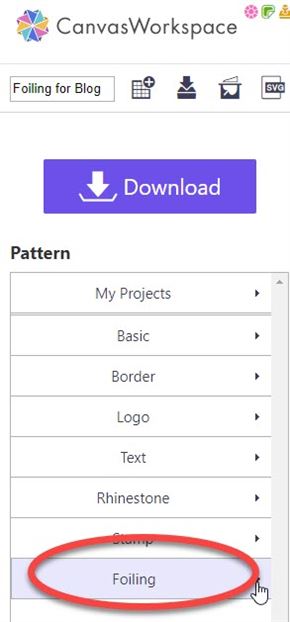
Add Designs
Select the designs you want to use and add them to the cutting mat.
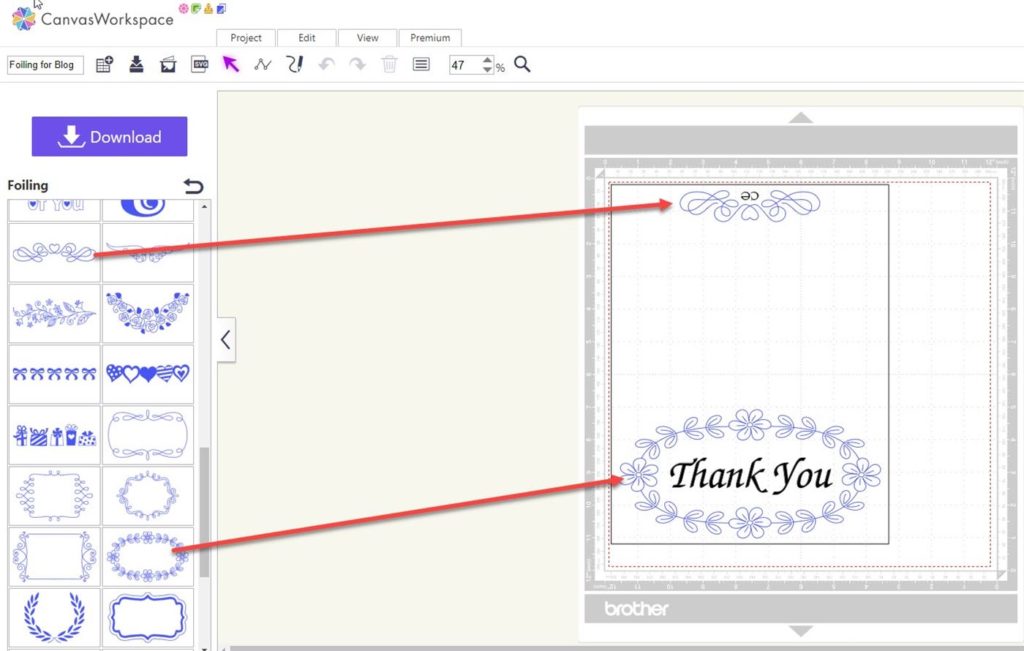
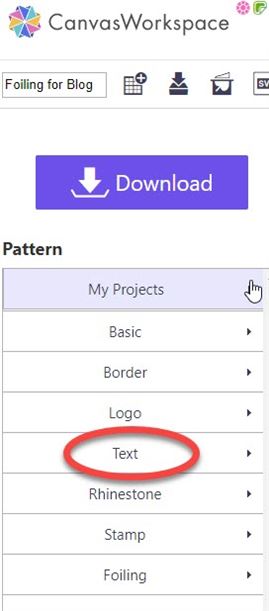
Add any text needed to the design.
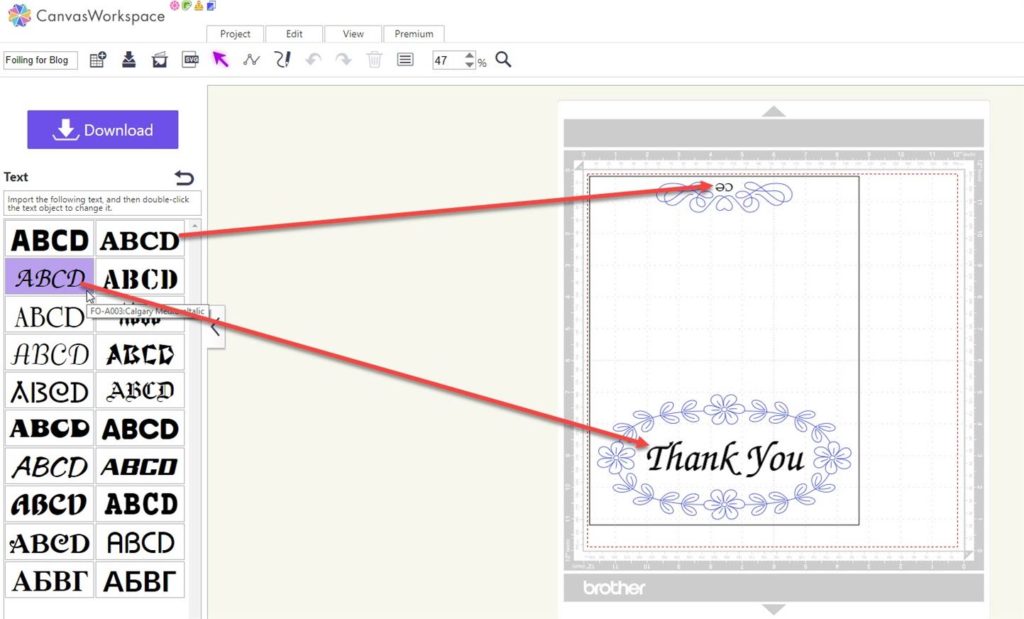
Note that since this will be a card that’s folded along the vertical center, the design at the top of the page, which will be the back side of the card, is upside down. Once the card is folded, the text and design will be right side up on the back of the card.
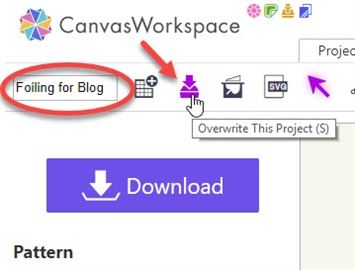
Save and Send Foiling Design to ScanNCut
Save your design to your Canvas Workspace page by giving your project a name and then clicking on the “Overwrite this design” icon.
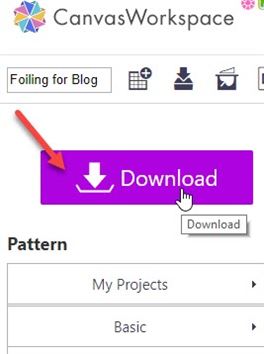
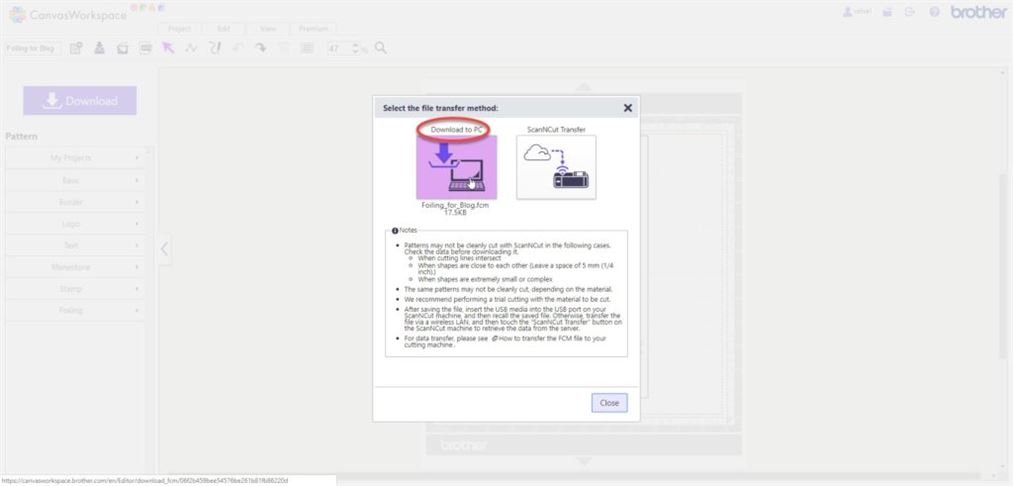
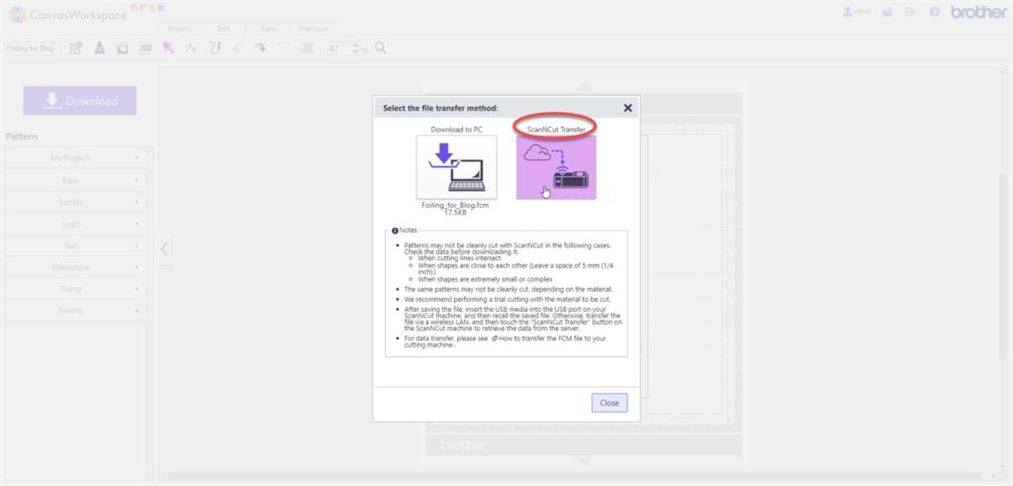
Download your design directly to the ScanNCut if you’re set up for wireless or download the design to a USB stick to put in your ScanNCut.
Retrieve Design on the ScanNCut
Instructions for both the ScanNCut 650 and the DX follow. Click here for a video of the process.
Scan N Cut CM650W or CM650WX
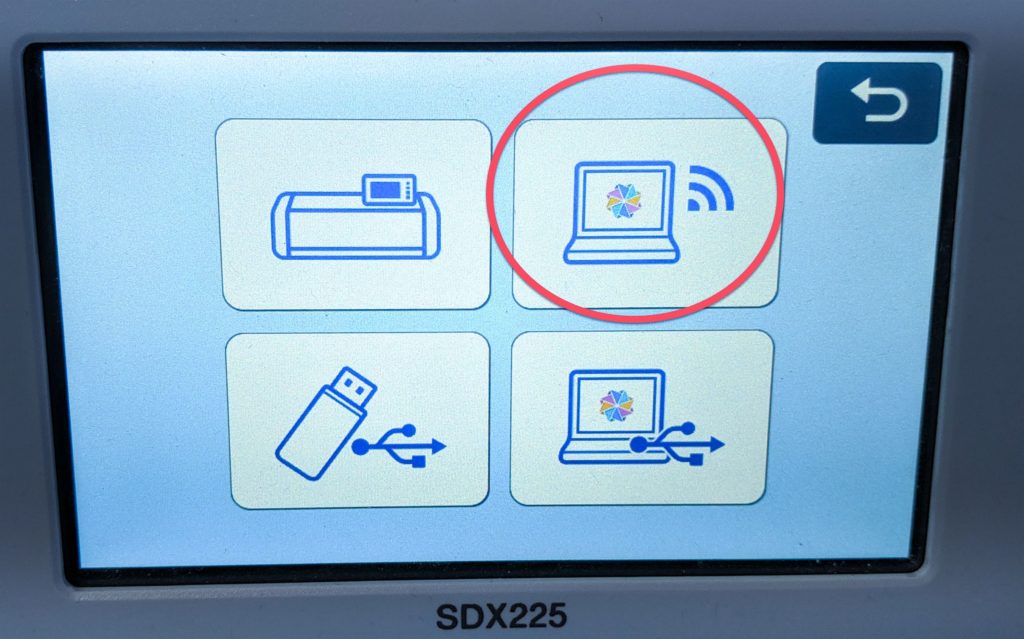
Recall the foiling pattern you sent to the machine wirelessly or place the USB stick with the .fcm file into the ScanNCut.
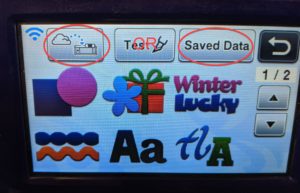
If recalling from the wireless download, touch the cloud icon on the ScanNCut to load the design into the ScanNCut. The last design downloaded from CanvasWorkspace will be loaded into the machine.
If loading the file from a USB stick, click on Saved Data.
NOTE: Before starting the foiling process, if you used a rectangle to place your designs as described above, be sure to delete the rectangle before adding the glue.
Activate Foiling Feature
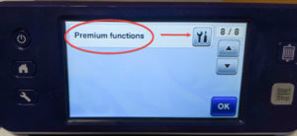
Once your design is loaded, if necessary, touch the wrench button to add foiling as a premium feature for your ScanNCut. Scroll down to page 8.

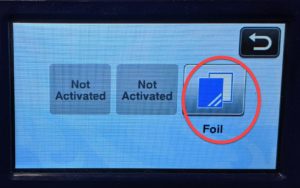
Touch the Premium functions button.
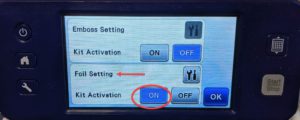
Activate the foiling function by touching the ON button next to the Foil Setting, Kit Activation. Touch OK.
Add Glue
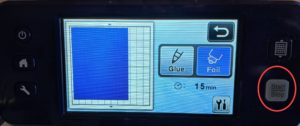
Once you touch OK, you can select the Premium functions button and, on the next screen, touch the Foil button.
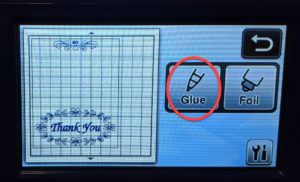
Touch the Glue button.
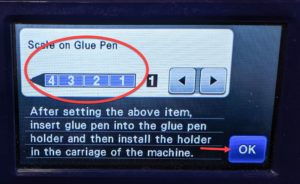
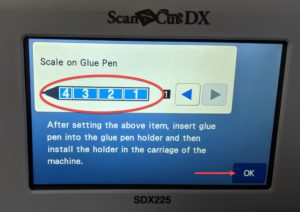
Indicate the level of glue in the glue pen. Insert the glue stick into the machine and touch OK.
If you haven’t already done so, load the material you want foiled on the mat. Brother recommends the light tack mat for this process.
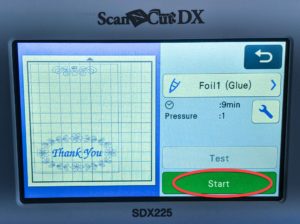
Touch Glue and then press the Start/Stop button on the machine to apply the glue.
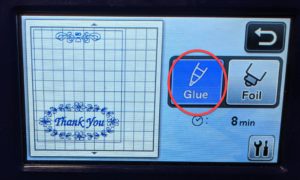
The ScanNCut will lay down lines of glue on the material in accordance with the loaded design.
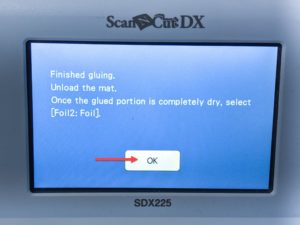
When the ScanNCut has completed adding the glue to the material, unload the mat and set it aside for the glue to dry. DO NOT remove the material from the mat!
Add Foil
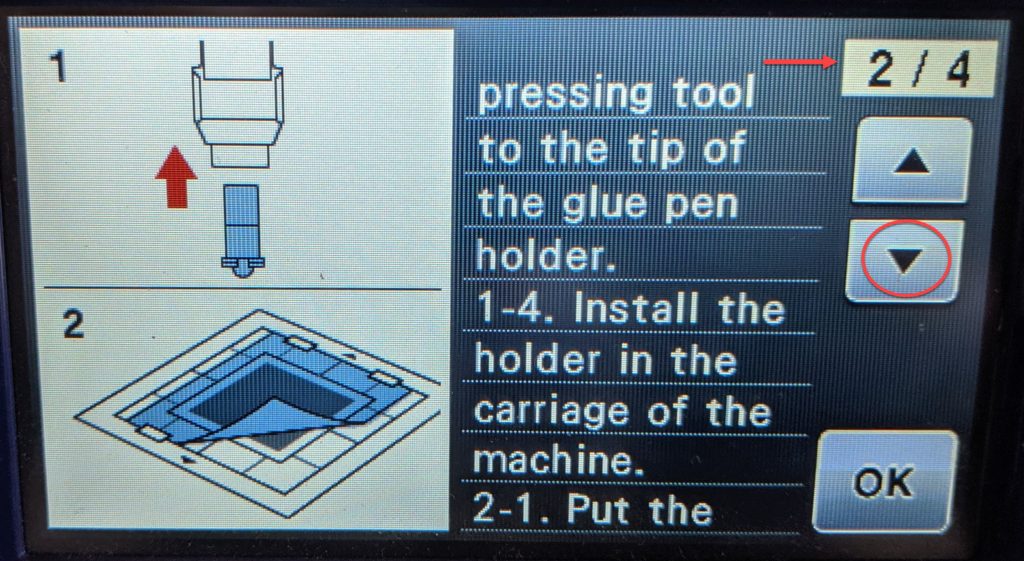
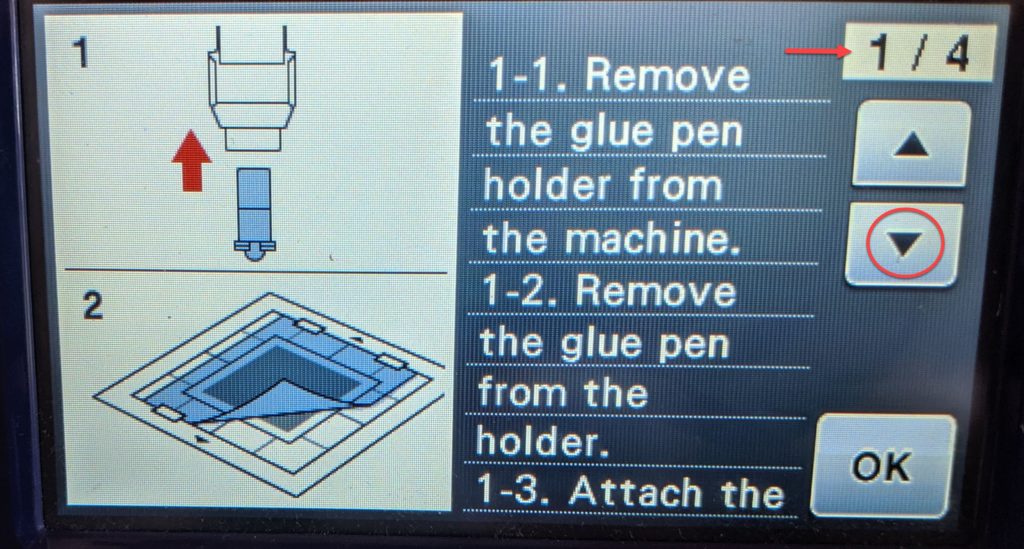
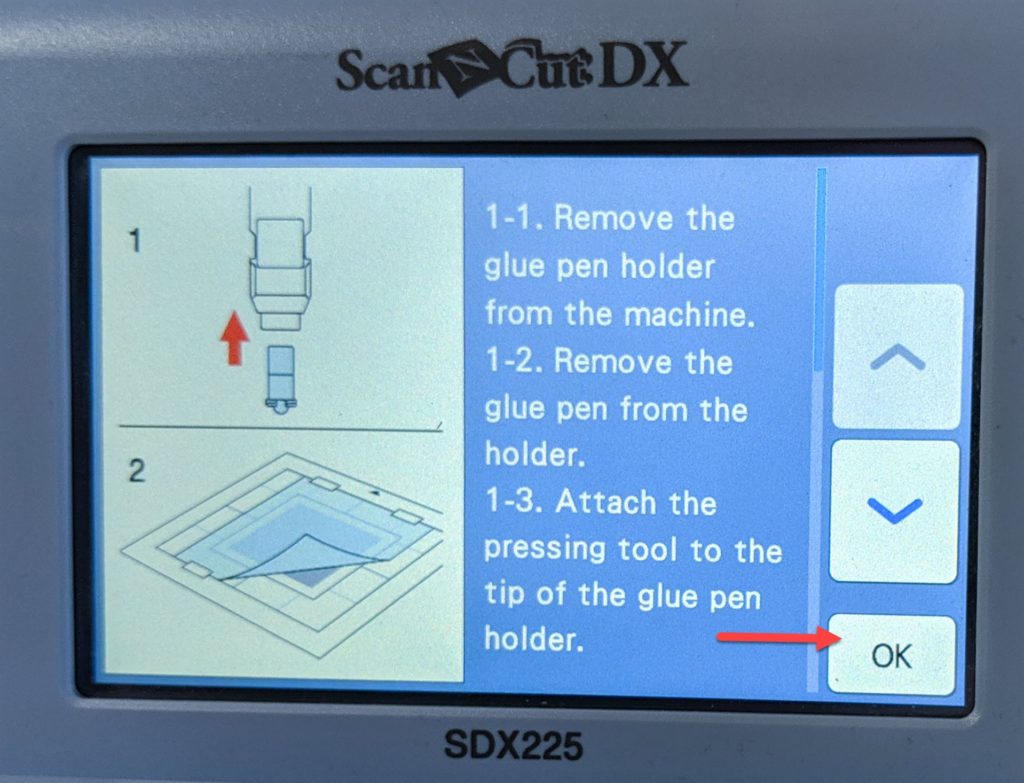
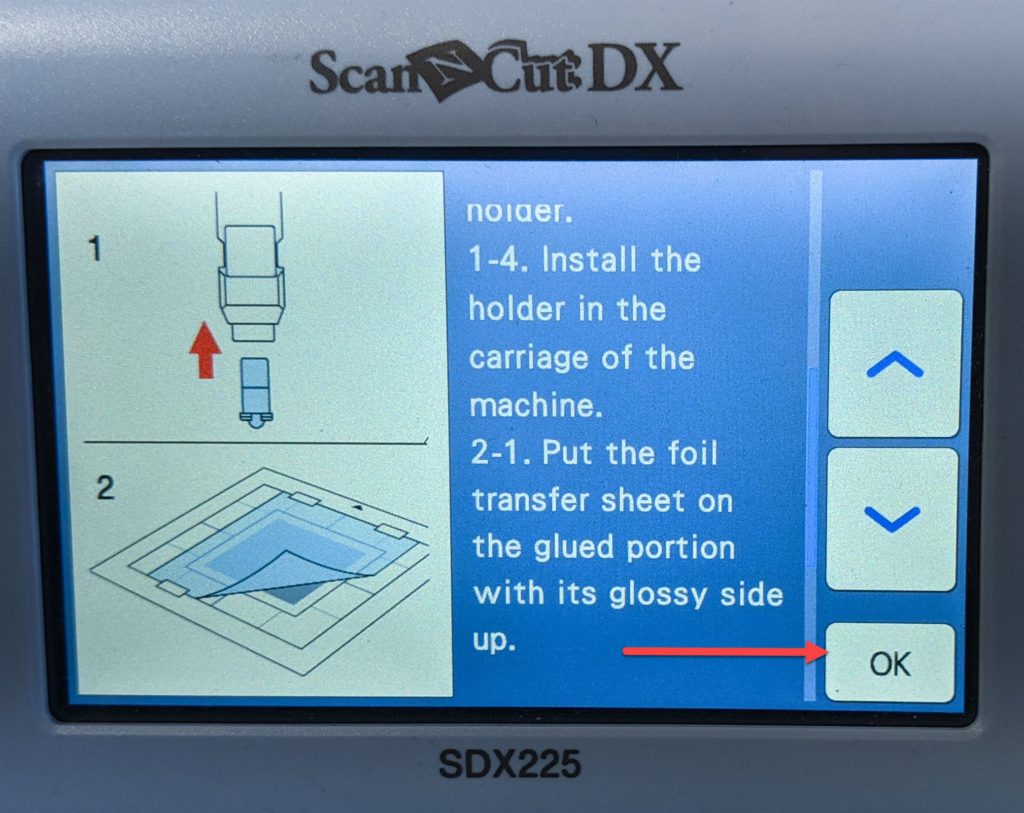
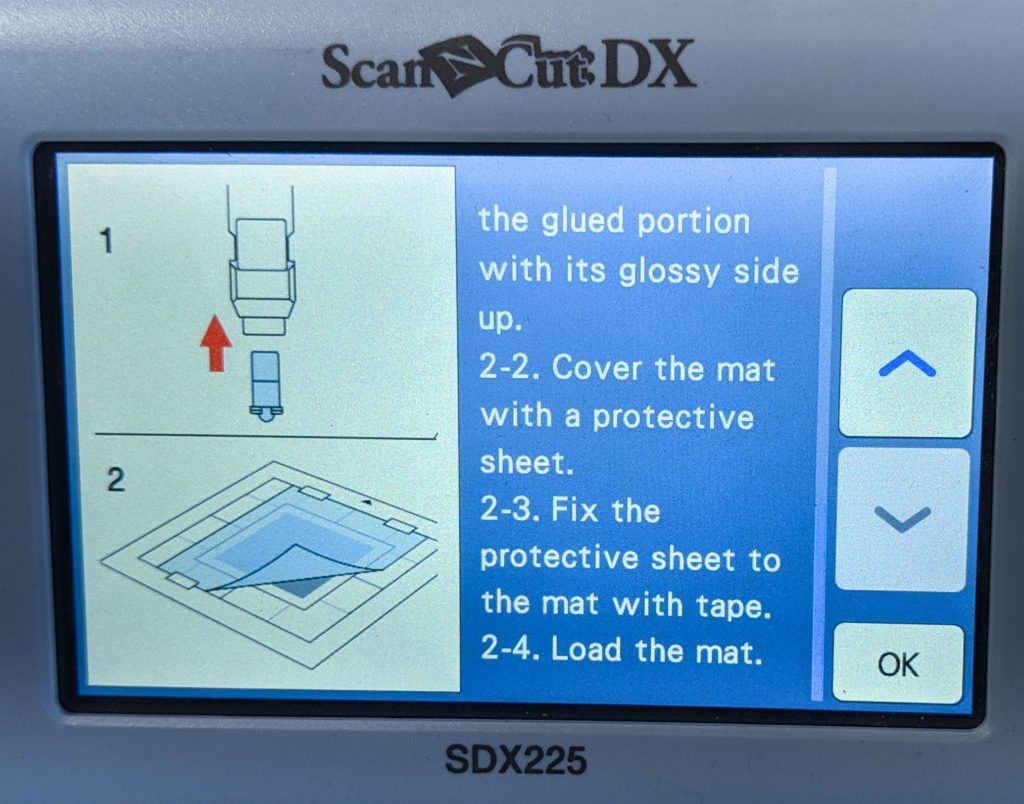
Remove the glue pen holder from the carriage, and then remove the glue pen. Attach the pressing tool to the tip of the glue pen holder, and insert the holder into the carriage.
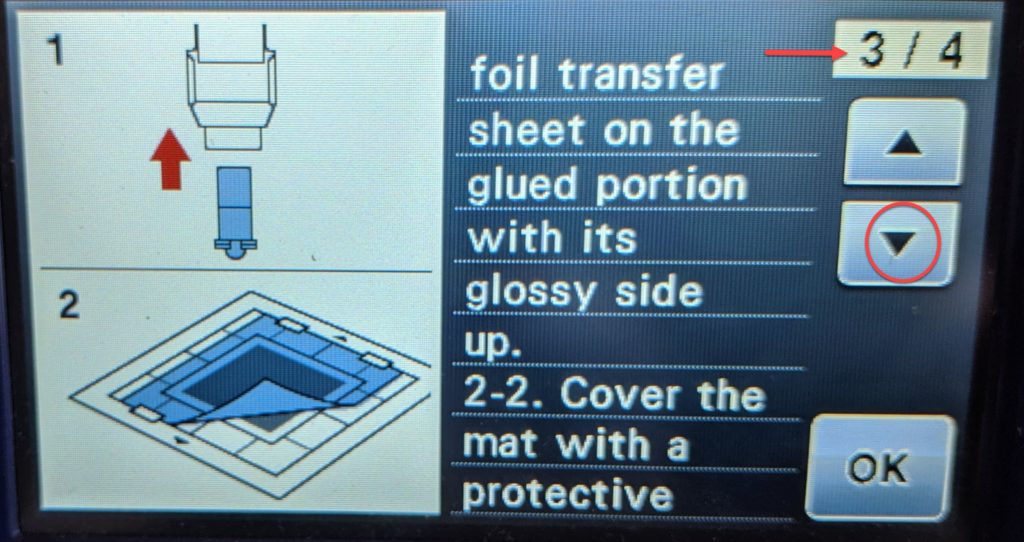
Select Foil, and then follow the on-screen instructions to place the foil on top of the pattern where the glue has been applied. Place the protective sheet on the mat, and then secure it in place with tape.
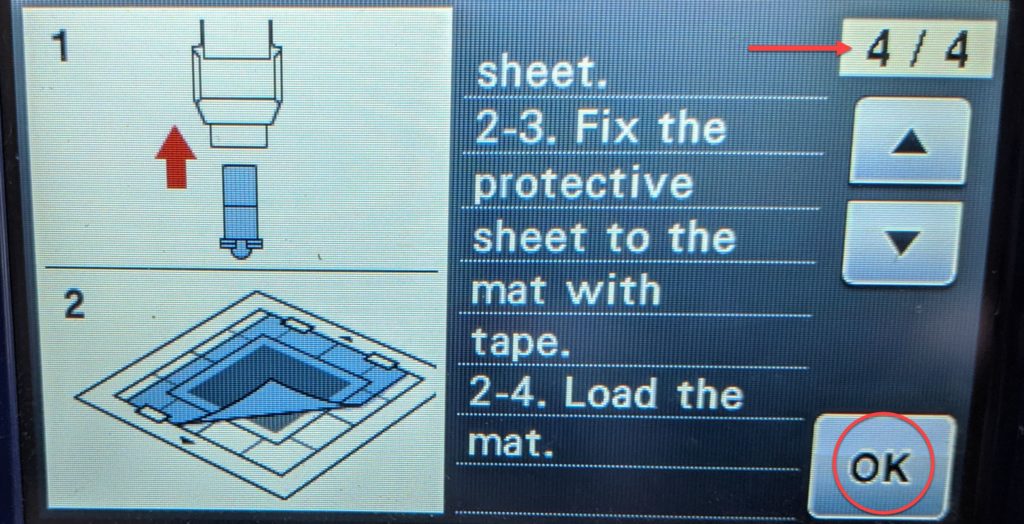
Insert the mat in the same direction as when glue was being
applied, and then press the Start/Stop button to apply the foil.
Once the foiling is complete, remove the mat from the machine and peel off the protective sheet and then carefully peel off the material from the mat.
While peeling off the foil transfer sheet, check that the foil adheres.
If the foil does not fully adhere, instead of fully peeling off the foil transfer
sheet, return it to its previous position, cover it again with the protective
sheet, and then rub over the top of the sheet with a hard object.
Place the material on a level surface, and then slowly peel off the foil transfer sheet horizontally to the material. Repeatedly dab the top of the foil with the dust removal sheet to remove any excess foil. (Do not rub).
Beautiful! Your design is finished!
Foiling on the ScanNCut DX
The process for foiling with the new ScanNCut DX is essentially the same as that for the CM650W or CM650WX. The beauty of this machine is the on-screen instructions to show you each step in the process.
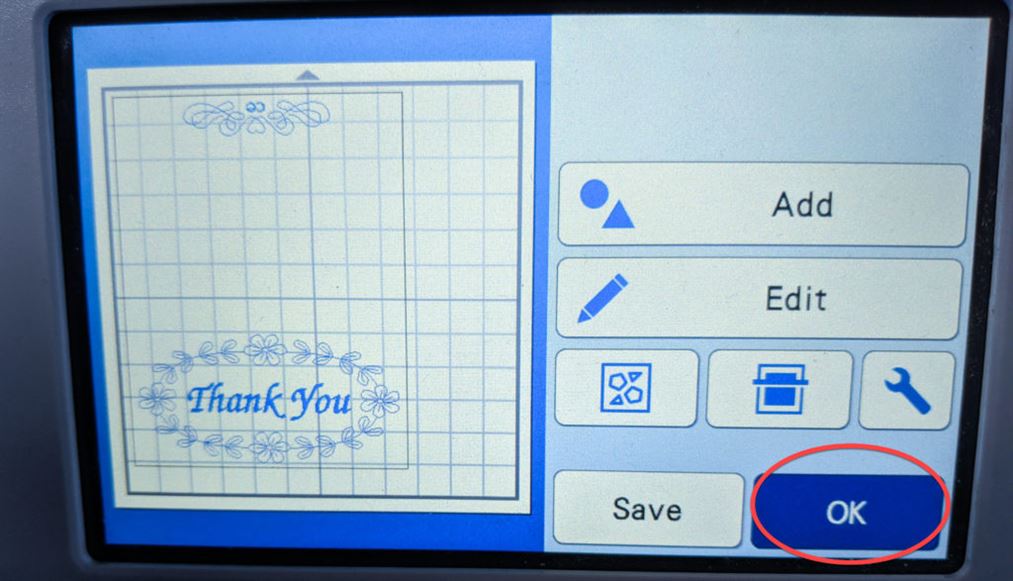
- Load design
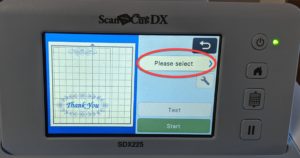
- Choose Foiling
- Add glue
- Let dry
- Add foil
- Peel and enjoy!
Load Design
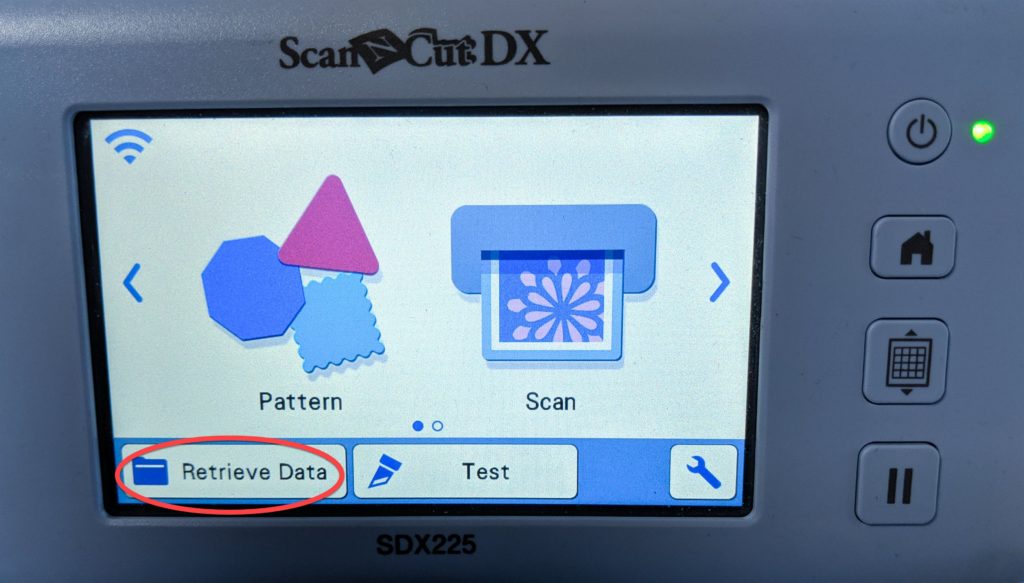
Choose Foiling

Add Glue
Let Dry
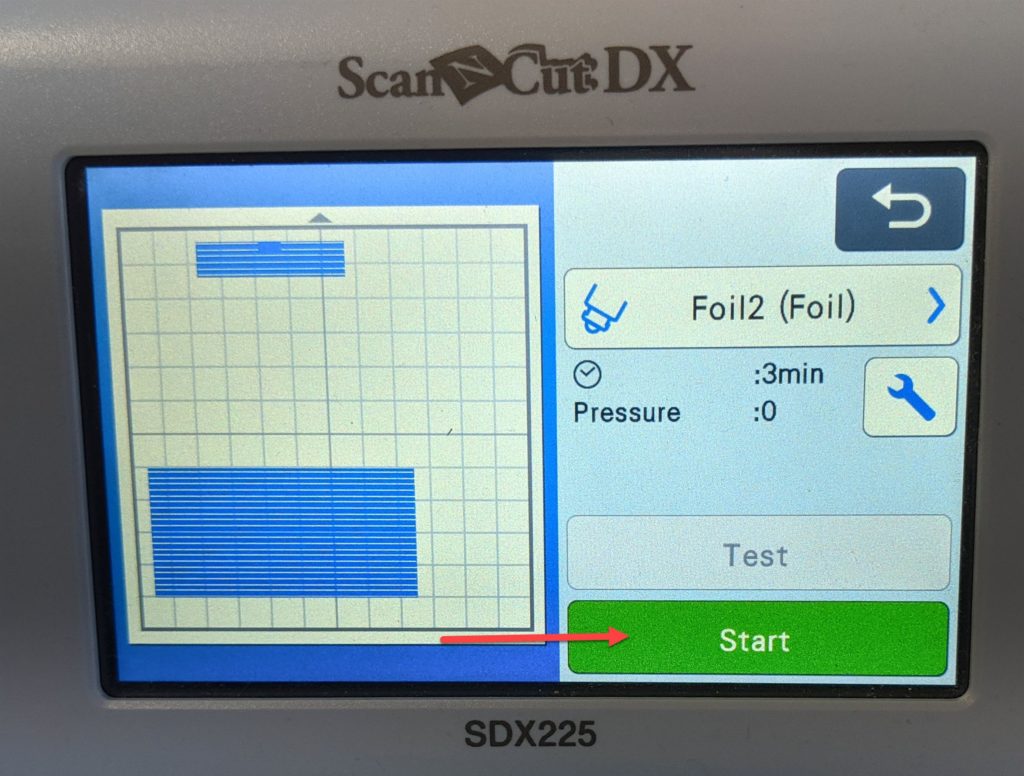
Add Foil
Peel and Enjoy!

Think you might like to try your hand at foiling? Here’s a 30% off coupon for a Foil Transfer Starting Kit to get you going. We’d love for you to share your completed foiling projects by commenting below. Be creative and have fun!