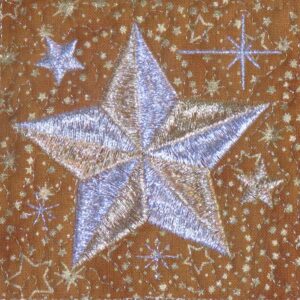
Shiny, sparkly, reflective and eye-catching, metallic thread evokes elegance. It is especially beautiful in Christmas embroidery designs like these from the Anita Goodesign “Christmas Classics” collection.


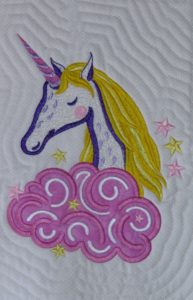
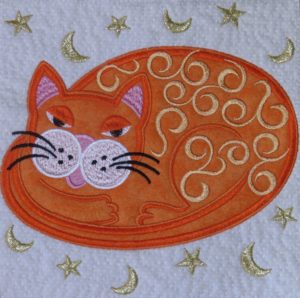
Metallic thread also makes a great addition to other designs, either as a feature of the design like the unicorn below or an accent of sparkly stars by a curled up cat.
Machine embroidery with metallic thread can be a challenge, though, as it has a tendency to twist and break if not treated right. So let’s talk about some thread TLC, and see if I can convince you it really isn’t that hard to work with. I’ll use metallic thread to embroider a Christmas apron. Along the way, I’ll discuss some tips and tricks to make the metallic thread behave.
A Christmas Apron With Metallic Thread
The Apron
Sam’s Club Chef Apron
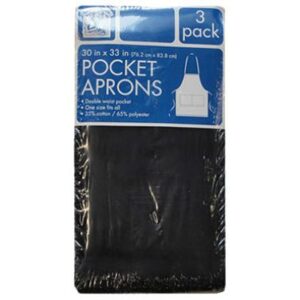 Sam’s Club has a section in the store with “restaurant supplies”. In that section they have packages of three pocket aprons for less than $12.00/package. The have the aprons in blue, burgundy and black. (The one I’m using for this blog is green. I purchased this chef’s pocket apron at Sam’s Club a year or so ago and don’t know if they still carry these in green). These are just simple chef’s aprons, but only your imagination limits what can be done to “dress them up.” They also have white aprons that do not have pocket, and they come 6 in a package for around $13. For that price you can add a pocket yourself!
Of course, all you have to do is search the web for chef’s aprons, and you’ll find numerous suppliers and a range of prices.
There are two things I don’t like about the Sam’s Club aprons:
- They do not have an adjustable neck strap
- They have thin twill tape to use as the apron ties.
You can easily fix these two deficiencies, however ,and I’ll talk about that a little later in the blog.
Lime Rickey Apron
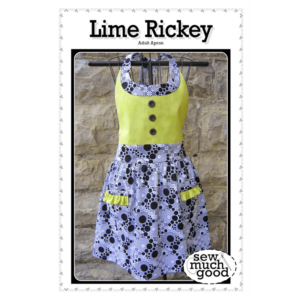 If you attended any of the August Sew Fun events this week, then you saw the beautiful apron that Tracey made. Aprons are pretty easy and fast to make from scratch. There are tons of patterns out there, so you can always make an apron for your embroidered design. Just be sure to do the embroidery before you line the bodice of the apron for a more professional look. Imagine how cute this apron would be with some pretty Christmas fabric and a design on the bodice instead of buttons.
The design
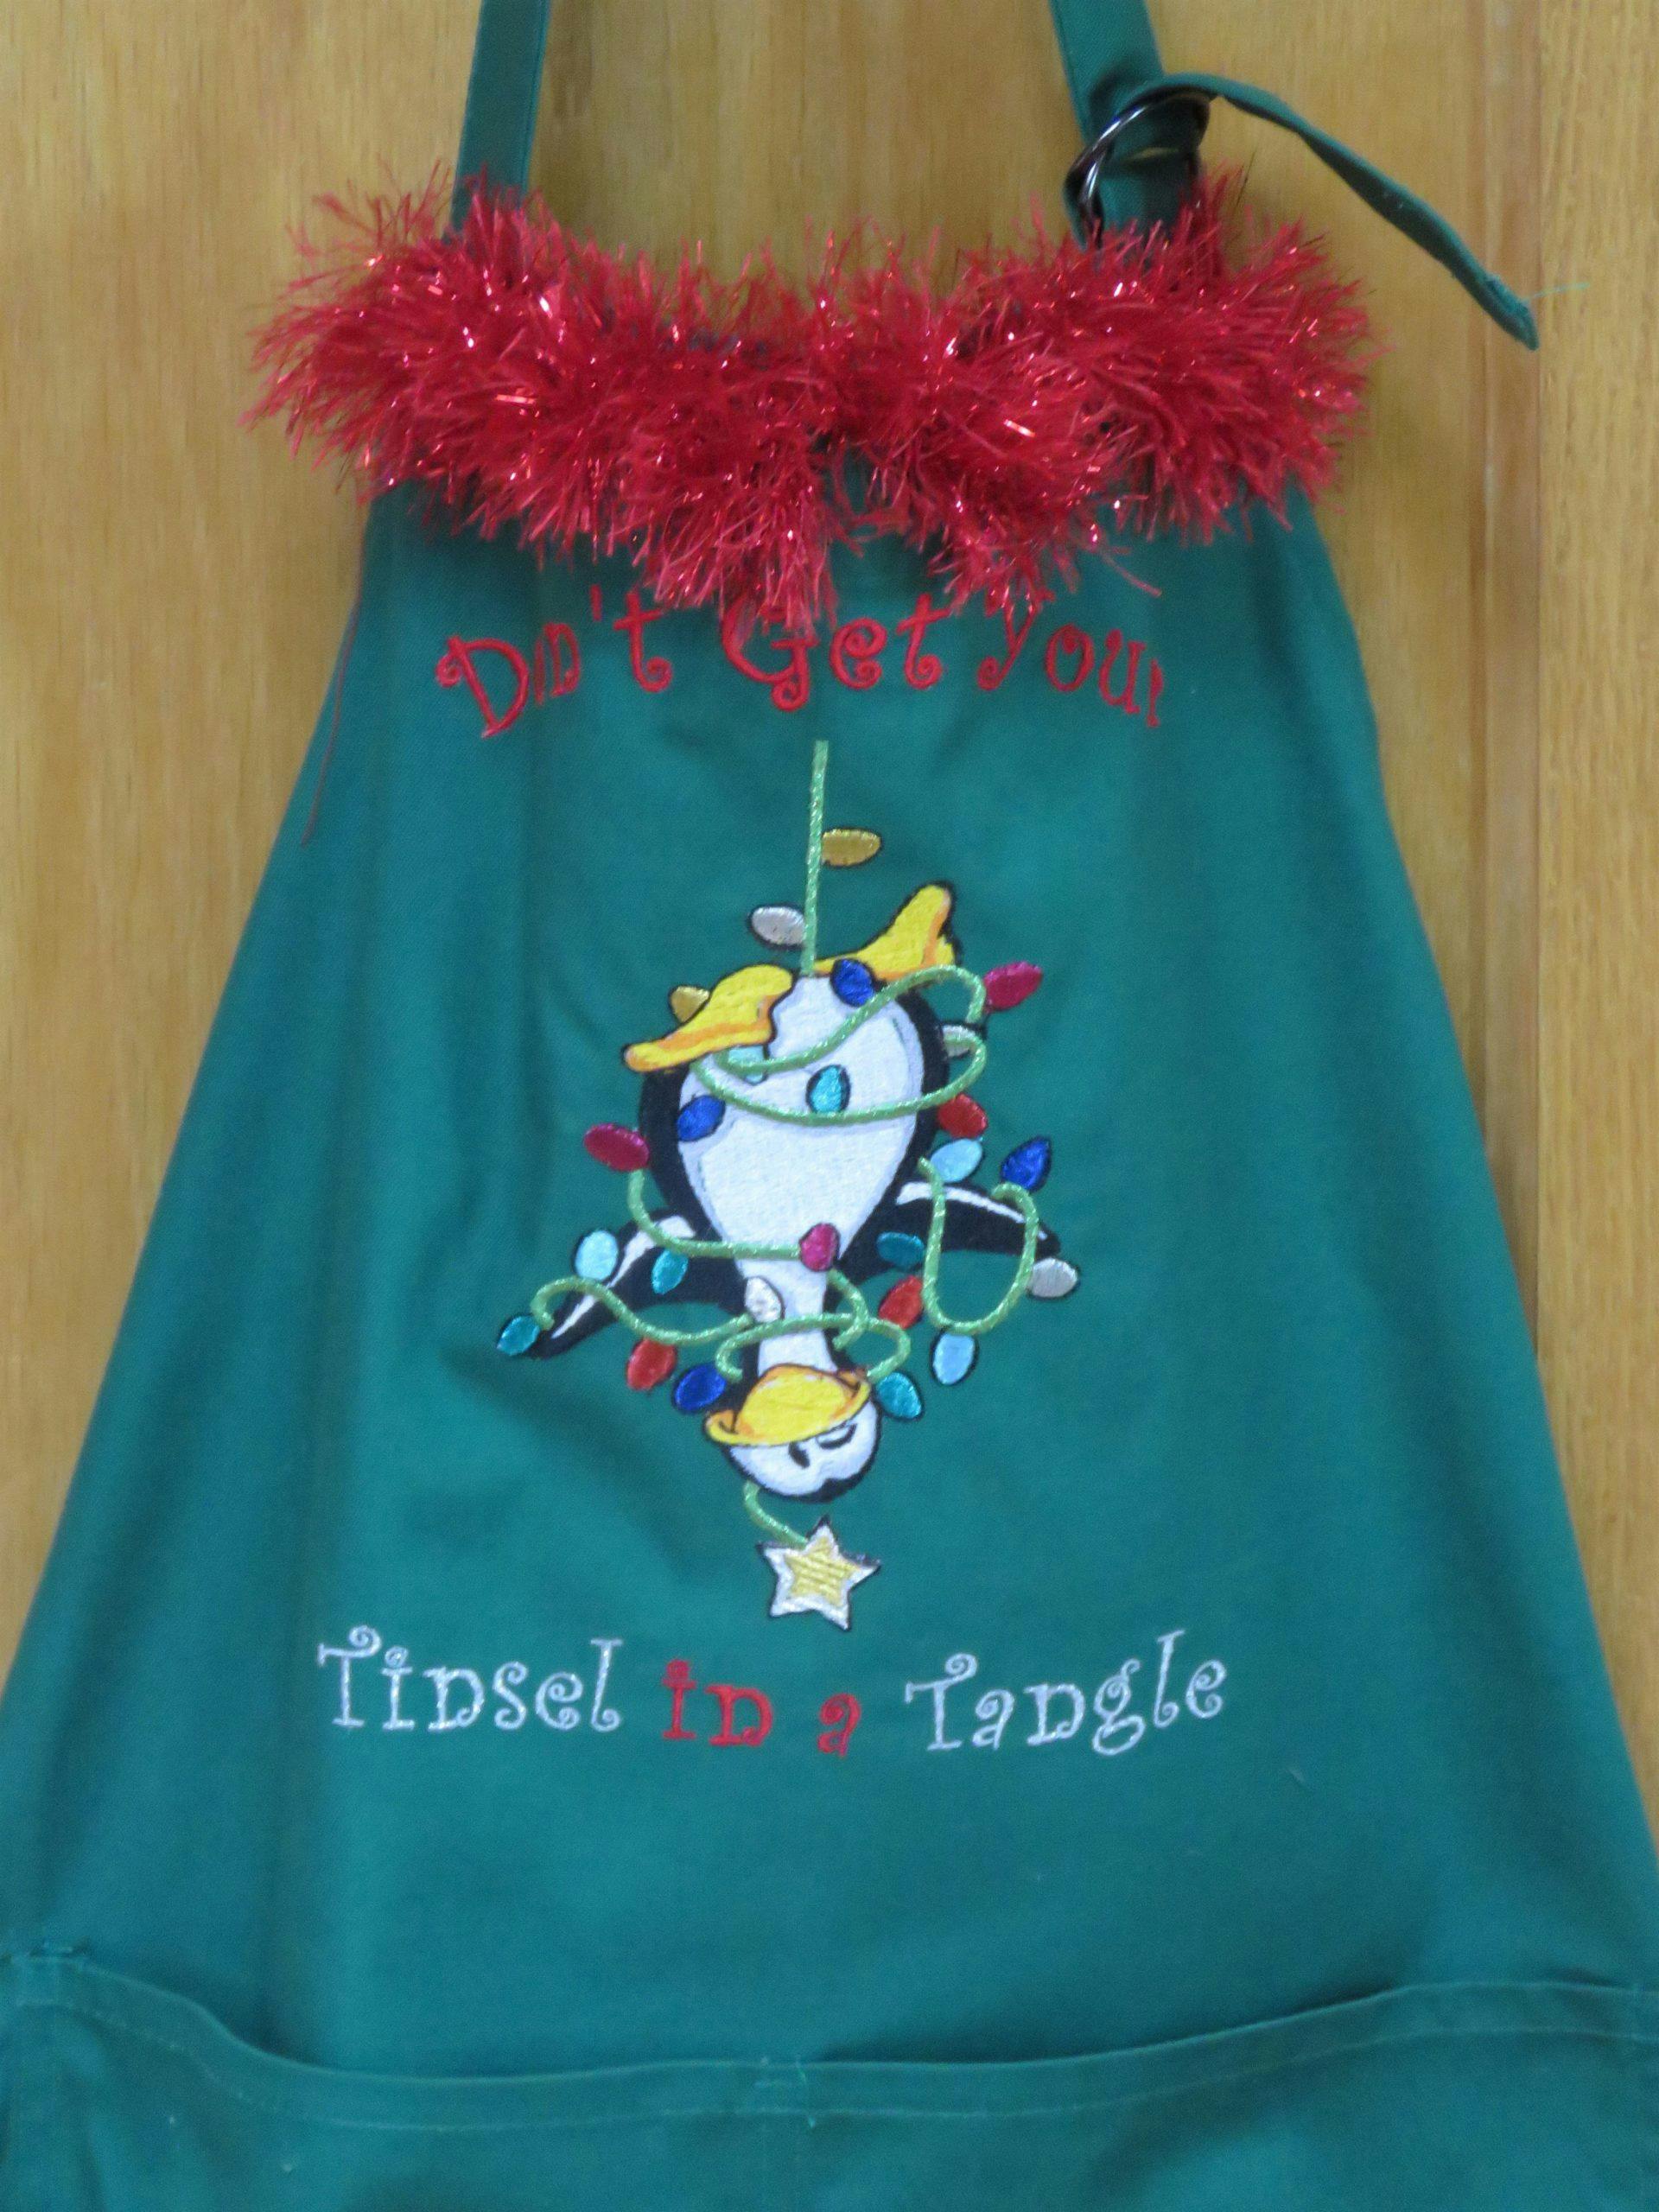
 For this blog, I’m using one of the Sam’s Club chef’s aprons, and I have selected a Christmas penguin design from Smart Needle to place on the bib of the apron. I am also adding some text to the apron. As I mentioned in previous blogs, I love the snowman feature of some of the Brother machines. it makes it easy to place your design just where you want it. If, however, you don’t have that feature on your machine, I’ll show you another way to place your design.
Using Transparencies
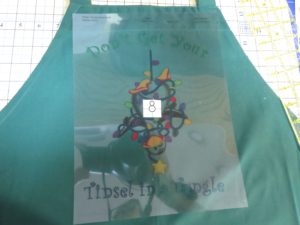
Once you have the design you want to sew, print it from the computer software you use to edit designs. Print it on a transparency. (You can get transparencies that can be used in ink jet printers or laser printers from office supply stores.) Most editing software will print out markers for the design center. Floriani’s FTC-U prints the design with four cross hairs indicating the design center.
By printing your design on a transparency, you can see exactly where to place the design on your apron. You also get a good idea of what it will look like when embroidered. Use the centering marks on the transparency and mark the center on your apron as appropriate for your machine.
In this photo I have placed the transparency on top of a snowman, lining up the printed cross hairs with the snowman’s horizontal and vertical centering lines. I then cut a square out of the center of the transparency the same size as the snowman sticker.
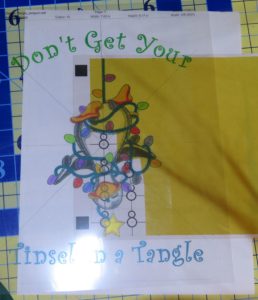

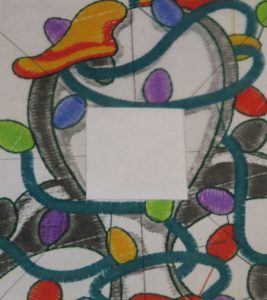
I then place the transparency on the apron and line it up where I want the design to be. Next, I place a snowman sticker in the square I cut out. After I remove the transparency, the sticker is left behind and I am ready to hoop the fabric and embroider.
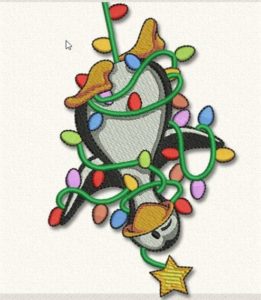
Embroidering with Metallic Thread
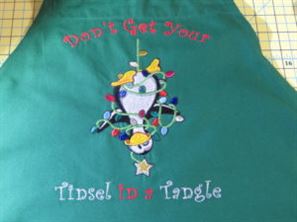
For this tangled penguin, I used metallic thread for the light cord, bulbs, the star and the words Tinsel and Tangle. The rest of the design was sewn with regular 40 wt. polyester embroidery thread.
So now, it’s time to talk about issues using metallic thread.
Metallic threads are created by twisting and bonding a fine metallic foil around a polyester core. Sewing with metallic thread is all about letting the thread move through the machine without twisting, chaffing or unraveling.
It Twists, I Shout!
One of the most frustrating things for me about metallic thread is the twists that happen as the thread comes off the spool.

There are a few remedies for this problem:
- Chill out! Place your thread in the freezer for about an hour before you use it. The cold helps relax the thread so it’s not so “kinky” coming off the spool.
- Turn your world upside down! Okay, not your world, just your thread. If you are using an upright spool pin, invert the thread spool so that the thread is coming off the bottom of the spool rather than the top. This seems to lessen the twists as the thread spools out.
- Drink champagne out of a paper cup! Oops, that was for something else. Instead, invert a paper cup with a small hole in the bottom over the thread spool then run the thread through the hole and thread your machine. This prevents the thread from twisting as it is used.
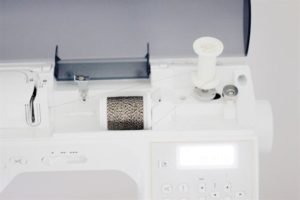
- Sock it to me! Use mesh thread socks (or thread nets) over the cone on the machine. (Make sure the sock is long enough to cover the whole cone, to prevent the thread from falling off and catching under the cone.) You might have to adjust your tensions to make up for the hold the sock puts on the thread.
 If one is good, two is great! Use an empty spool to add a little tension to the thread as it comes off its spool. Place it on the bobbin pin, run your thread from the horizontal spool around the vertical empty spool before threading your machine.
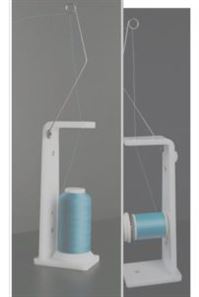
- Misdirection! Make that redirection. Feed the thread off the spool correctly. You want the thread to unwind off the the spool in the opposite direction it was wound. If you are using thread on a cone, unwinding from the normal flat position causes metallic thread to twist. If you are using a spool, and the thread is coming off the end of the spool instead of the side, then, again, you’ll have problems. Orient a spool feeder to keep your metallic thread coming off right so it comes off the spool straight and feeds into your machine more smoothly.
Needles
To prevent chafing and shredding of your thread use a needle made for metallic thread. If you’re unsure, go by the needle size recommended by your thread manufacturer. Each will have a suggestion to make their metallic threads run best. Some of the thinner metallics, like a 40- or 50-weight, may not require a special needle. Even then, however, it’s always a good idea to use a needle made for metallics as the larger eye of those needles helps lessen the friction of the thread going through the eye.
Once you get into thicker metallics, change your needle to accommodate the thickness. A smooth 30-weight metallic thread requires a 90/14 needle, and a 20-weight thread a 100/16 needle. The larger eyes in these needles will also simplify threading your machine. Plus, a large-eye needle will cut down on friction as the metallic thread moves through the needle.
There’s another type of metallic thread, also a metallic foil wrapped around a core, but this time the foil is twisted as it’s wrapped, creating facets and producing more of a sparkle. A 30-weight of this type requires a 90/14 needle for best performance.
Don’t Be So Tense!
Lighten up on the top tension of your machine to reduce stress to the metallic thread. Use the least tension needed and remember you may need to further adjust if you use a thread net over the spool.
Slow Down!
It’s a good idea to slow down your machine for metallics. Though many high-performance home embroidery machines will run 1,000 or more stitches per minute, that’s fine for regular 40-weight rayon or polyester thread. Cut that to 500 to 600 stitches per minute when embroidering with metallic thread.
Finishing the Apron
The Neck Strap
The Sam’s Club chef’s apron does not have an adjustable neck strap, so I add one. To do this:
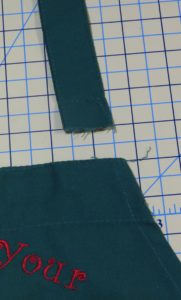
- Remove the neck strap from the left side of the bib by opening the seam with a seam ripper
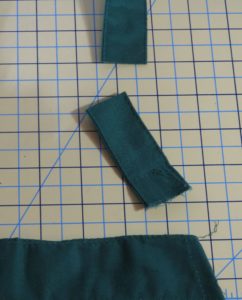
- Clip a 3″ piece off the free end of the neck strap.
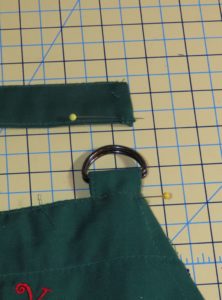
- Fold the 3″ piece in half around two “D” rings.
- Sew the loop with the D rings into the top seam.
- Finish the end of the neck strap where you cut it. (hem it, serge it or fold it inside the strap.)
Add Some Tinsel
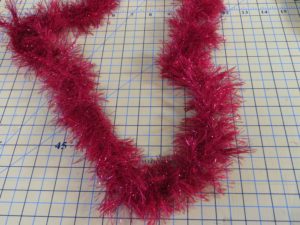
I had this cute fringe in my stash, and it looks a lot like Christmas tinsel. So I added it to the top and bottom of the apron. It’s washable, a necessity if it’s going on an apron!
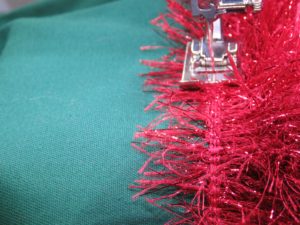
This fringe has a cord that holds the fringes in place, so I lined that up close to the top and bottom edges of the apron to sew it on. I used a wide foot so it wouldn’t get caught up in the fringe.
You can also replace the twill apron ties with a pretty ribbon or fabric if you want. (I did not do that for this apron).
Ta Da!
Look how cute!
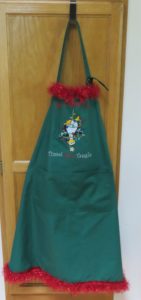
This plain chef’s apron has been transformed into a Christmas apron just right to wear when making Christmas cookies with the grandkids.
Are you ready to try embroidering with metallic thread? Although they look delicate, metallic threads are often tougher than you think, with many able to hold up to high temperature wash water. Some can even withstand laundering with bleach. The thread pops up on all sorts of apparel, from caps to aprons to jeans. From youth to corporate, Irish step dancing to Western bling, metallic threads work seamlessly in just about any demographic, adding shimmer in all the right places.
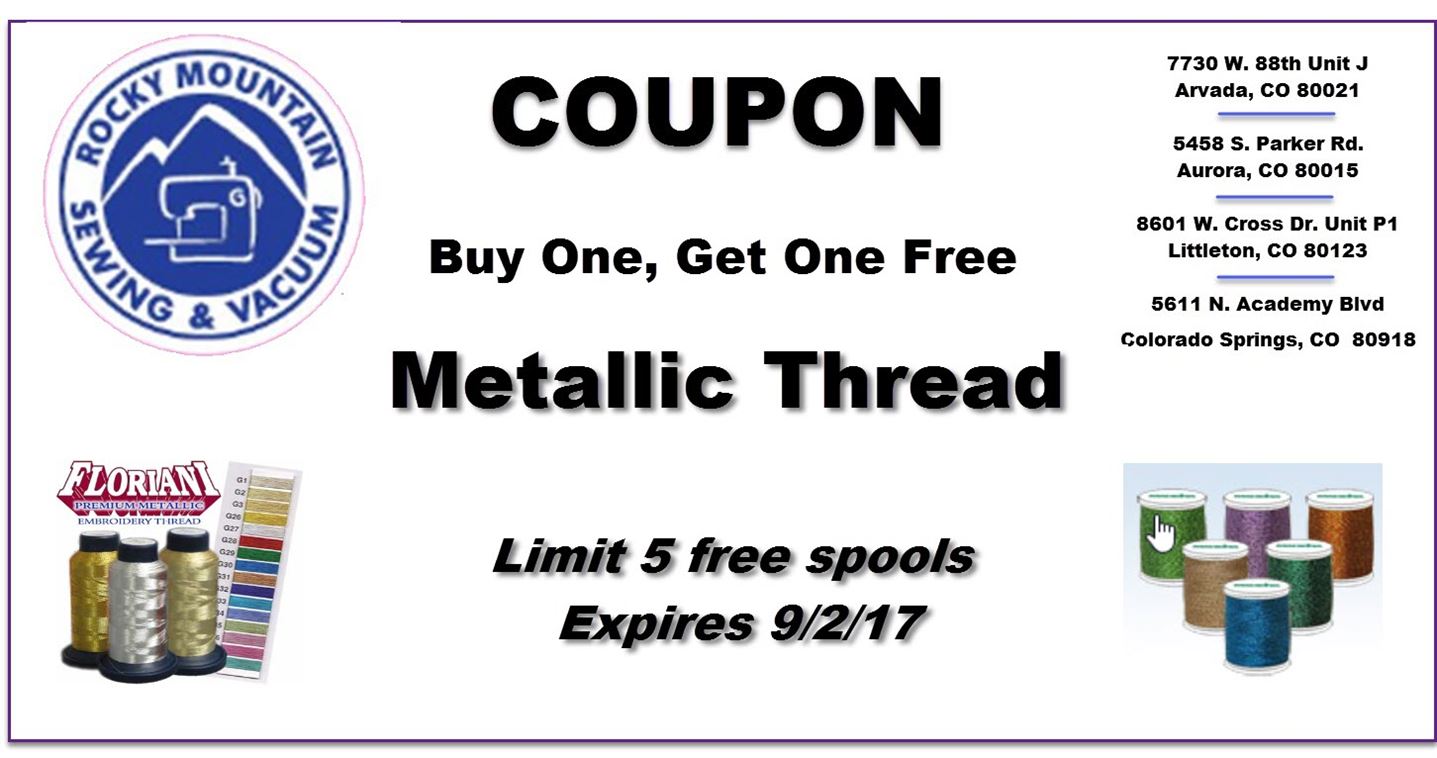
Coupon for Metallic Thread
In this month’s sales flyer, there’s a coupon for buy 2 get one free Floriani thread. To encourage you to try metallic thread, here’s a coupon to help get you started adding that sparkle to your embroidery. This coupon is good for any metallic thread we carry, but has a limit of 5 free spools.
We hope you’ll share some of your embroidery with metallic thread. Just click on the “Choose File”button in the comments to add a picture of one or more of your creations. We’d love to see them!
Comments
Cathy Ellsaesser
Thanks for the kind words. I knew it would be worth the trip to the Springs!
I really like the Madeira Super Twist. It’s sparkly, but 30wt, so it doesn’t seem to shred or kink as much as the 40wt shiny stuff. Still, I did have good luck with the Floriani when I froze it and turned it upside down.
Would love to hear if any of these techniques work for you and see what you make with metallic thread.
Good luck.
Cathy Ellsaesser
I asked our web guy that question this morning. Waiting to see what he has to say. Thanks for the kind words!
Cindi Carroll
I love your blog! Great job. But I forget to look for them. Can you set it up so that we can have them delivered to our email?
Rita Bucholtz
I saw you at Sew Fun in Colorado Springs and then read your blog on metallic thread. Wow! Great hints and lots of new information. I will try using metallic thread again. So sad that I just gave 30+ spools away with the vow to never use it again. Guess I will be using the coupon.
Thanks,
Rita B