Back in November, we held an Embellish event at our Aurora store. The end product after three days of using ScanNCut DX1, Luminaires XP1 and various cutting tools, the students ended up with a cute little two -block wall hanging. One of the techniques, that I didn’t know about, was making “chenille” to use as the filler for an applique. I thought that was pretty neat, and want to share with those who couldn’t attend the event how to do that.
Traditional Chenille
Just a little bit of a caveat about chenille.
Traditional chenille is quite different from traditional embroidery, though it is very complementary. Many designs actually combine both applications. For traditional chenille, a special machine feeds yarns up through the bottom to create a raised textured surface that resembles carpet.
Another characteristic that makes chenille different from traditional embroidery is that most of the work is NOT done directly on the garment. Instead, the design is applied to a fabric background called scrim felt, which is then manually cut out and sewn to the garment like a patch.
So this blog describes a technique different than the traditional chenille described above.
Fabric Chenille
The Embellish event provided the embroidery files to create a chenille penguin. This technique uses stacks of fabric on top of the usual appliqué fabric.
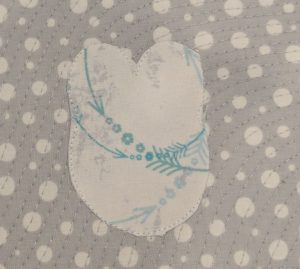
- Place base appliqué fabric over placement line.
- Stitch in place.
- Trim around tack down line.
- Place a stack of fabric on top of base applique.
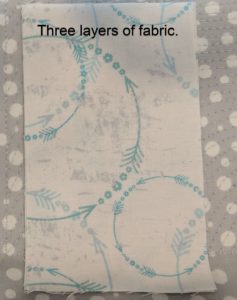
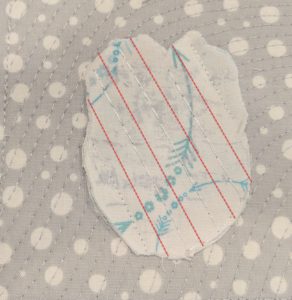
- Sew parallel lines of stitches to create a “channel” that can be cut to create the chenille. Note: the lines are the next step in the embroidery sequence.
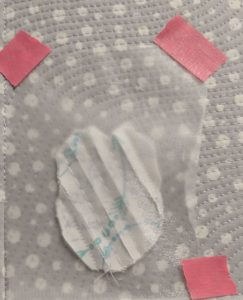
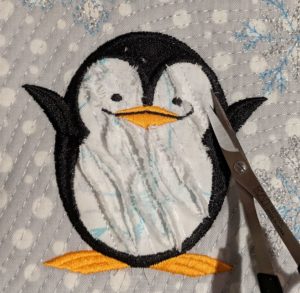
- Trim stack of fabric so that it just covers the base applique fabric.
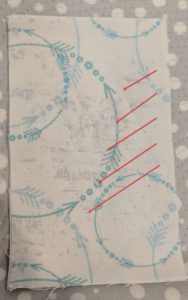
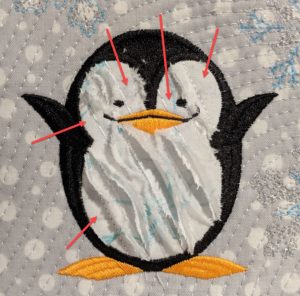
Note in the picture below the red dotted lines indicate where to cut the fabric stack to create the chenille.
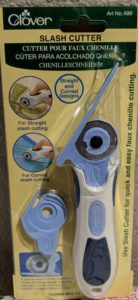
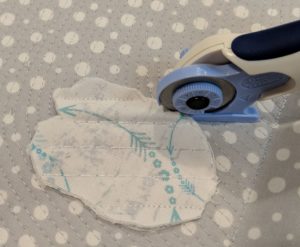
- Using a chenille cutter, slash the fabric stack in between the parallel lines. Place the prong of the cutter under the last fabric in stack and roll forward to cut.
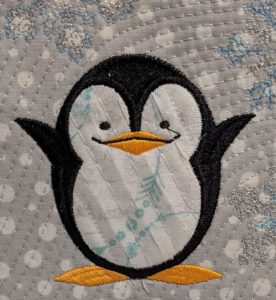
- To sew out the rest of the design, place a piece of Embellish Water Soluble Film on top of design to hold the fabric down when embroidering the remainder of the design.
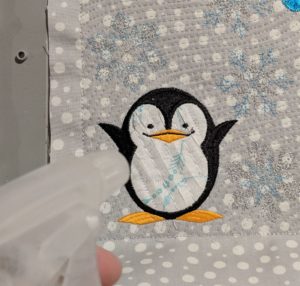
- Once design is completed, remove the wash away topping from the design.
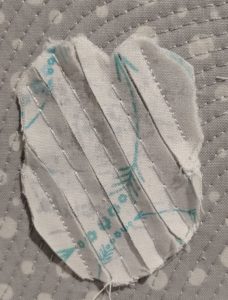
- Spray the design lightly with water
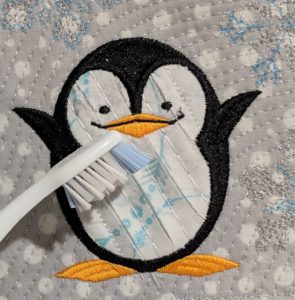
- Take a stiff brush and brush the chenille to make it fringe out. I used a toothbrush, but a wire or other stiff brush would work better.
- Identify those areas that did not open and clip as necessary.
- Continue to brush out the fabric as needed.
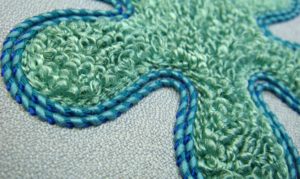
- Completed penguin.
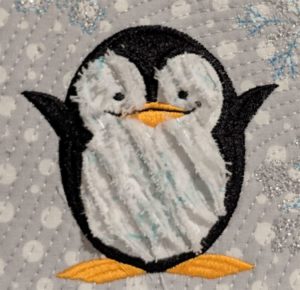
Cute!
Embellish Maker
Embellish Maker software makes creating chenille appliques a snap. With a simple mouse click in the area you want to chenille, the software automatically creates the stitching lines to create the channels to cut.
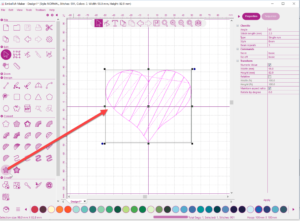
Simply load artwork or design, select the area you want, and then select the chenille icon (red arrow below).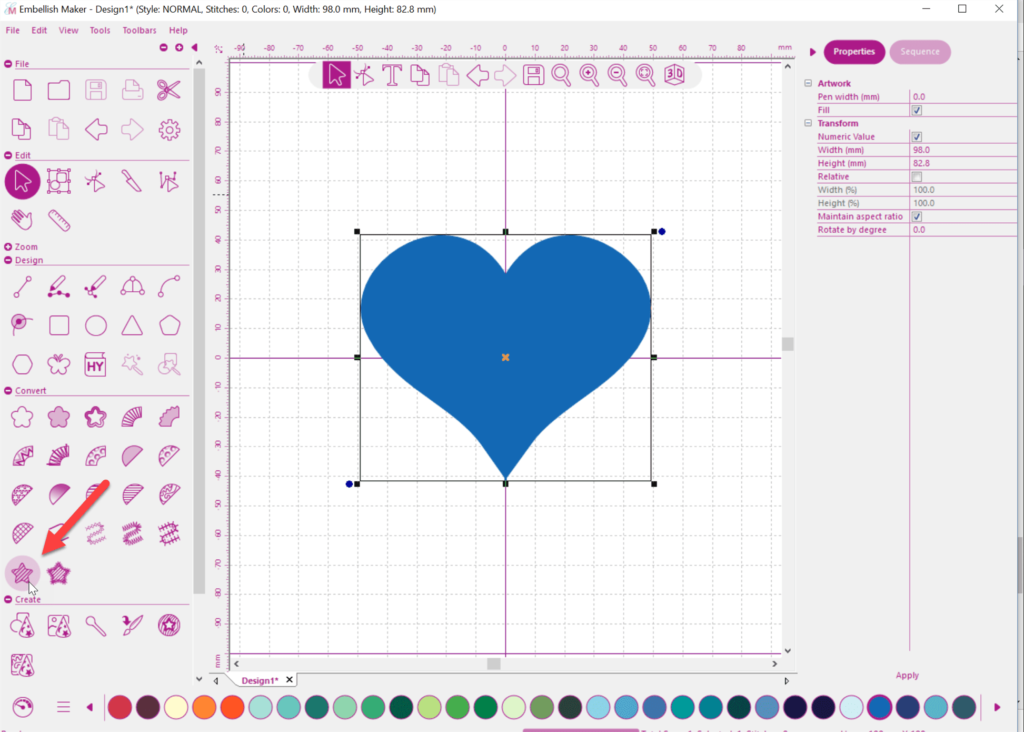
Then, like magic, the object is filled with the sewing lines to create the cutting channels. It is so easy and quick!
Check out this video for more information.
Designs
Kimberbell has several design discs that are just made for chenille. Some are all about chenille and others use the technique as an accent in a few of the designs.
Hope Yoder has several design discs, including the Fuzzy Dice collection.
Here’s a freebie from Embroidery Garden that you use to make a chenille heart just in time for Valentine’s day.
Here’s a coupon for a Kimberbell or Hope Yoder design disk that has chenille designs. If your local store doesn’t have one in stock, they can order it for you.